Google Pixel 6 VS Samsung S20 FE VS Samsung S20 FE & GCam
/Daylight Samples

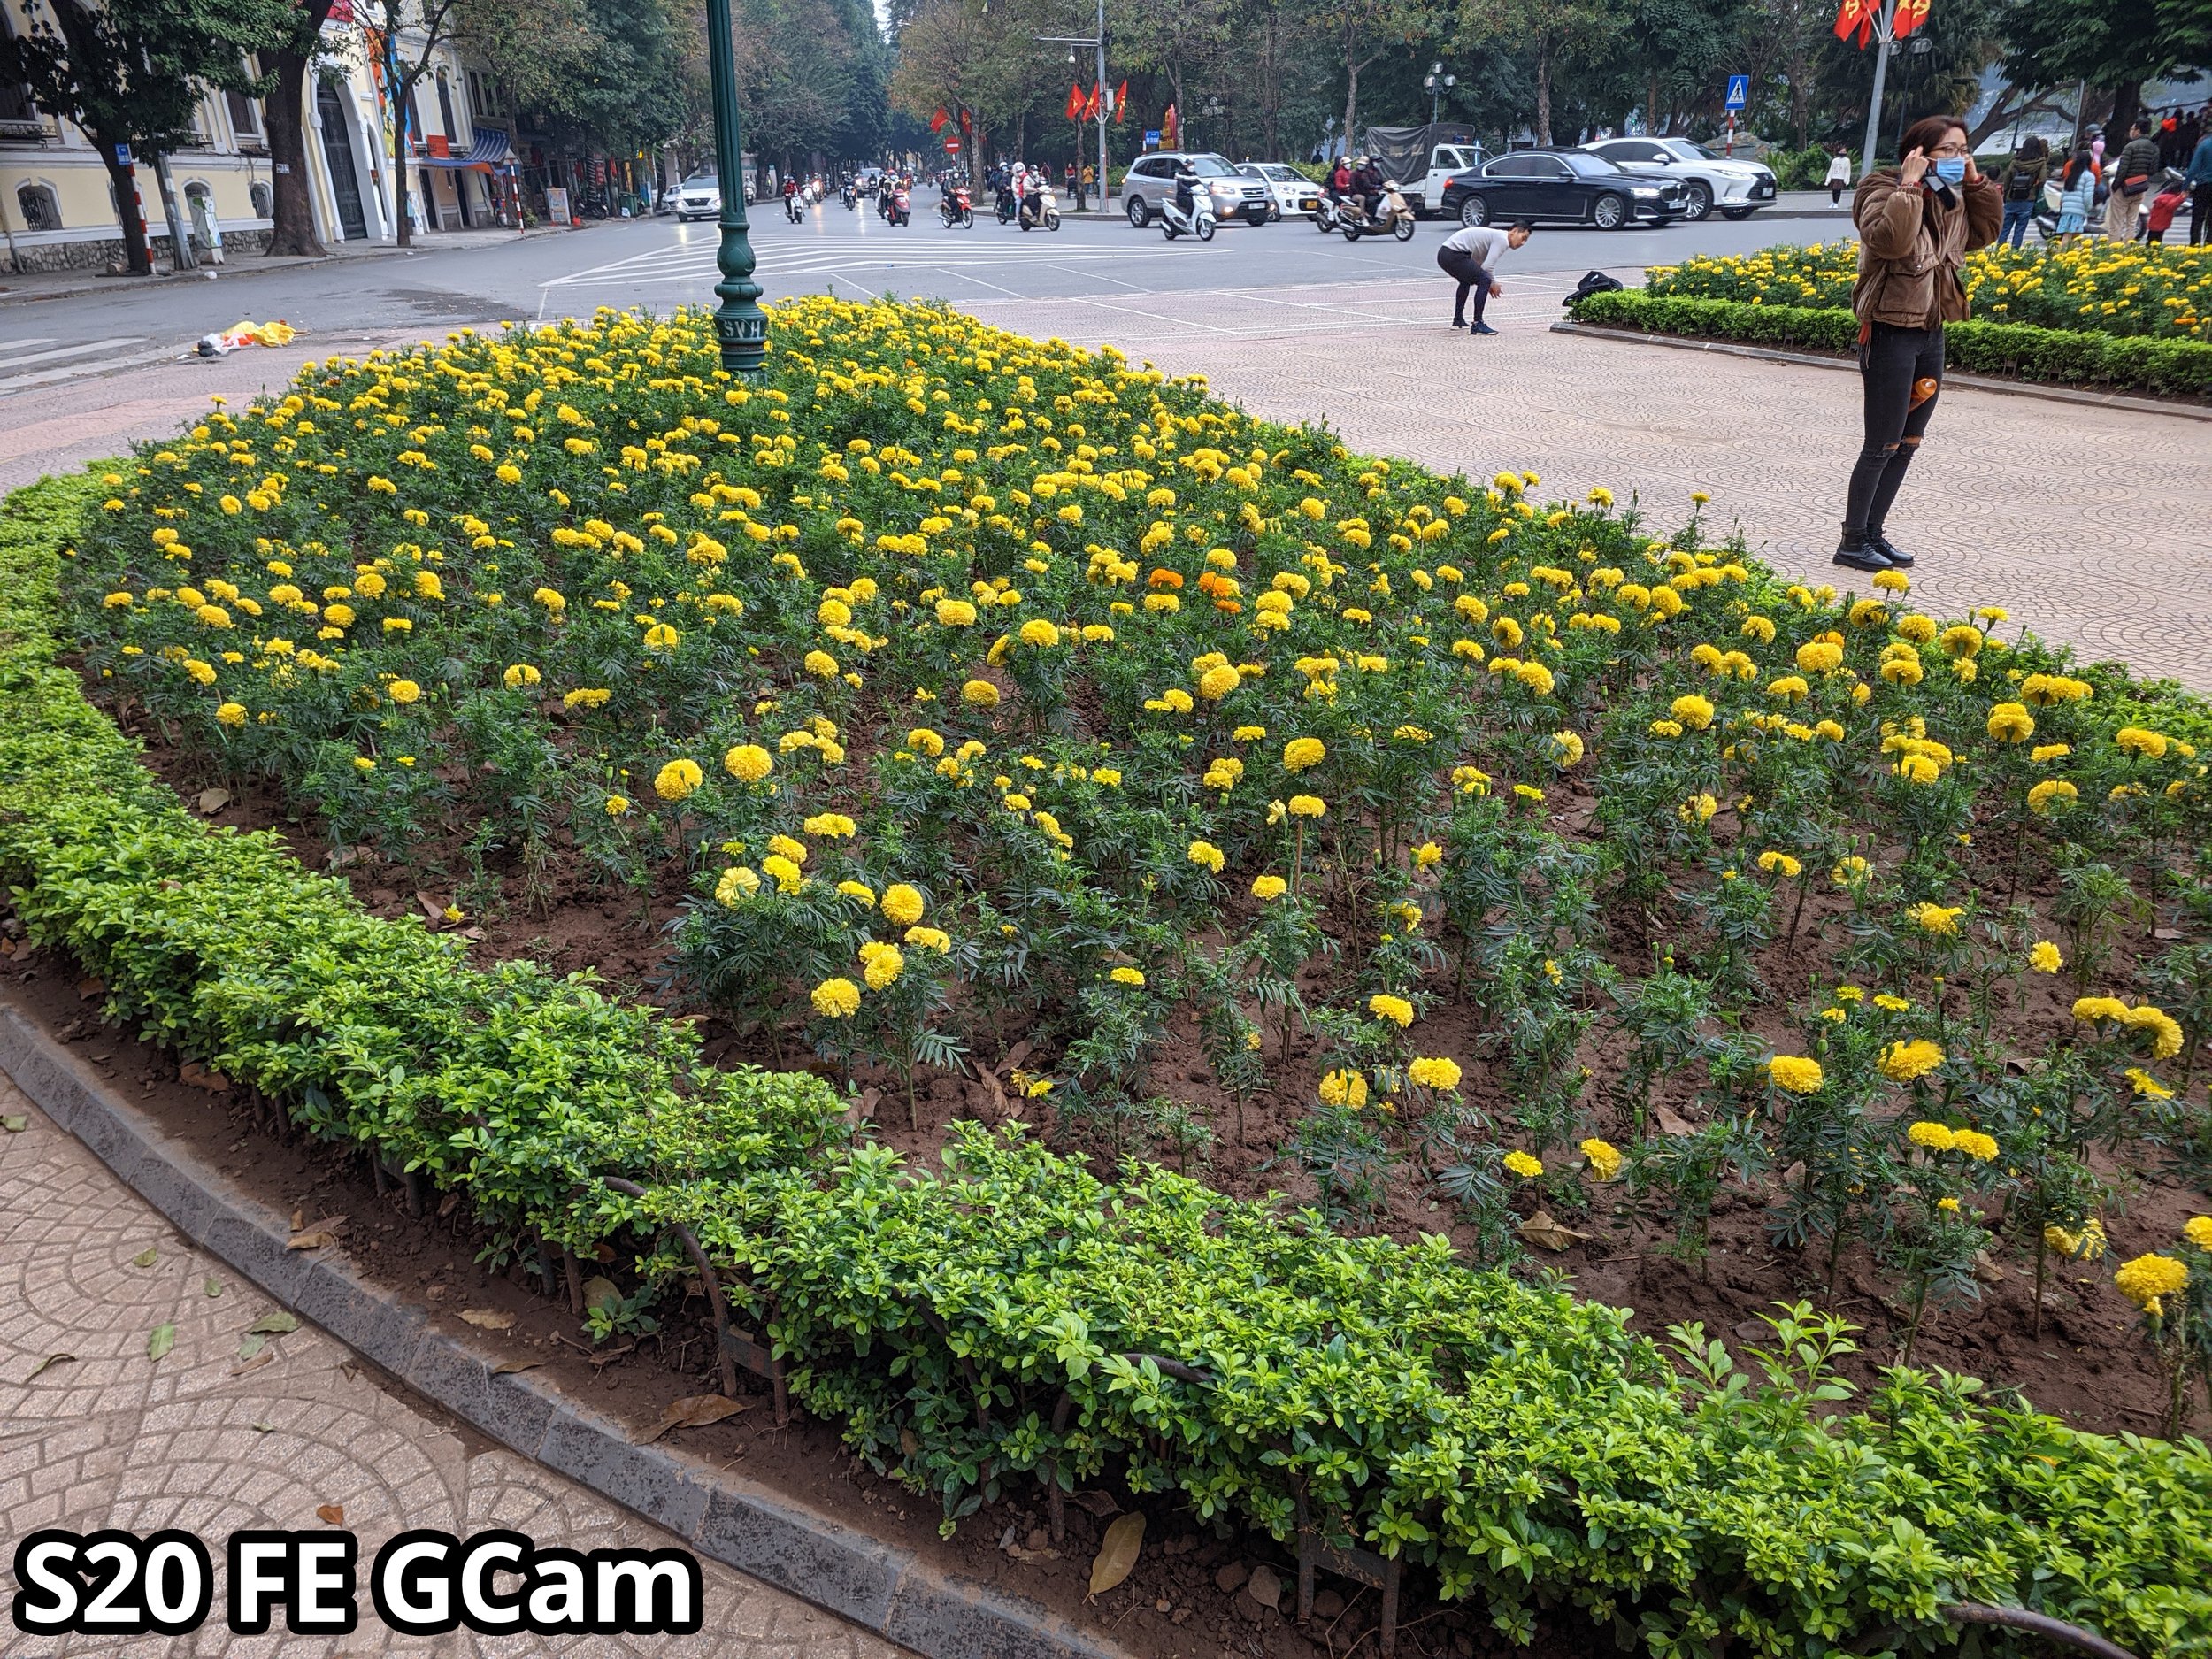
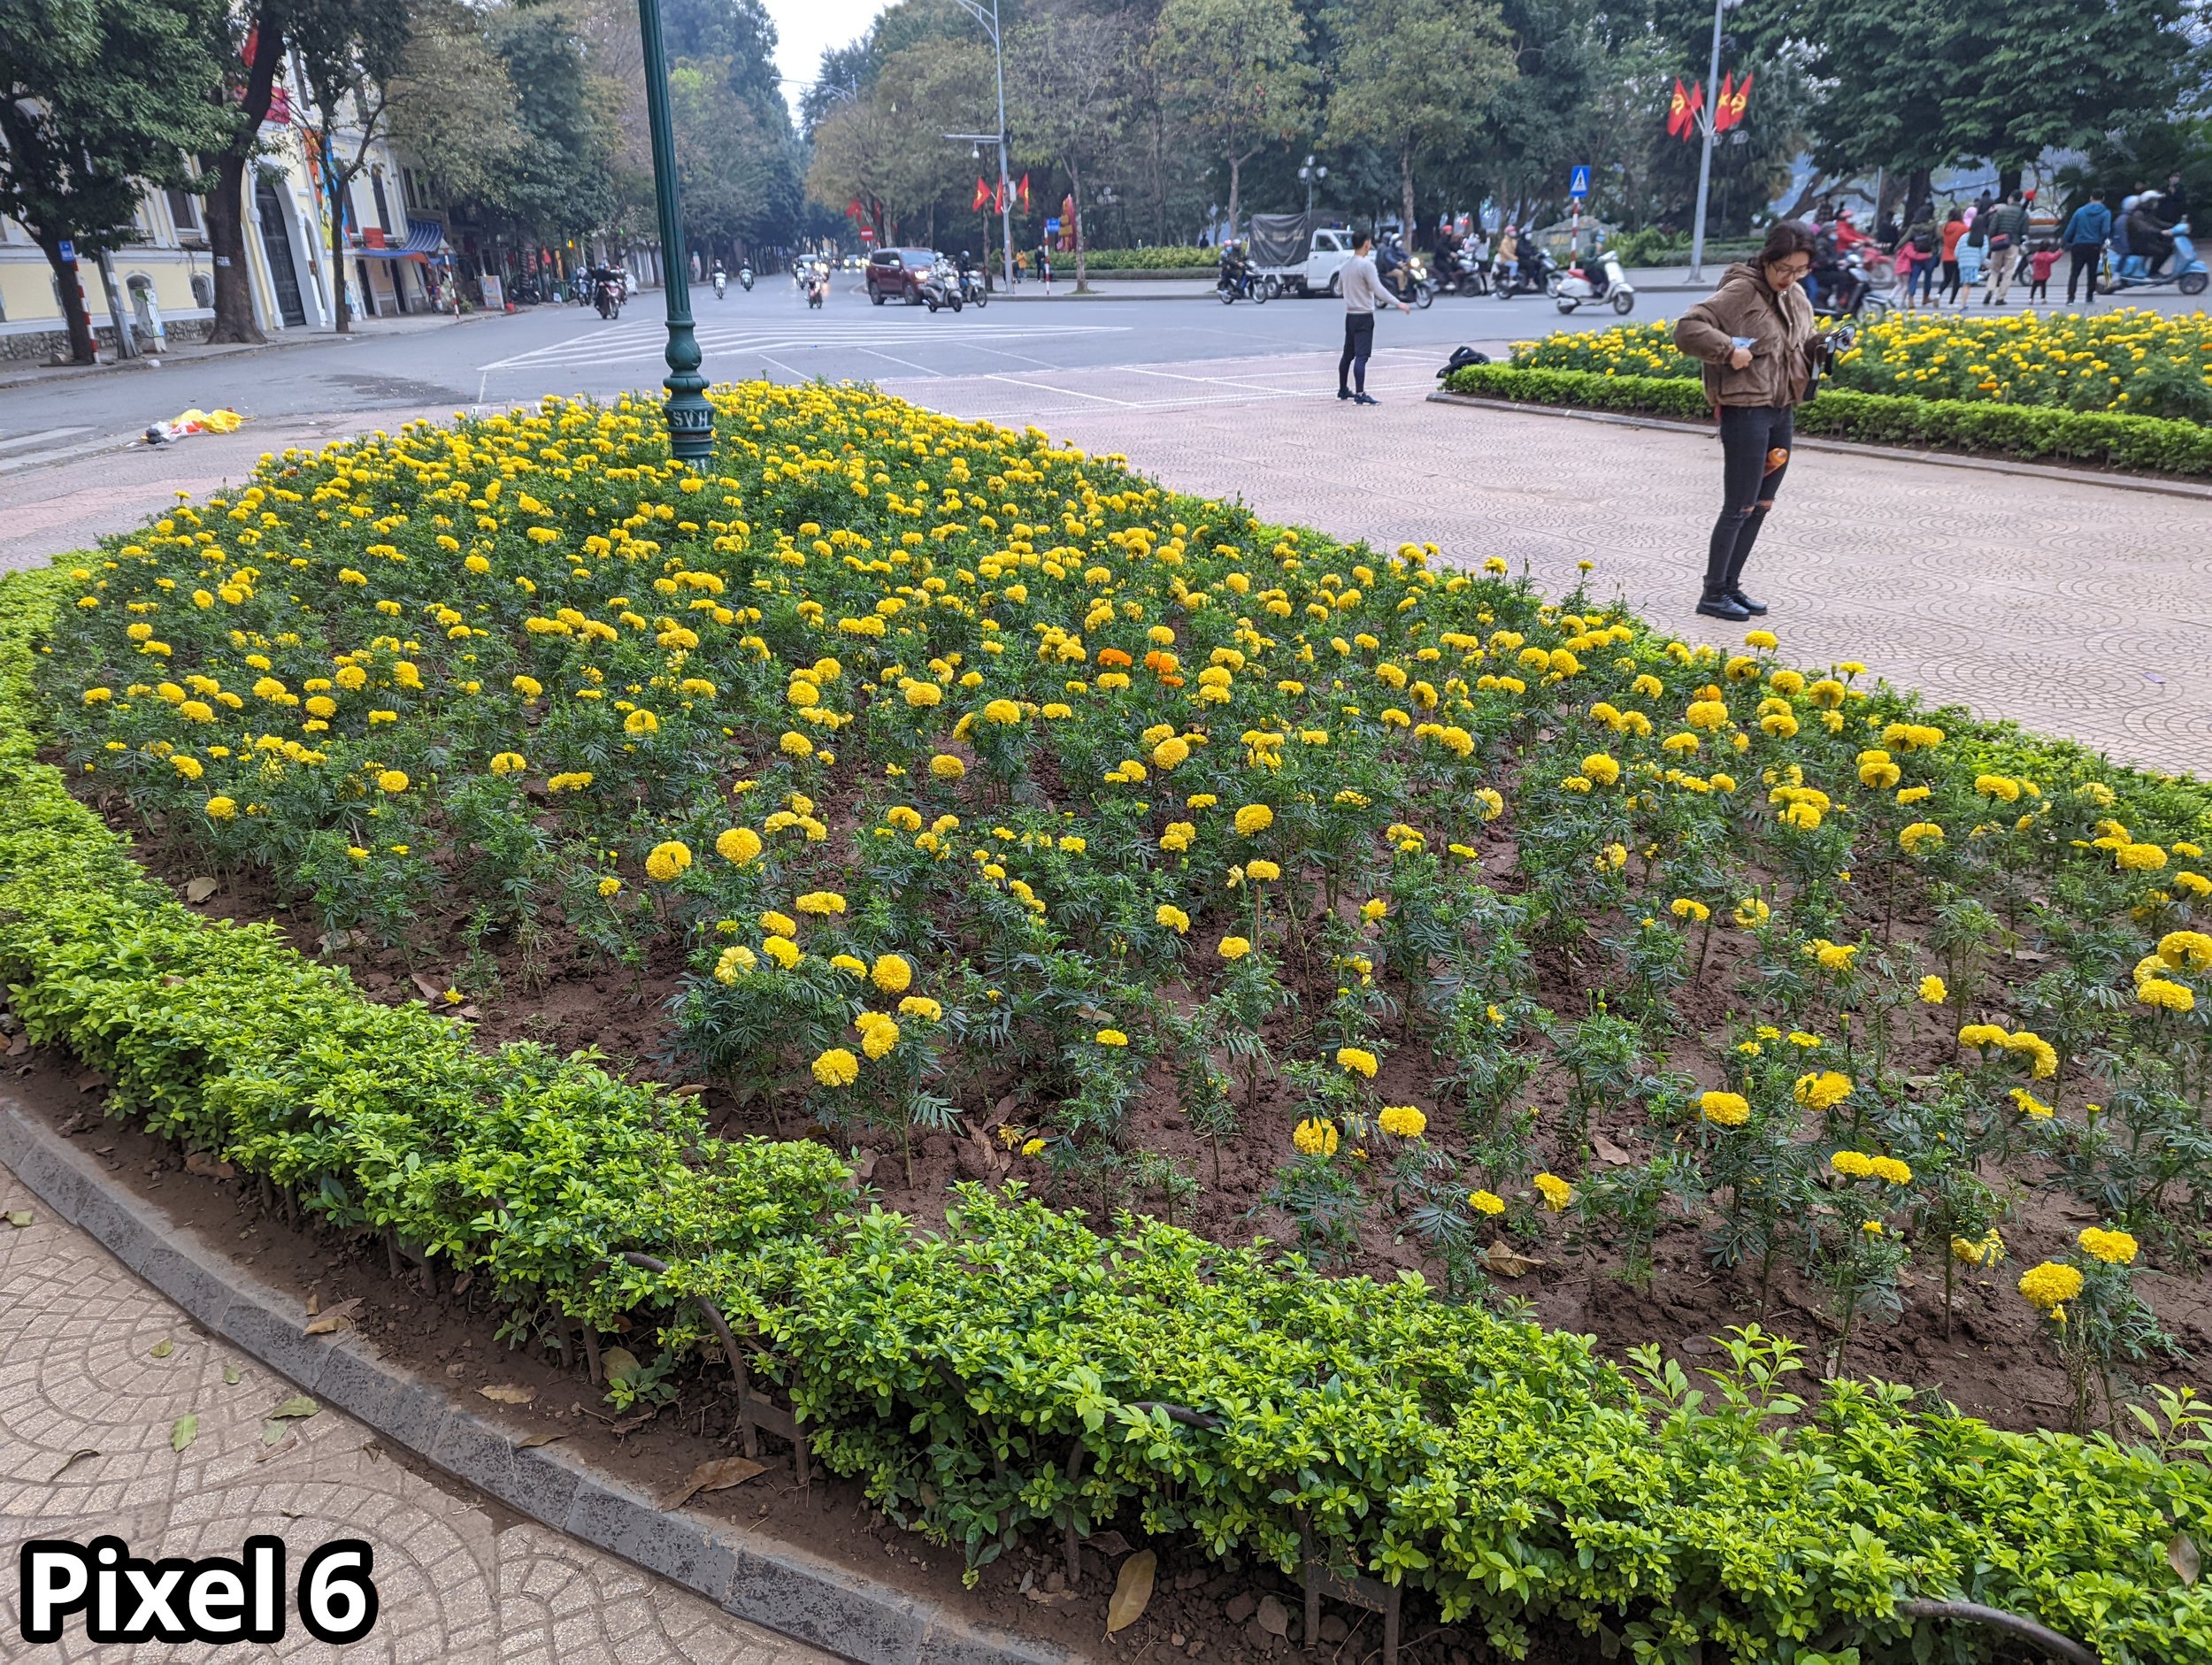
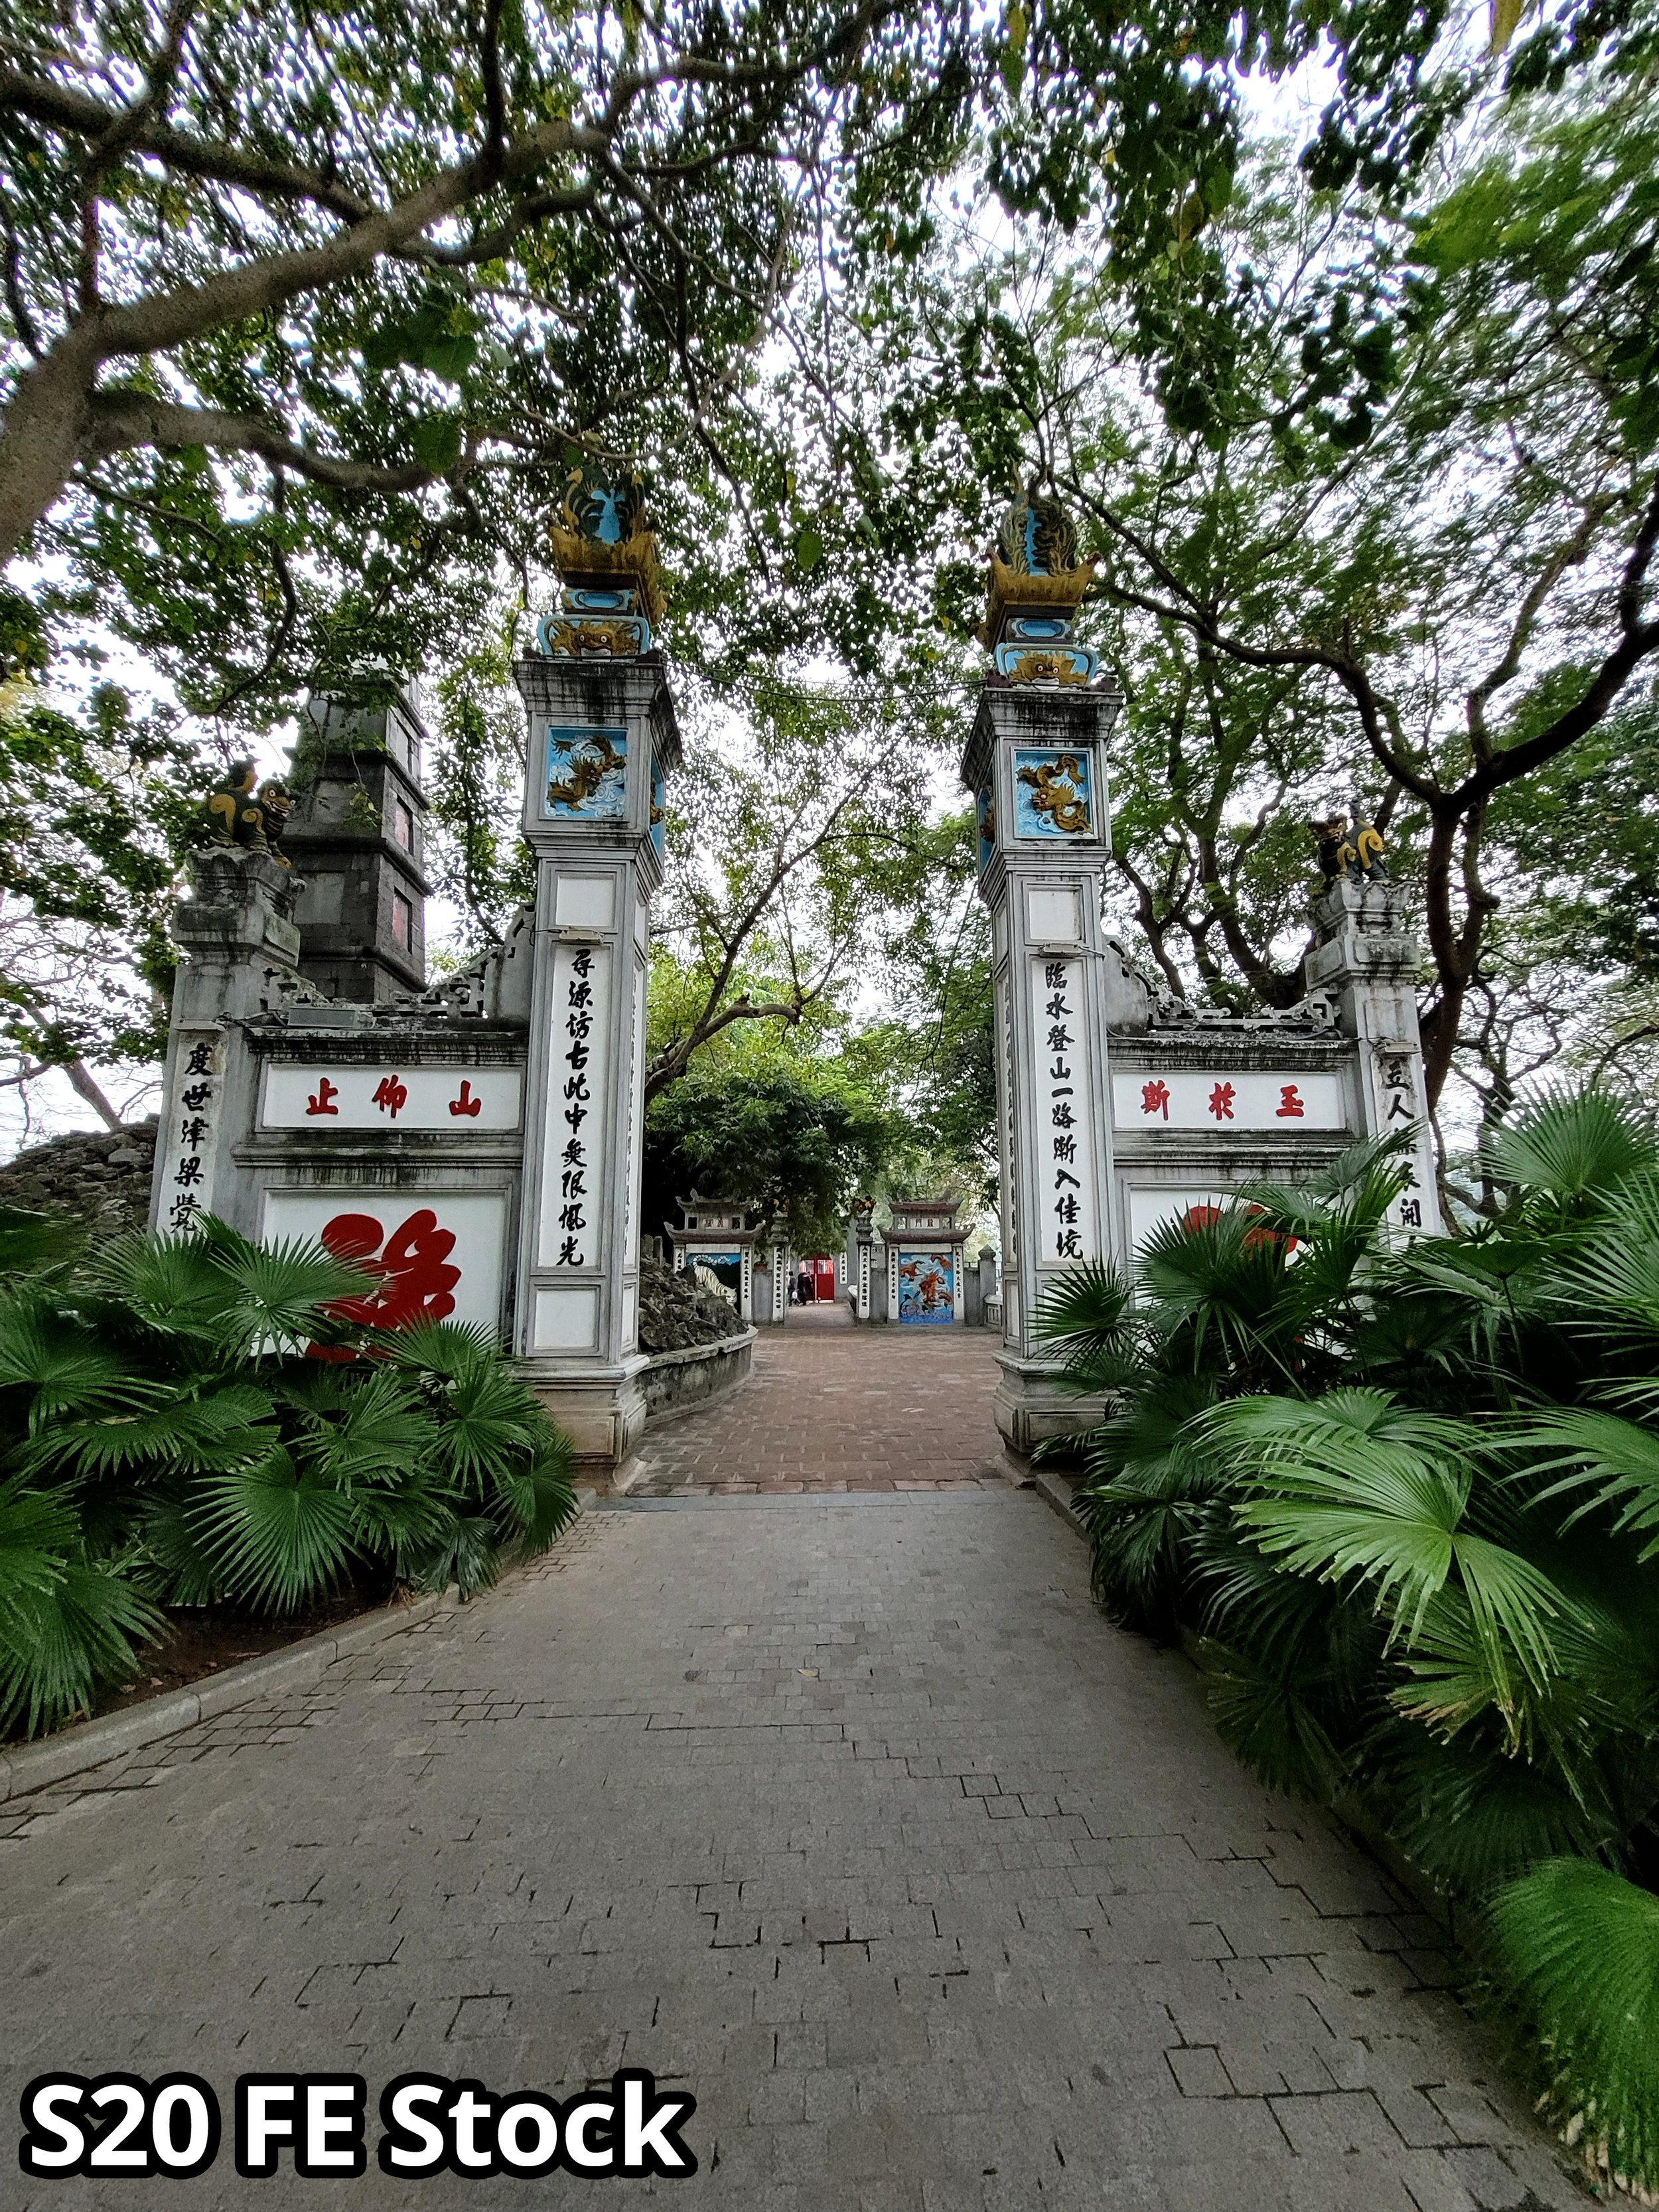
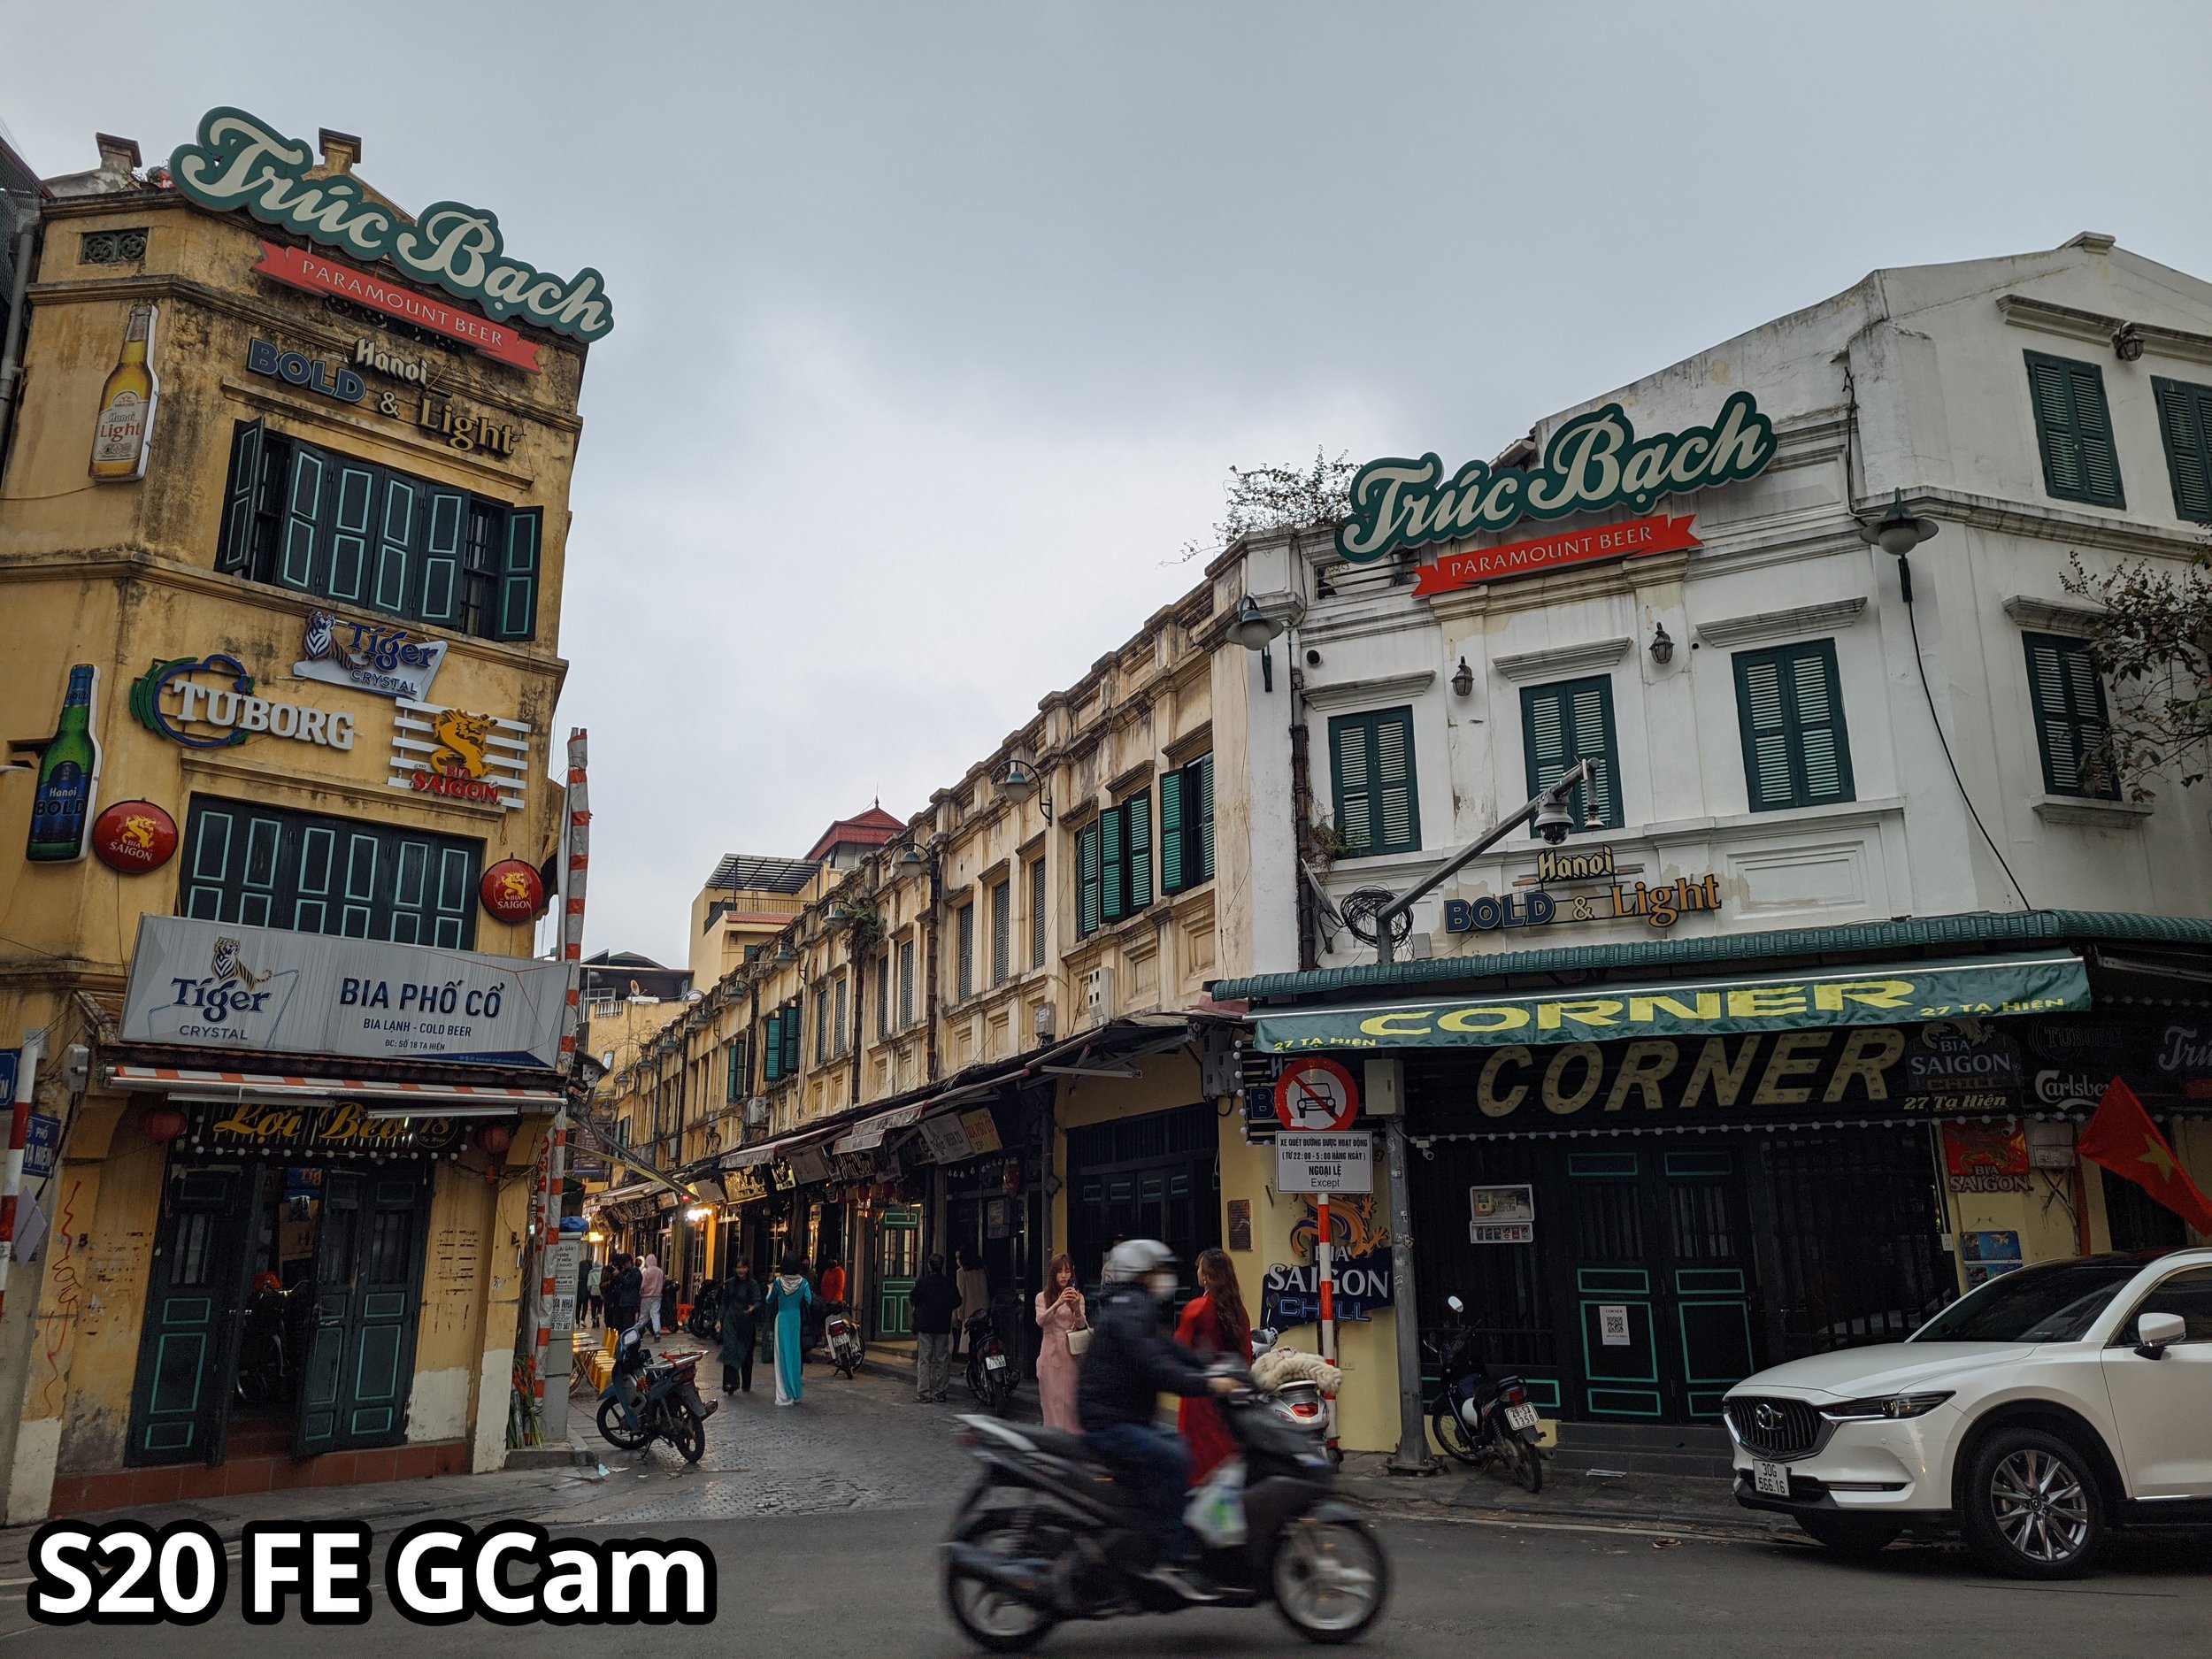
Thoughts & Takeaways
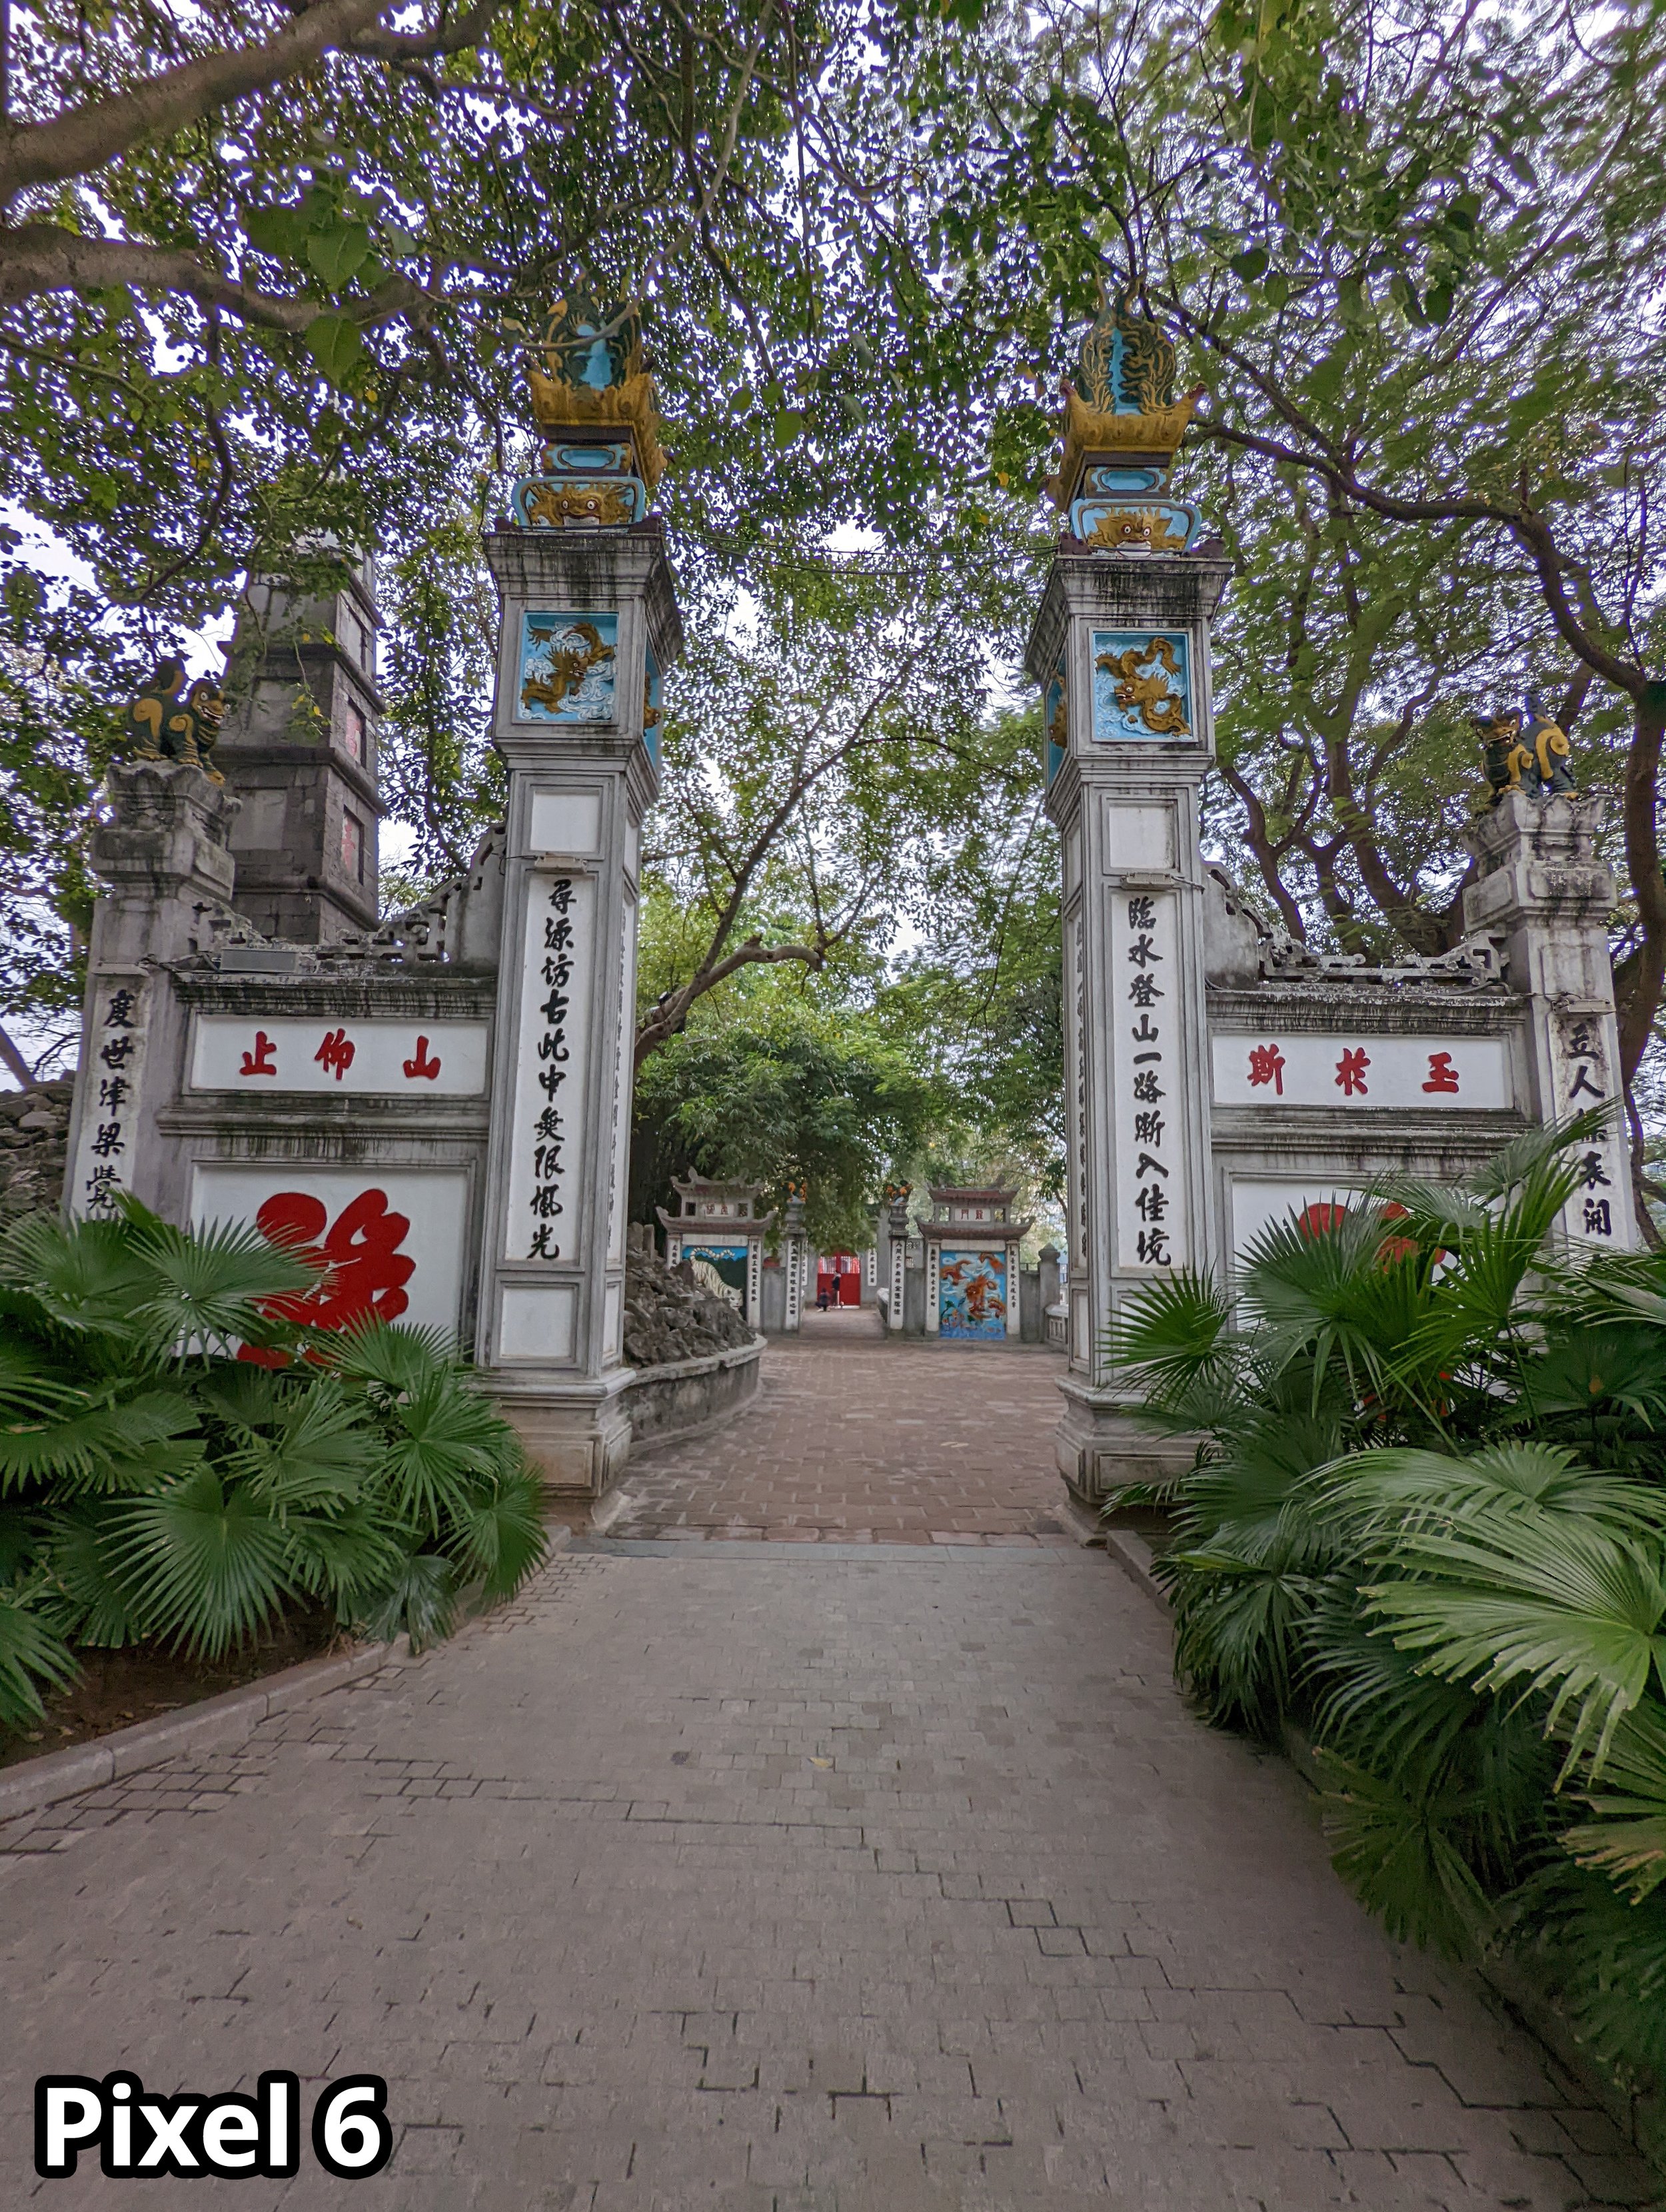
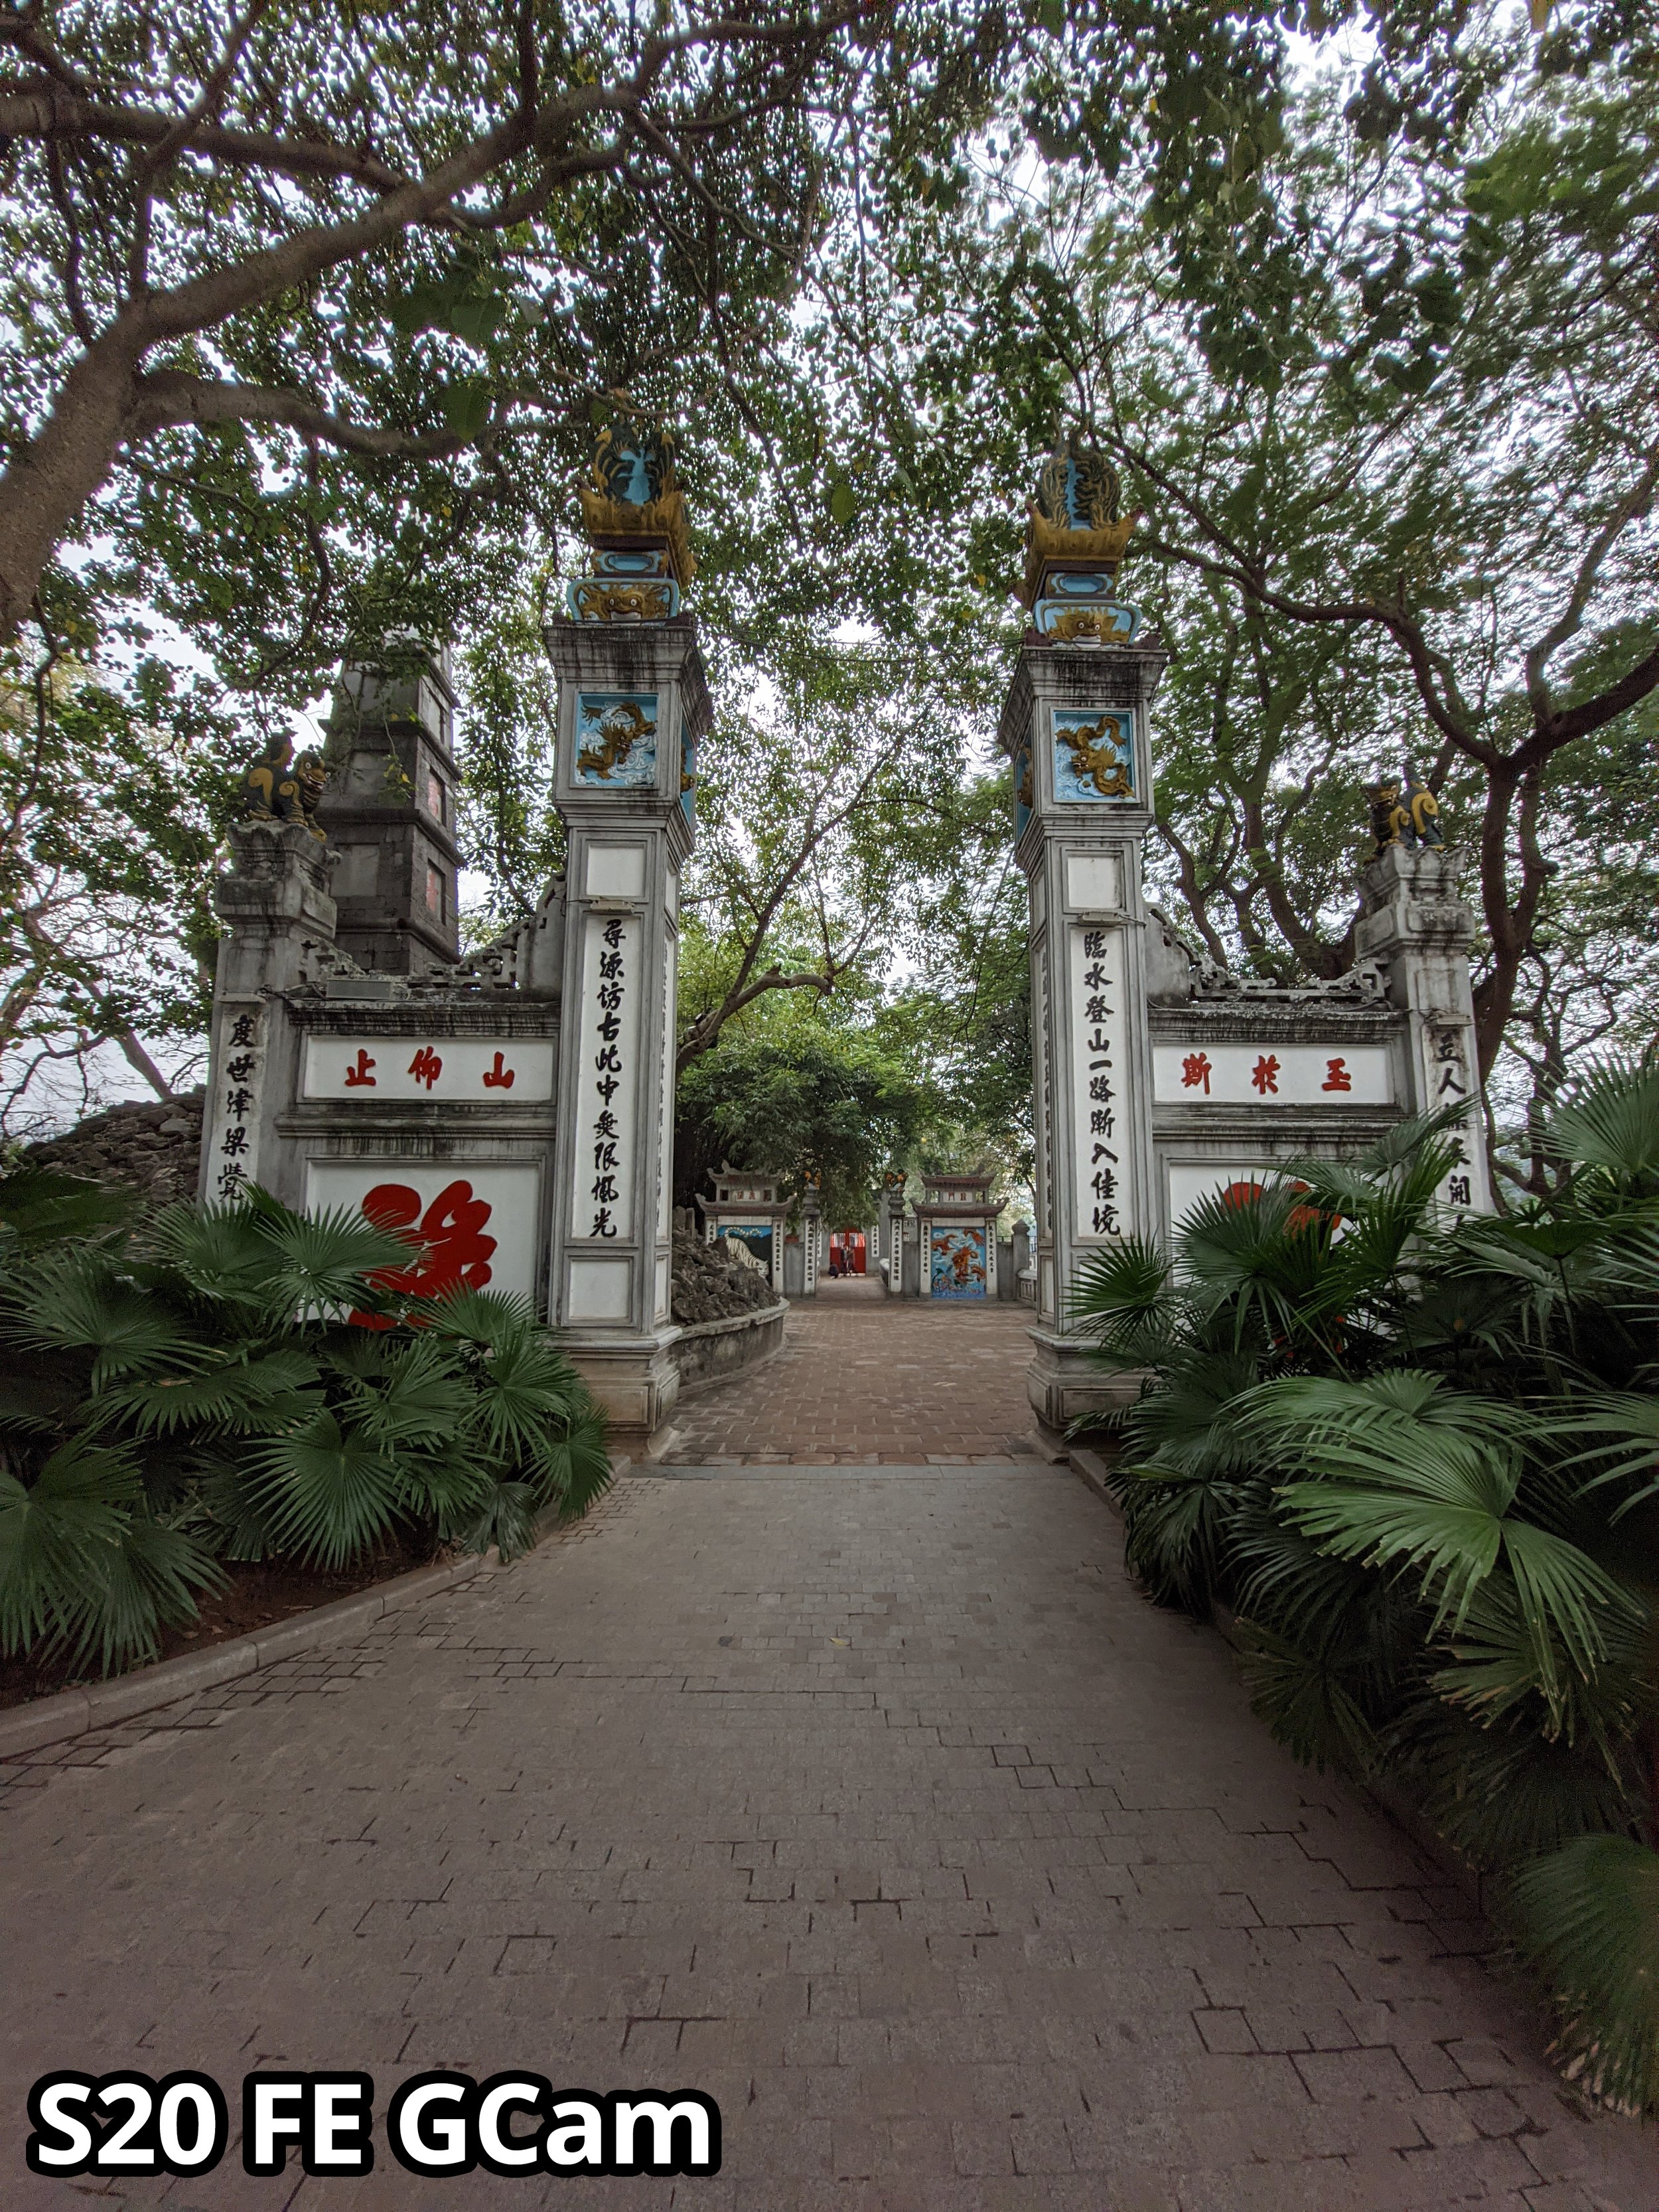
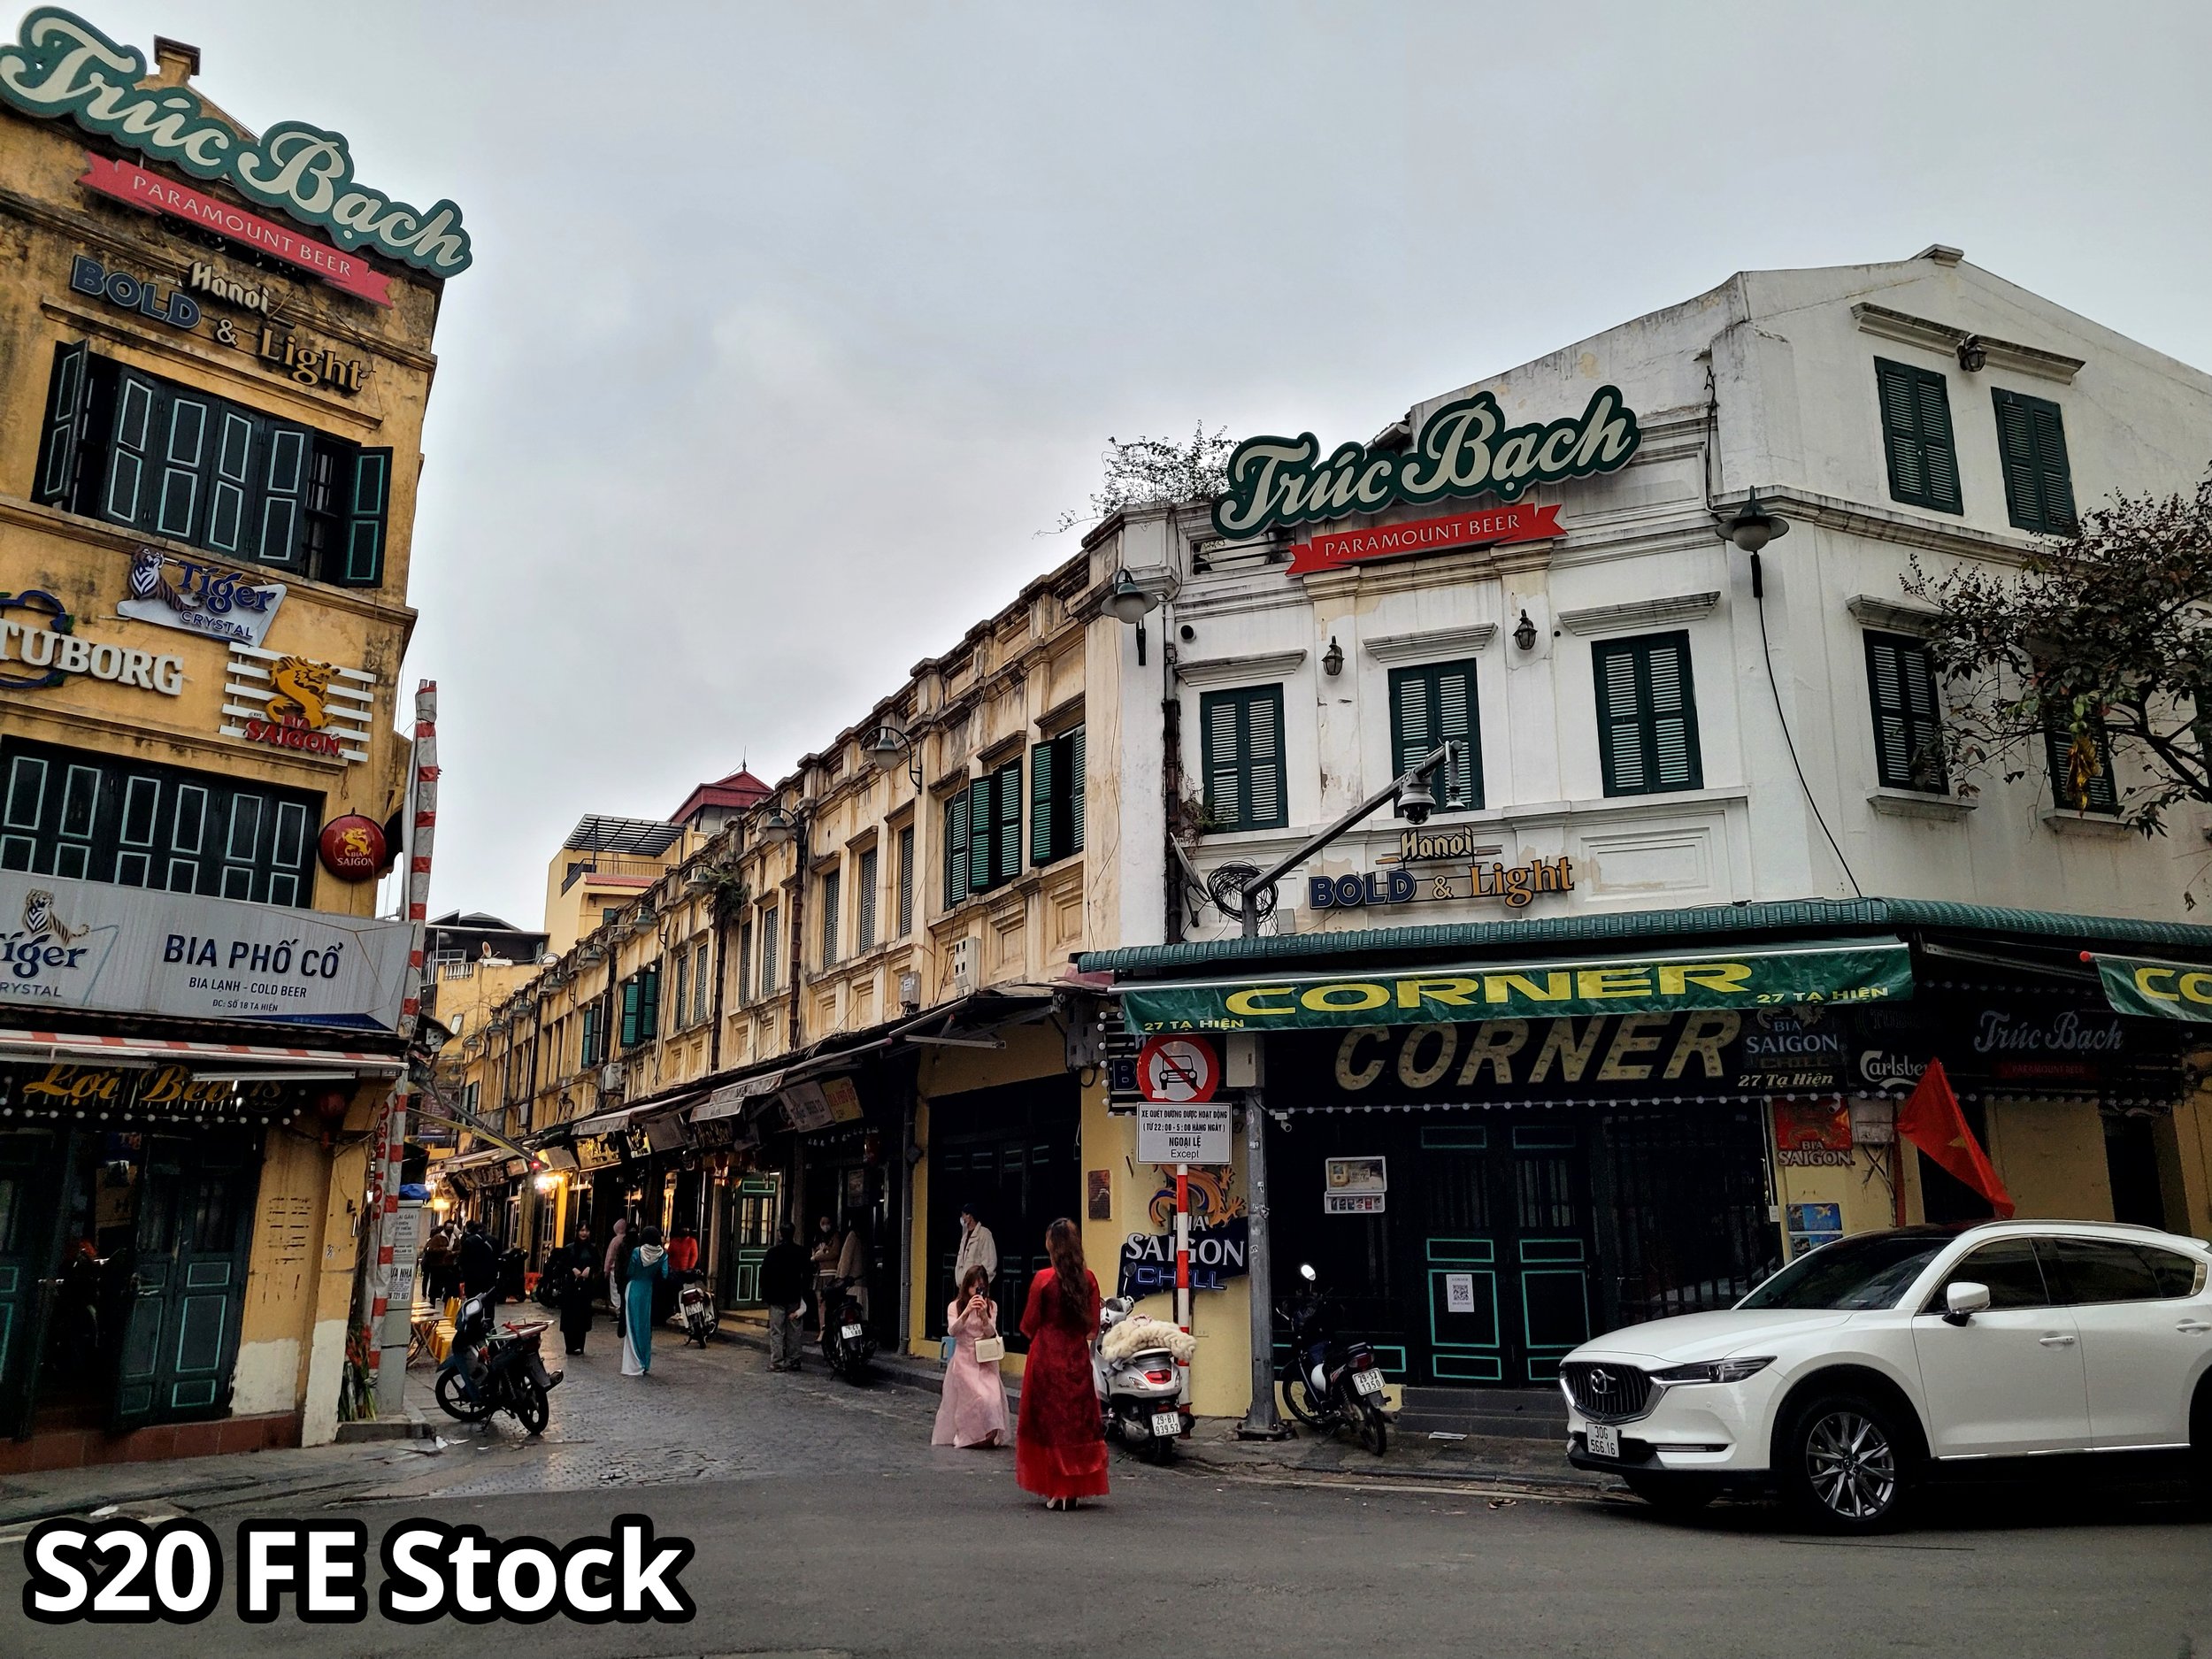
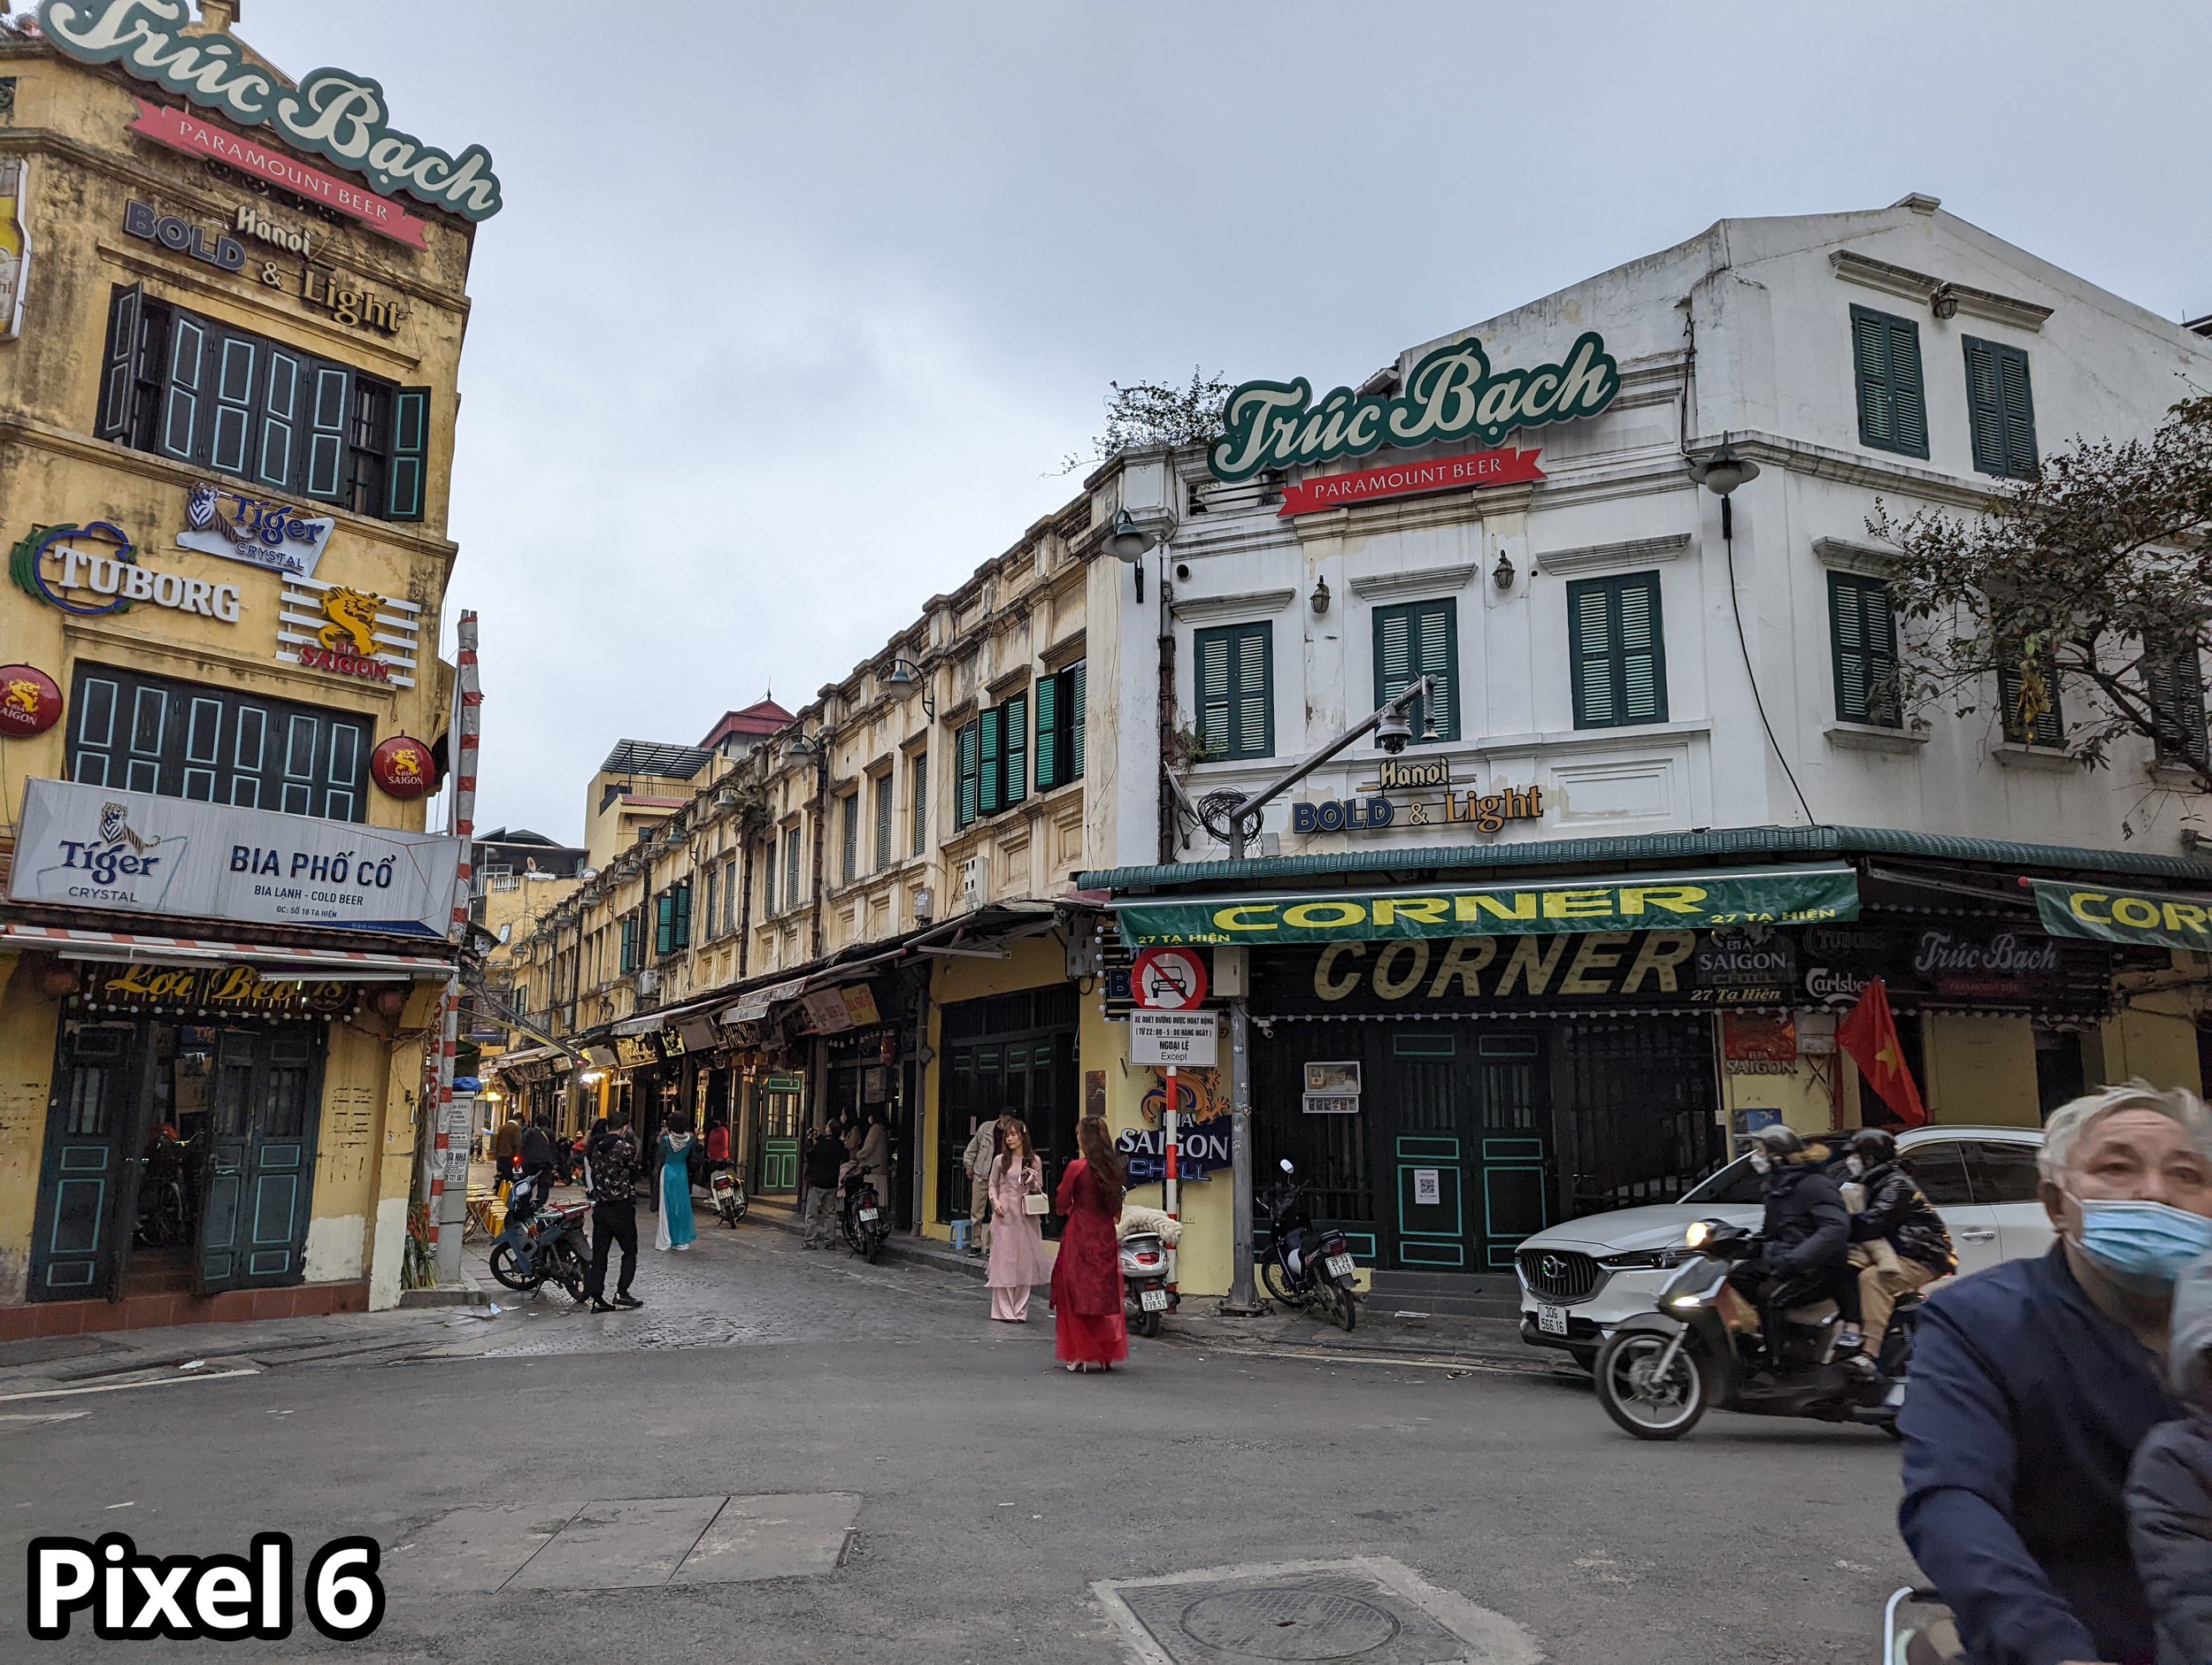
Both of these devices do completely fine during the daytime. Samsung continues the trend of oversaturated photos and Google continues to give us an over HDR effect. For daylight photos GCam on the S20 FE does just as well as the Pixel 6 and personal preference is the deciding factor.
Lowlight Without Nightmode
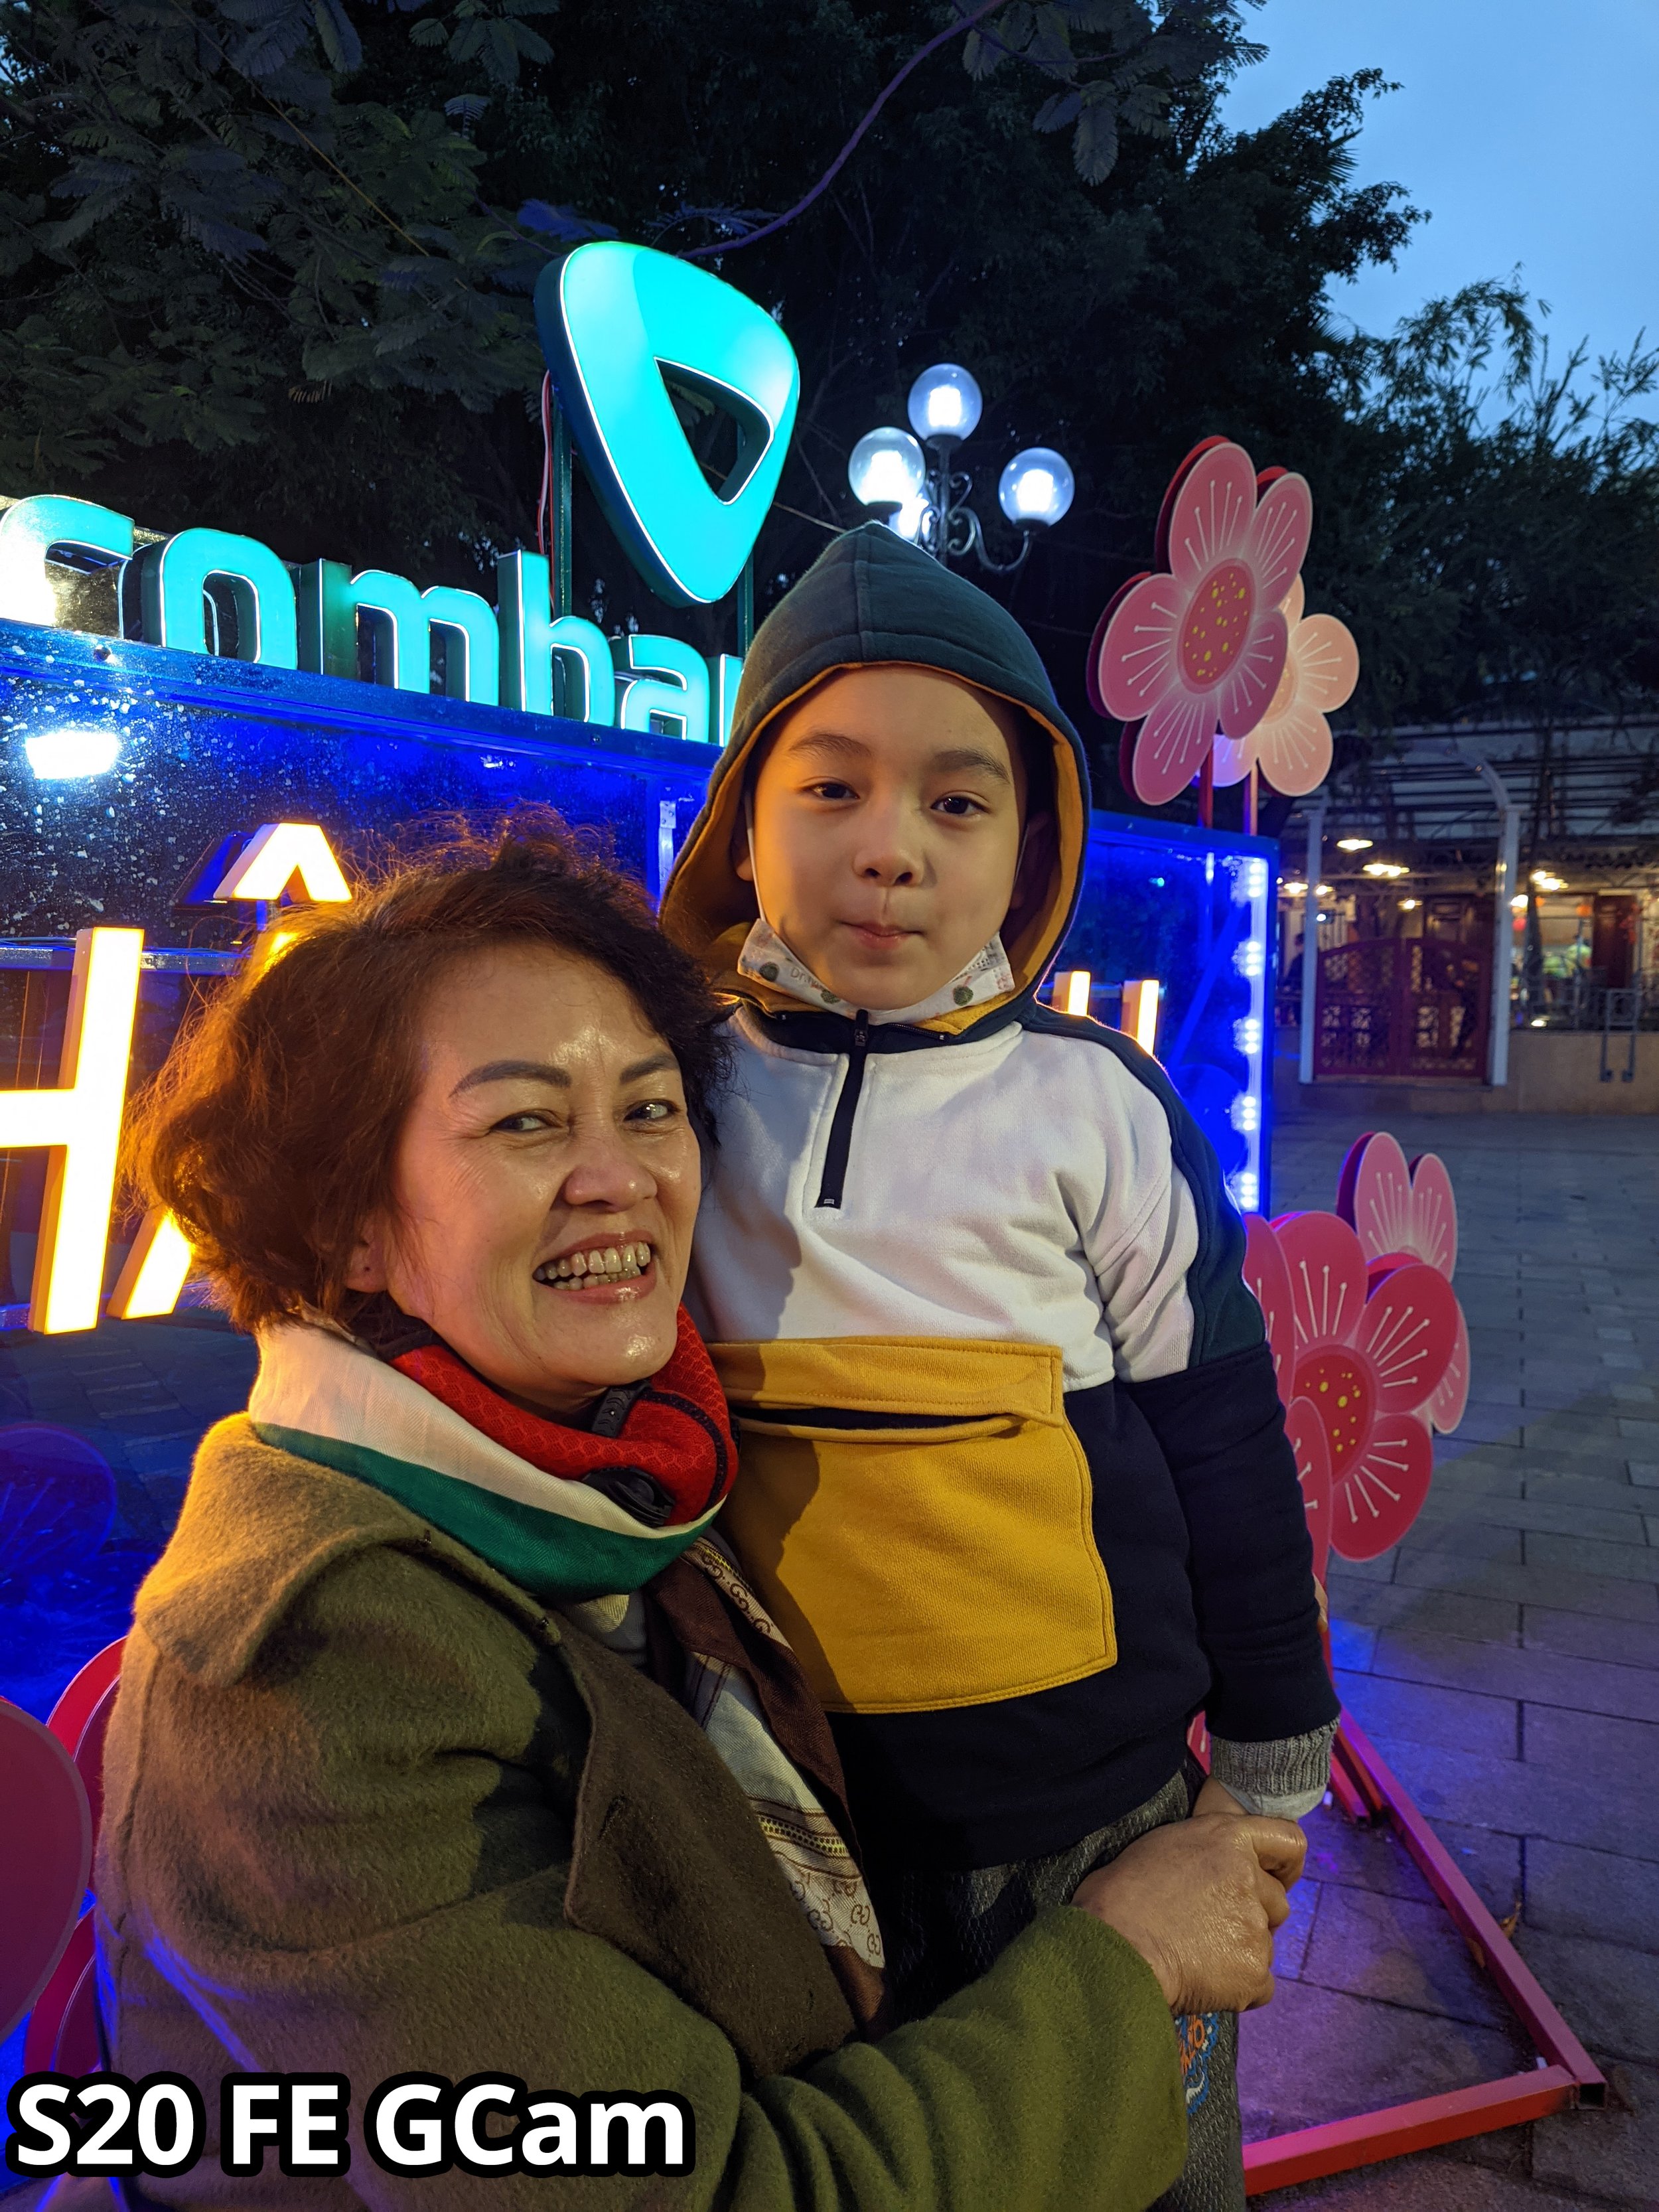
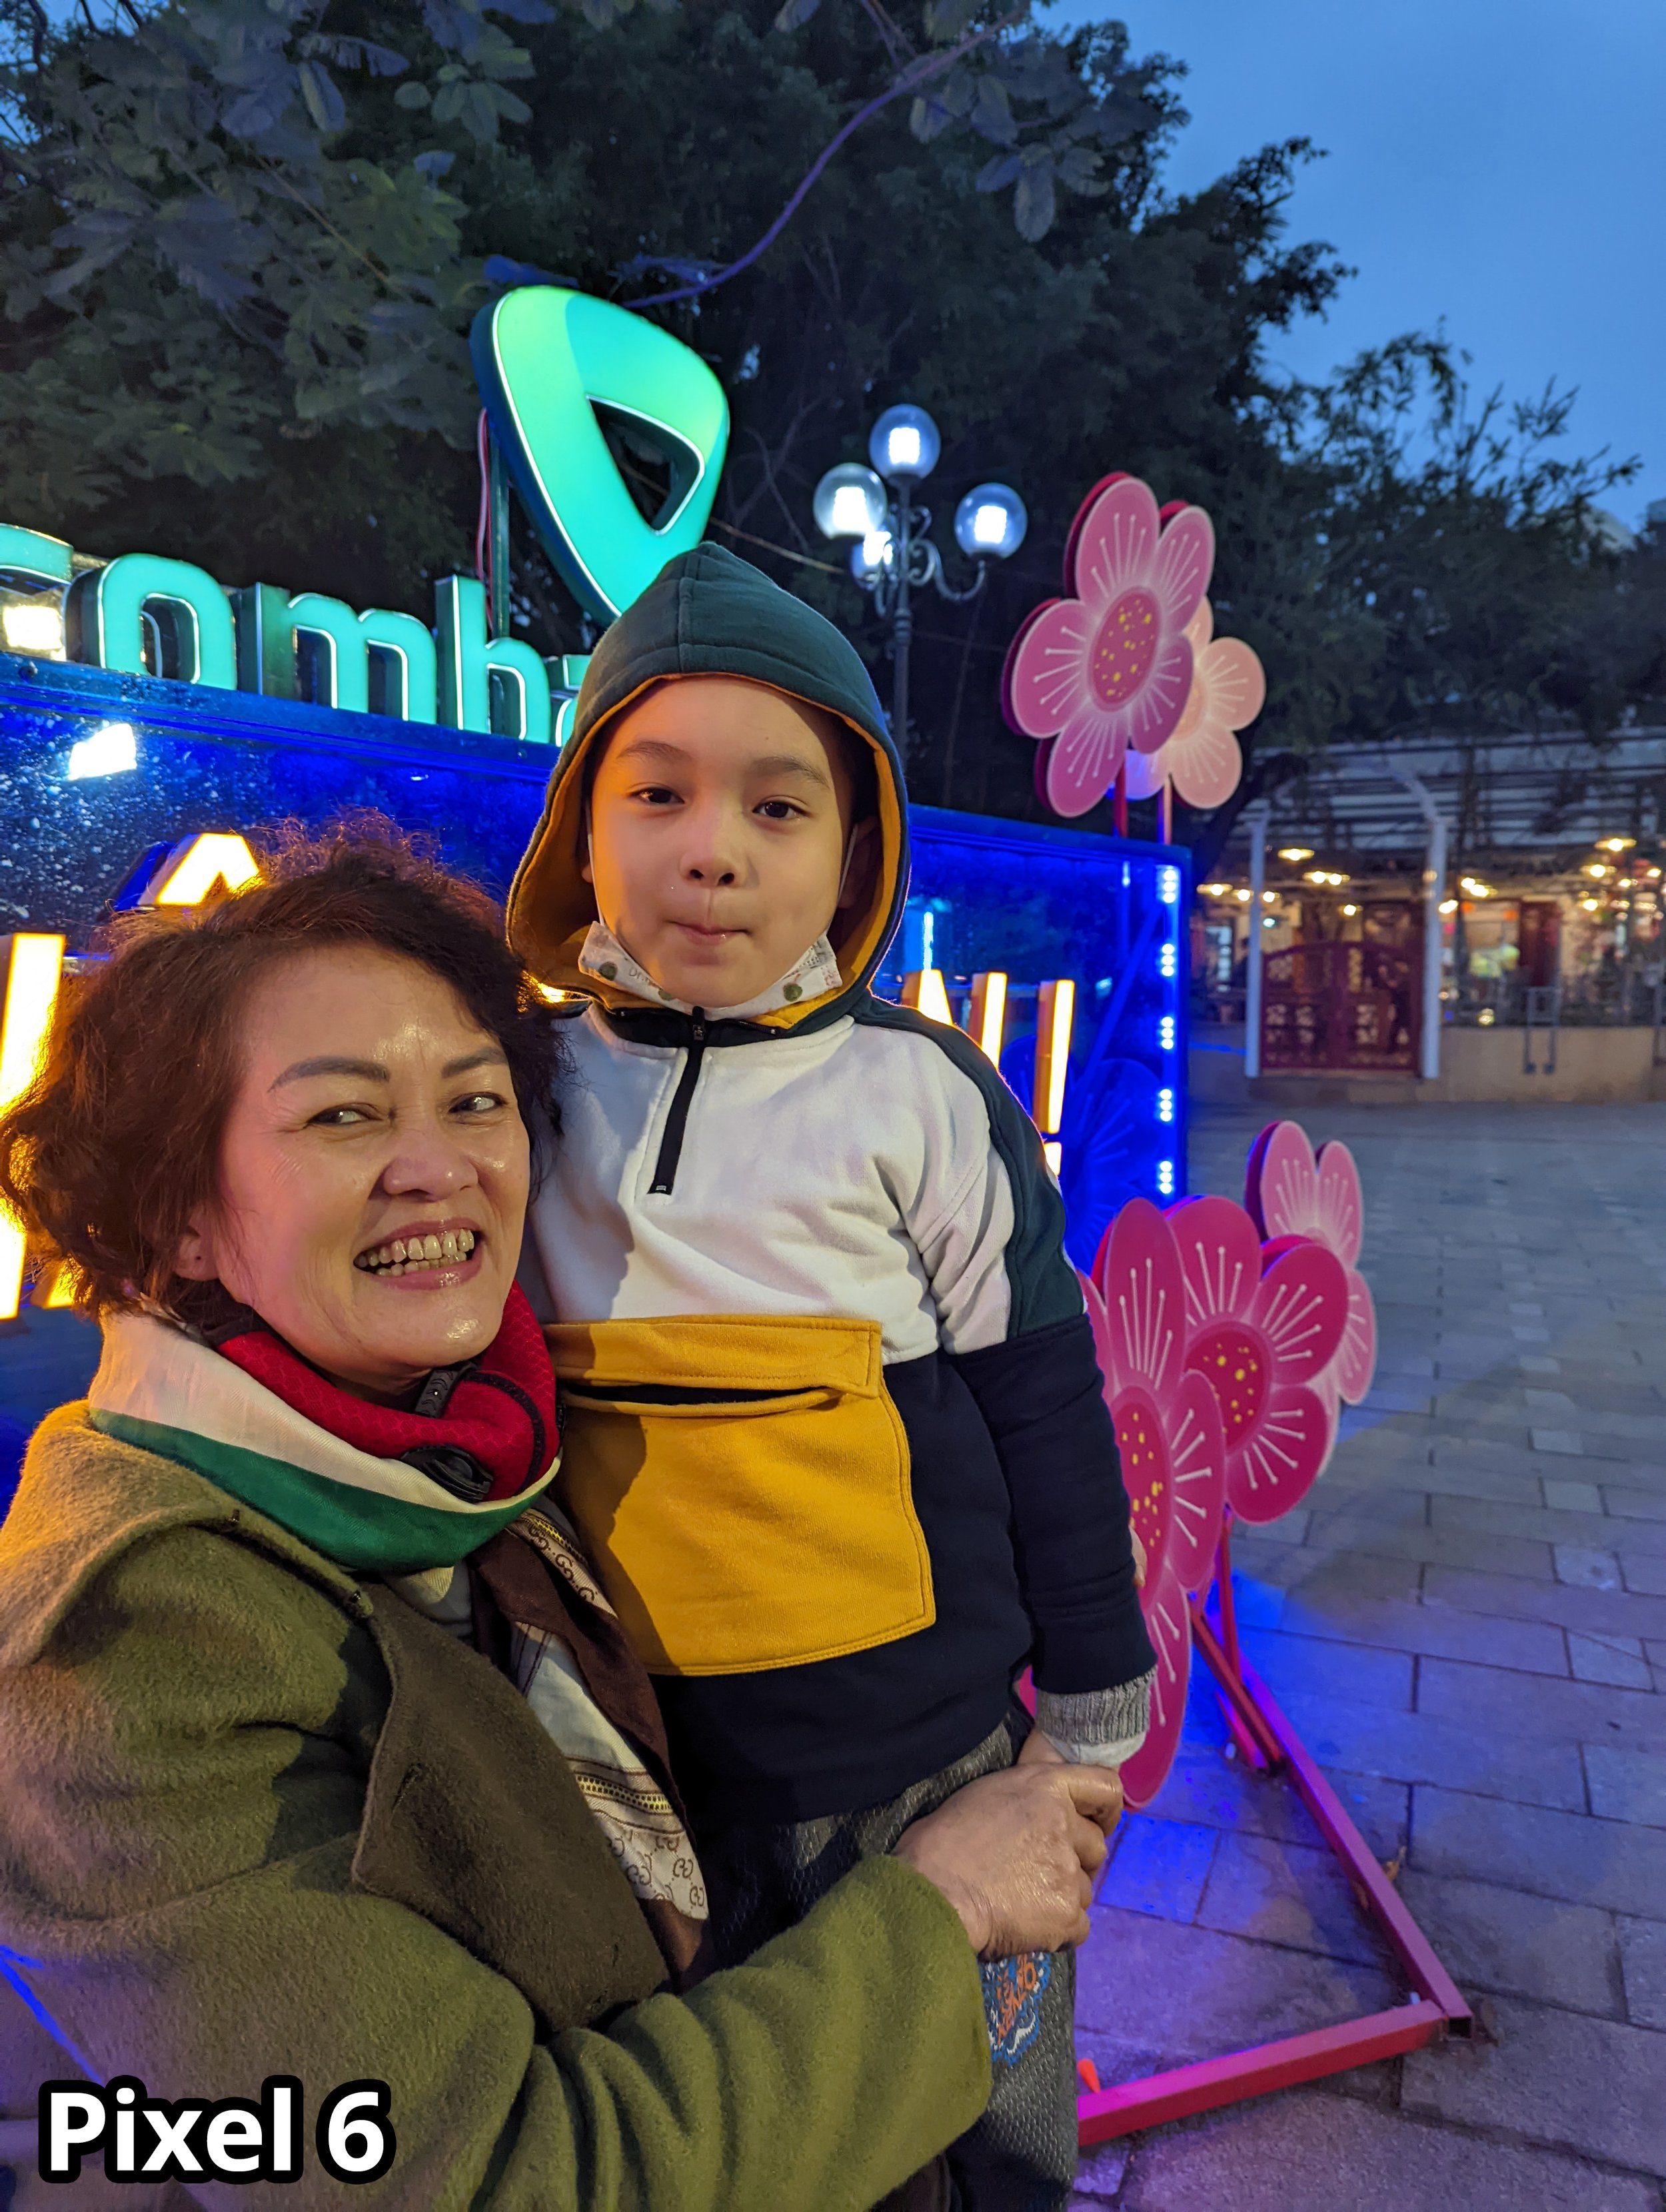
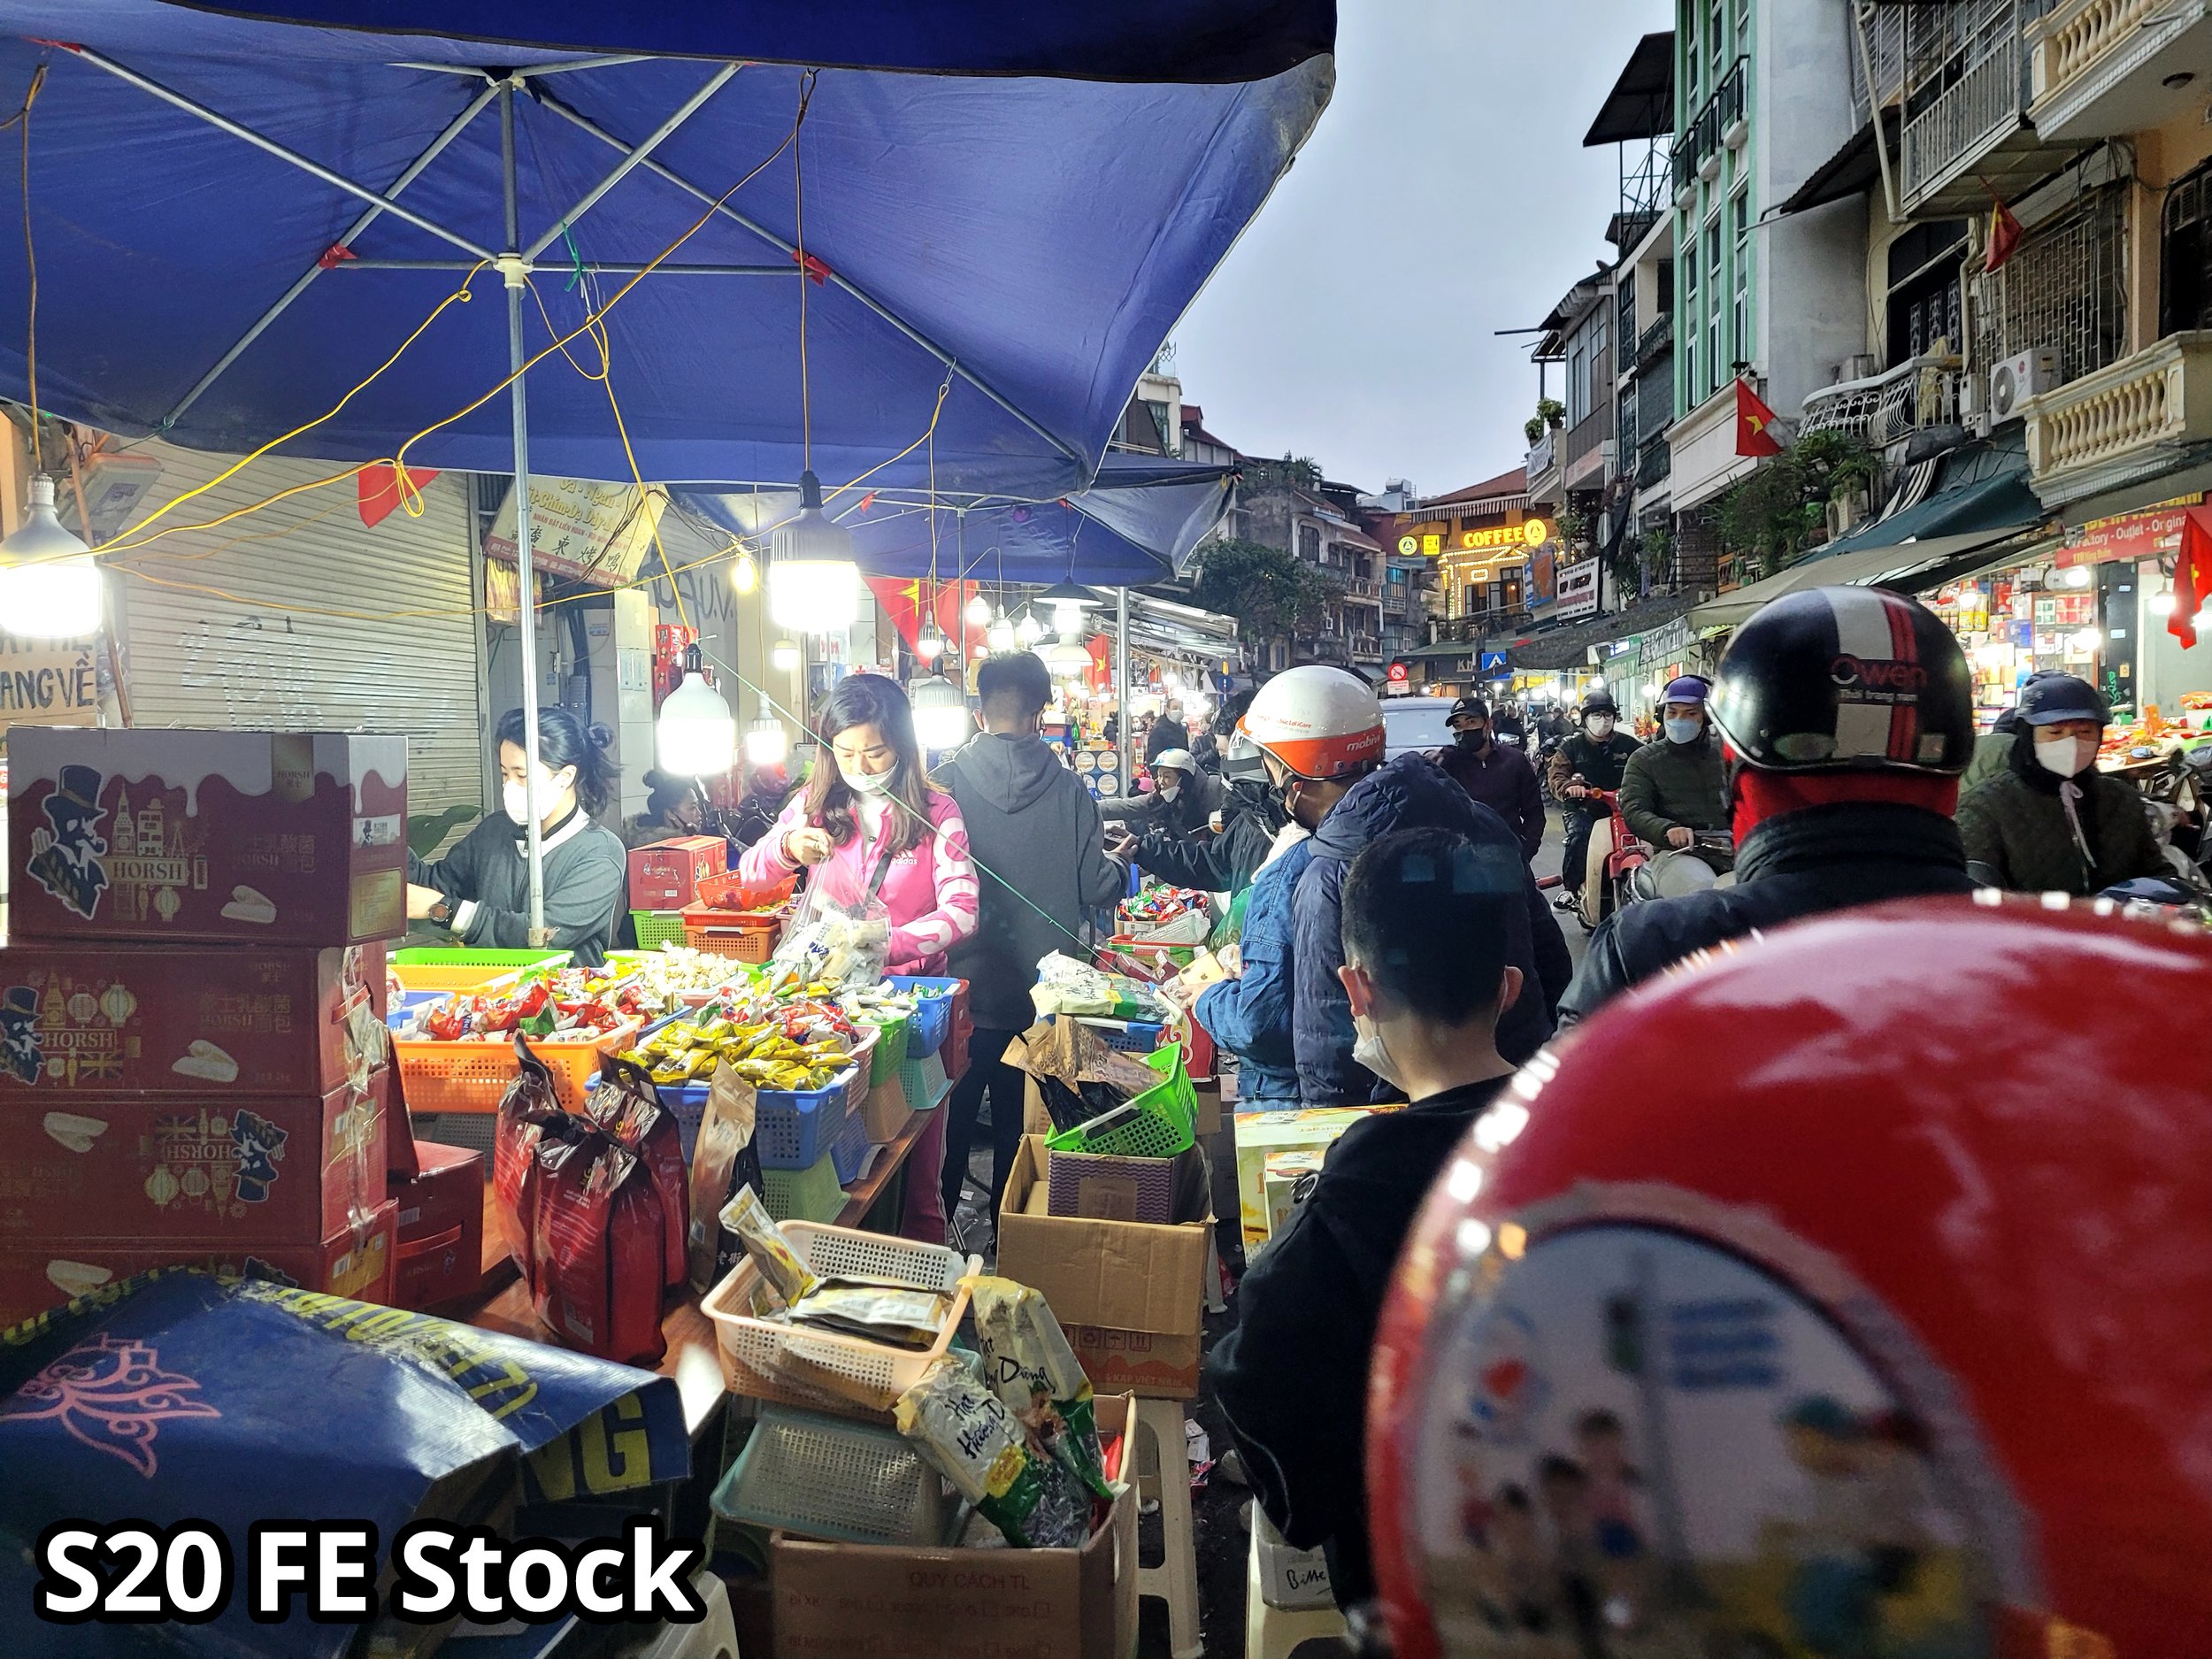
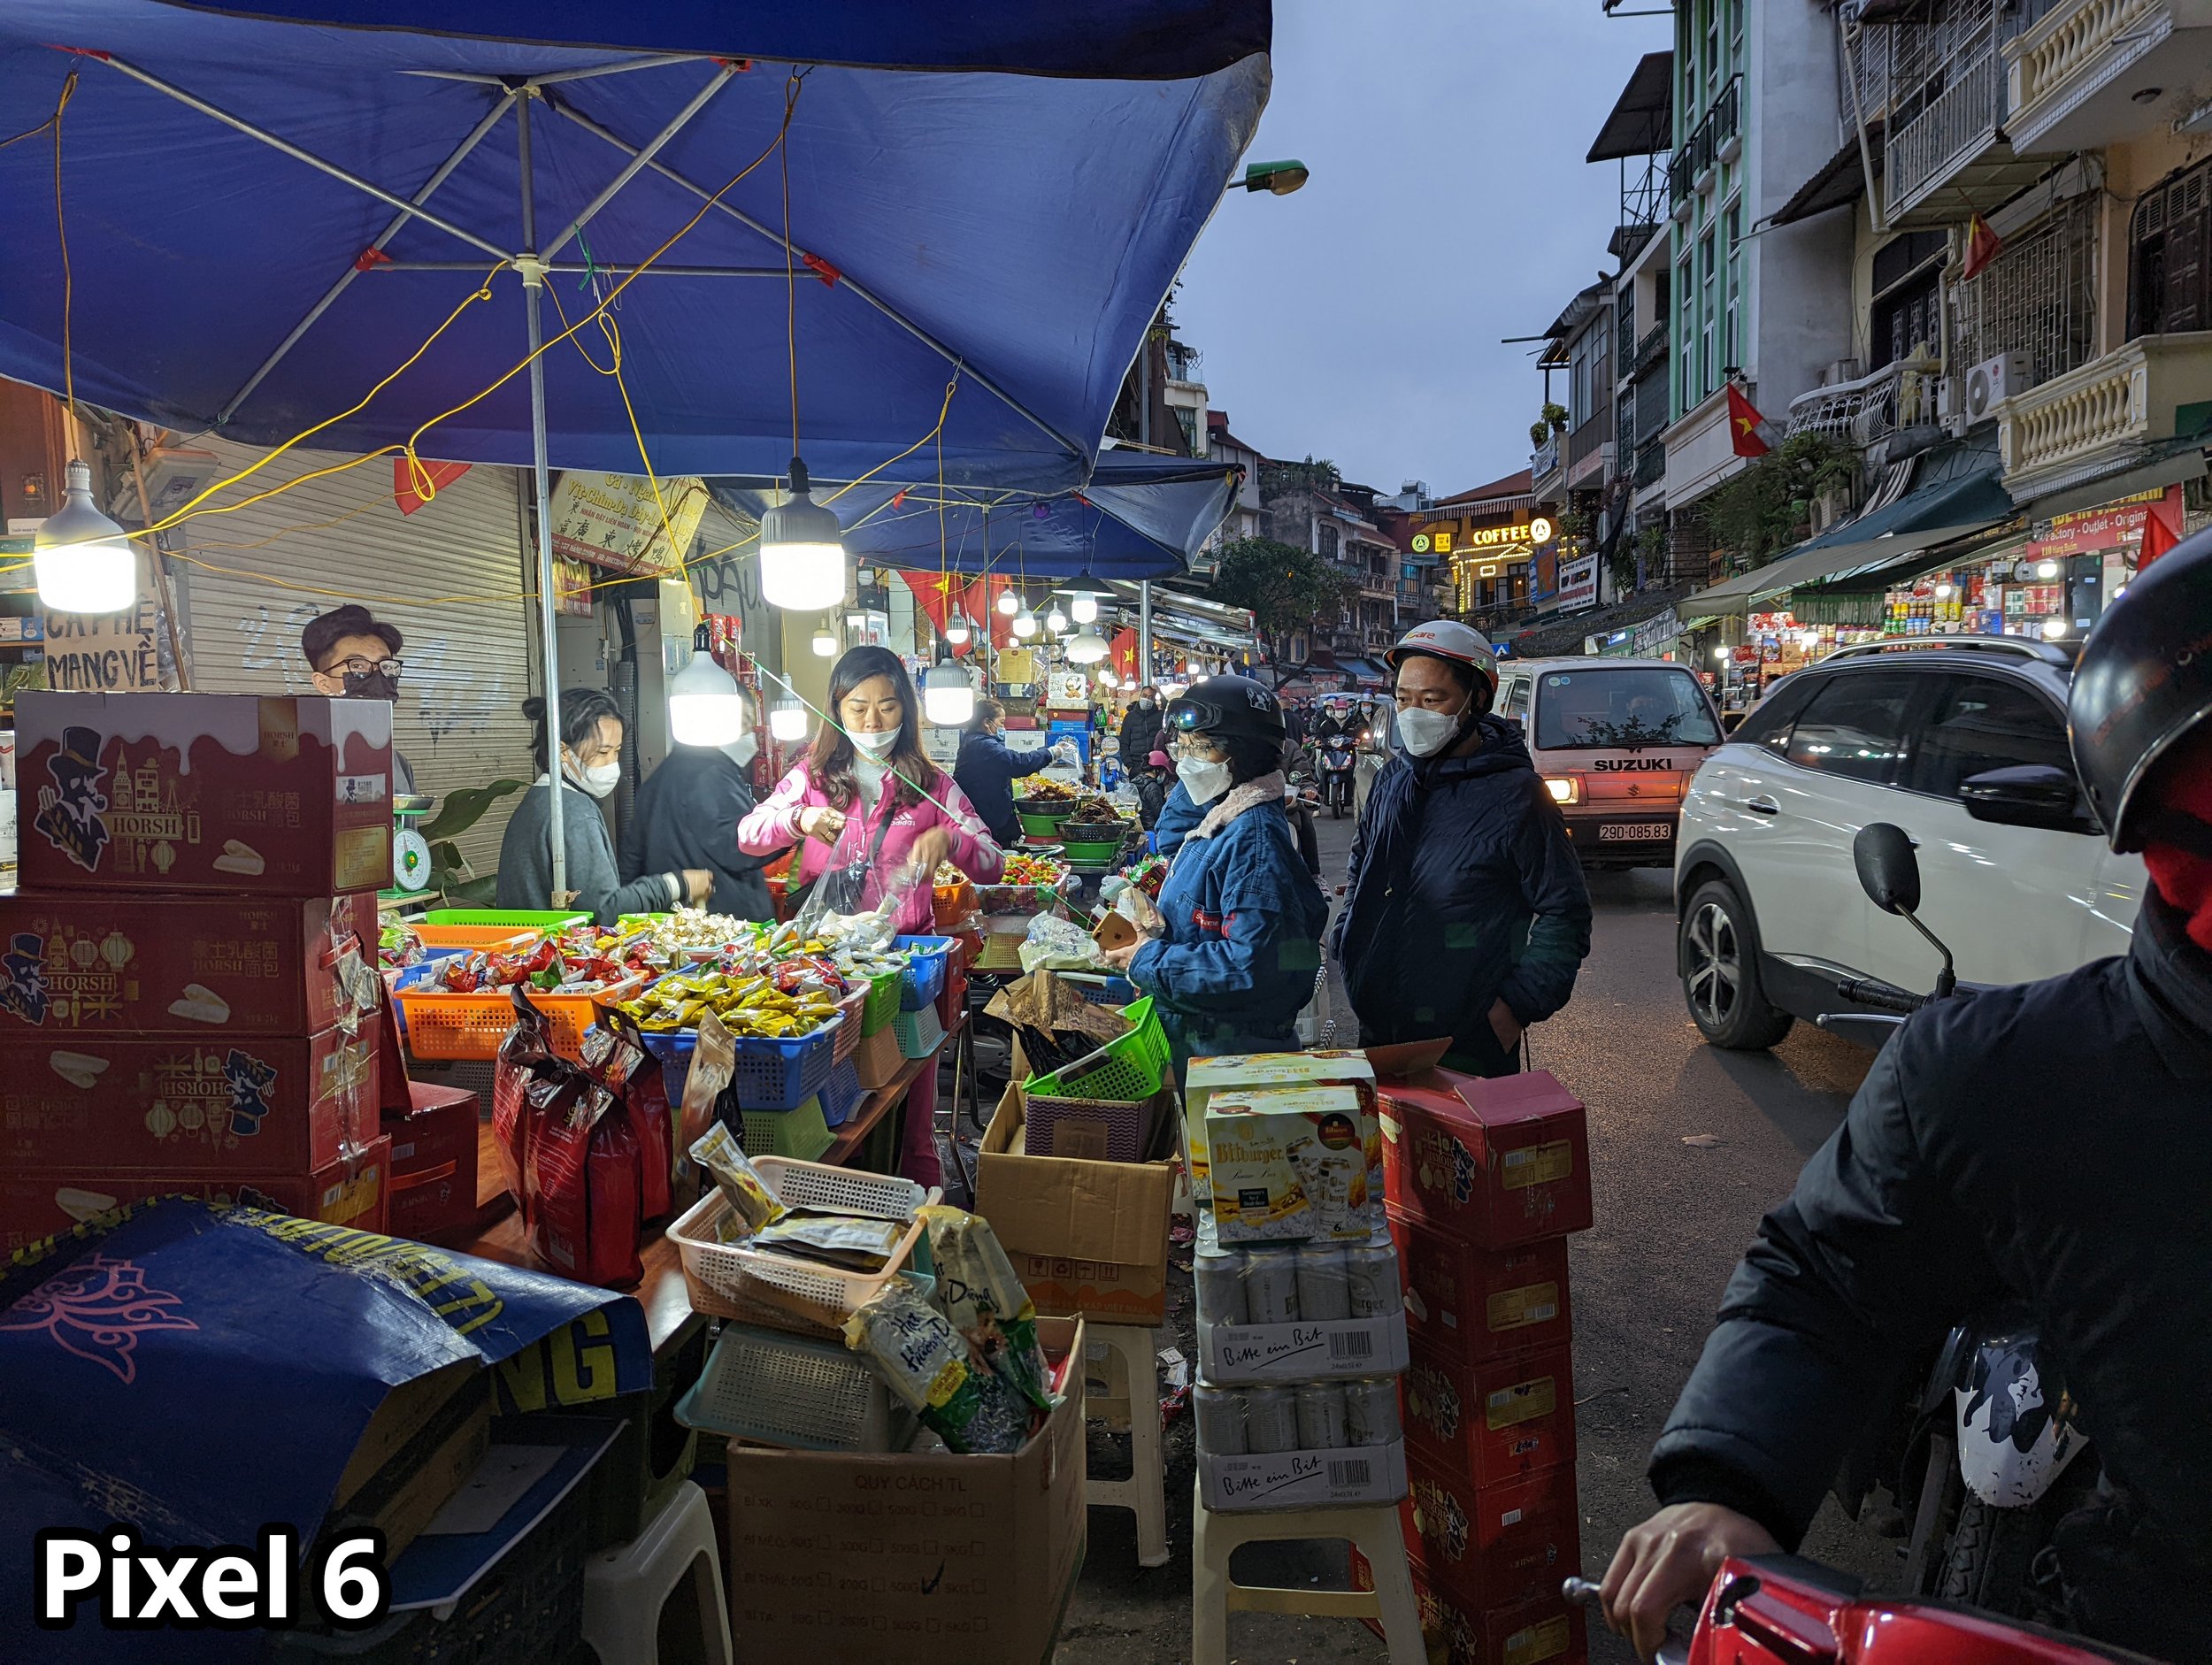
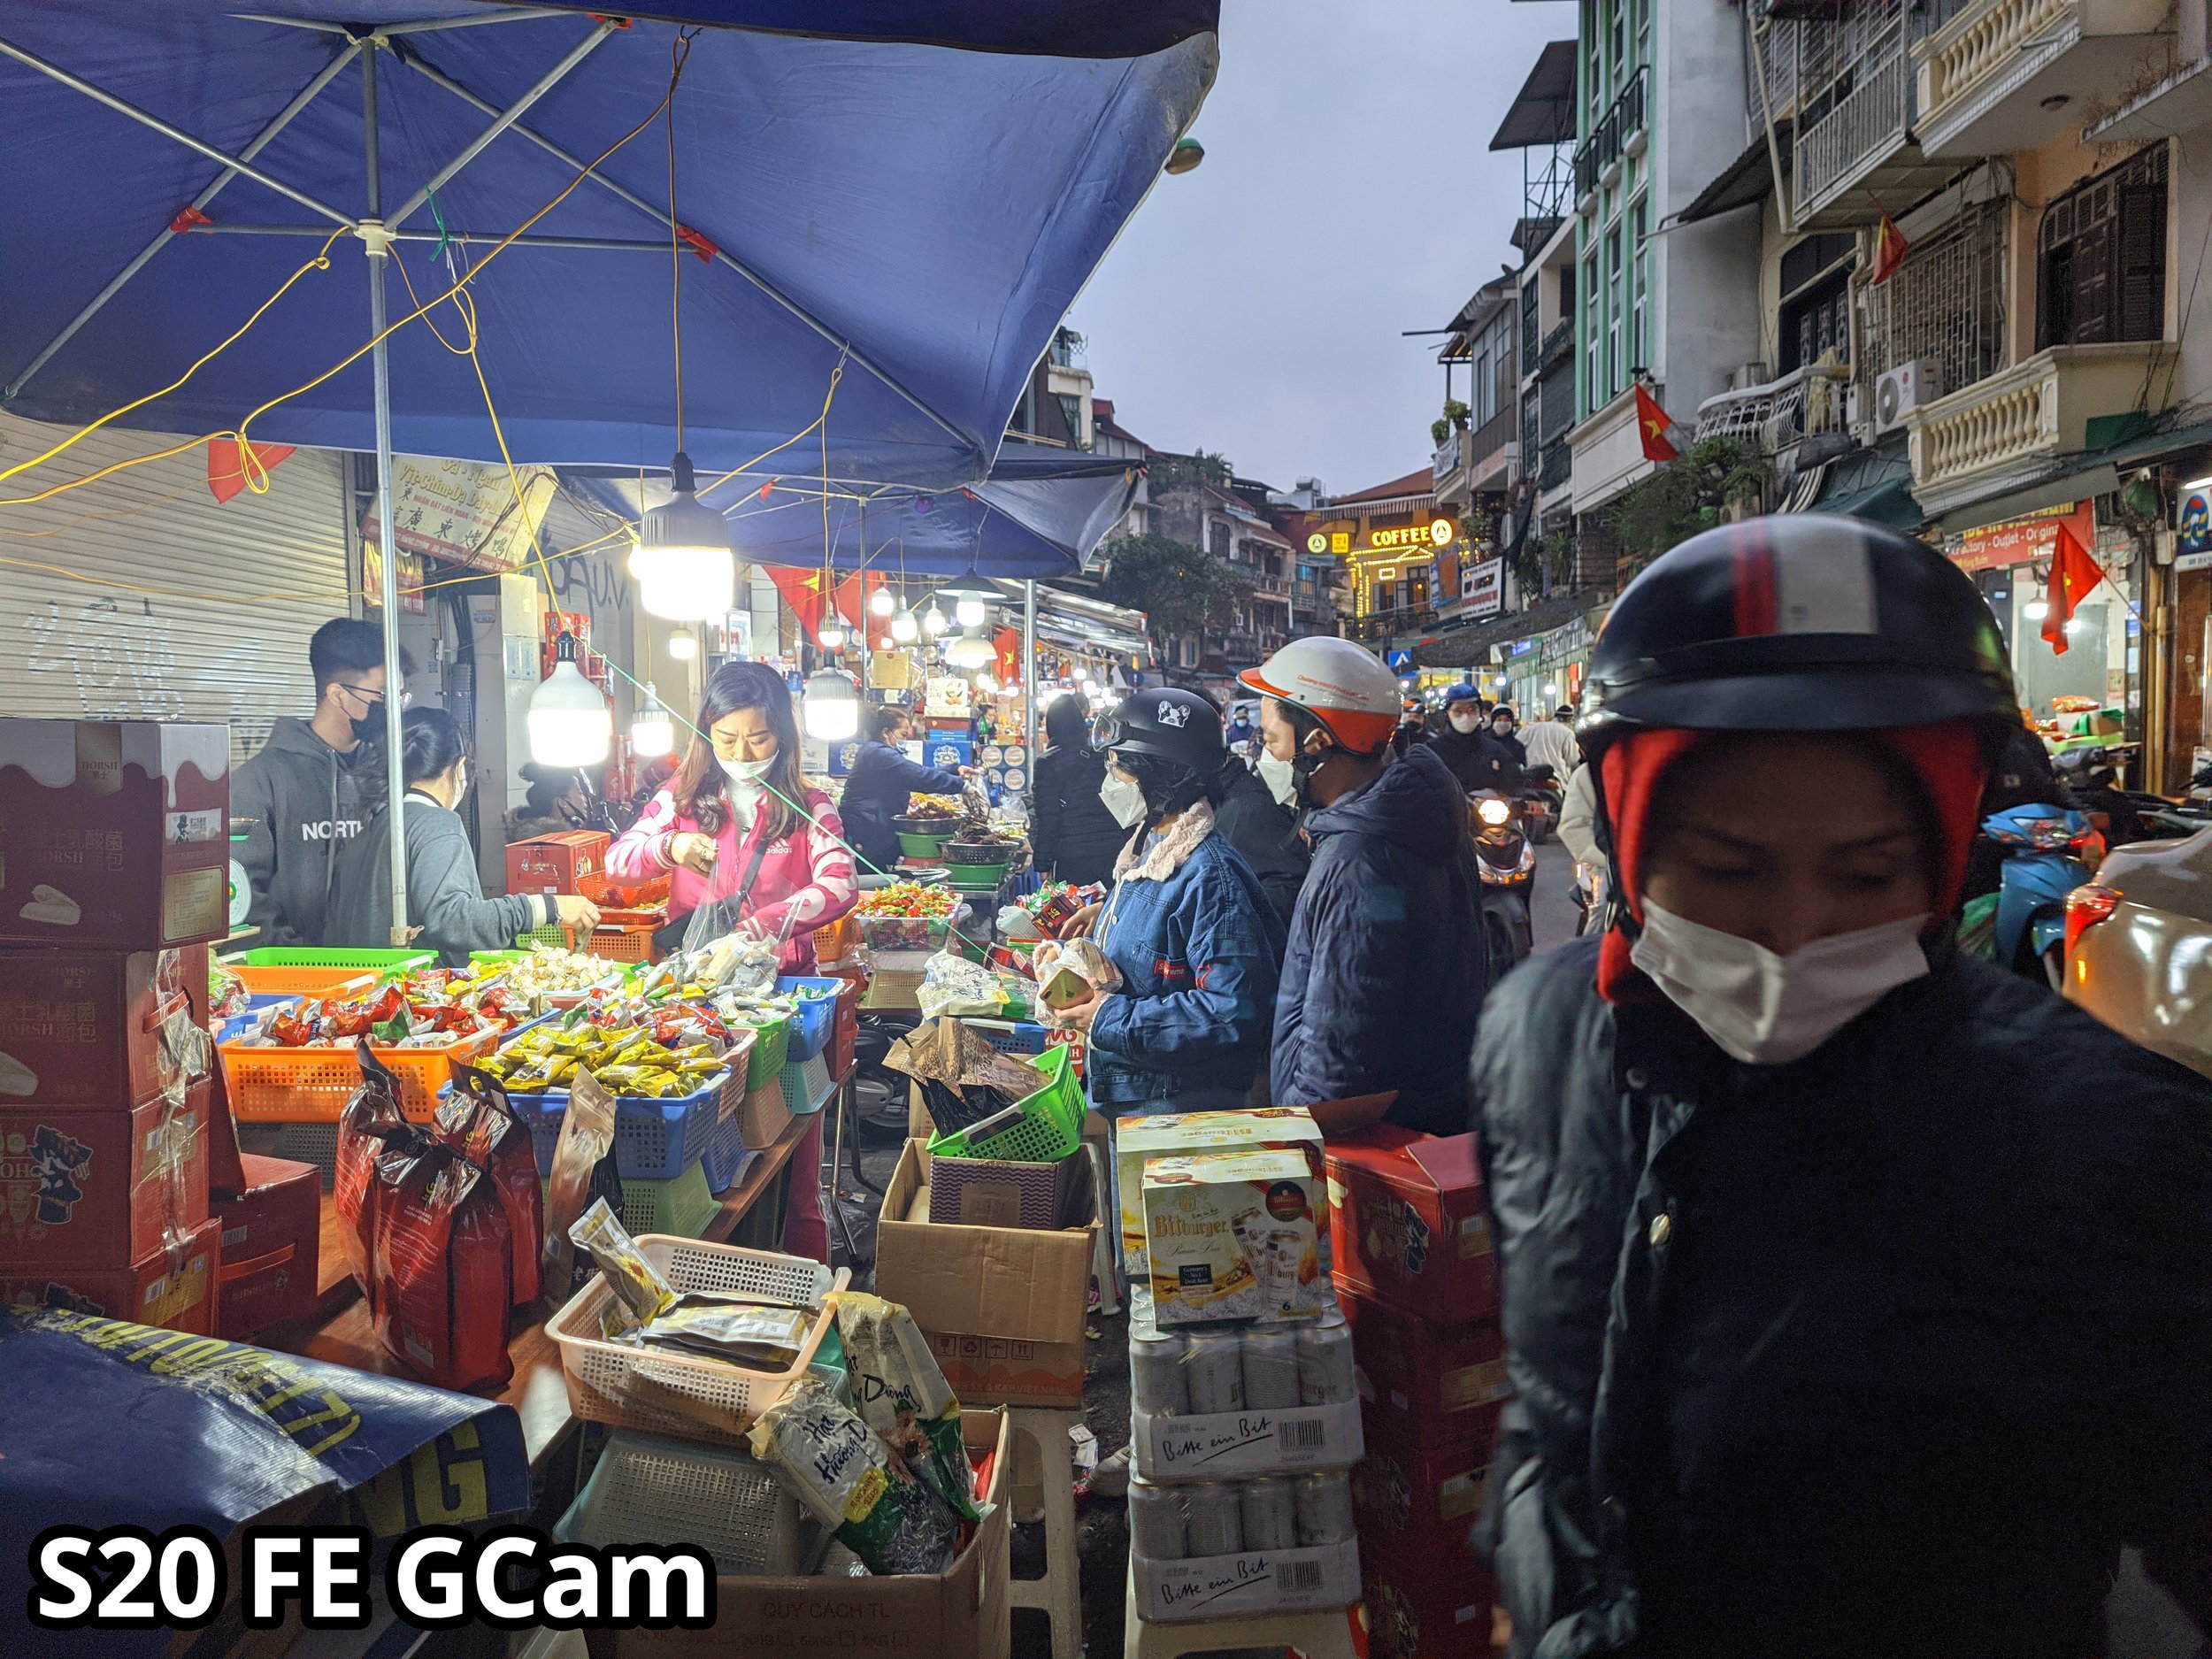
Thoughts & Takeaways
Although both devices do a good job at pulling out detail in lowlight the pixel is slightly better at retaining highlight detail in most cases. GCam on the S20 FE does a completely fine job at giving users a pleasing image but it could be slightly better. I think that if GCam for the S20 FE had been developed for a longer period of time we could see improvements in noise reduction but the software isn’t perfect because its community developed and maintain. I think that for lowlight photos either the stock camera app from Samsung or the Pixel 6 will give users consistent results they are happy with.
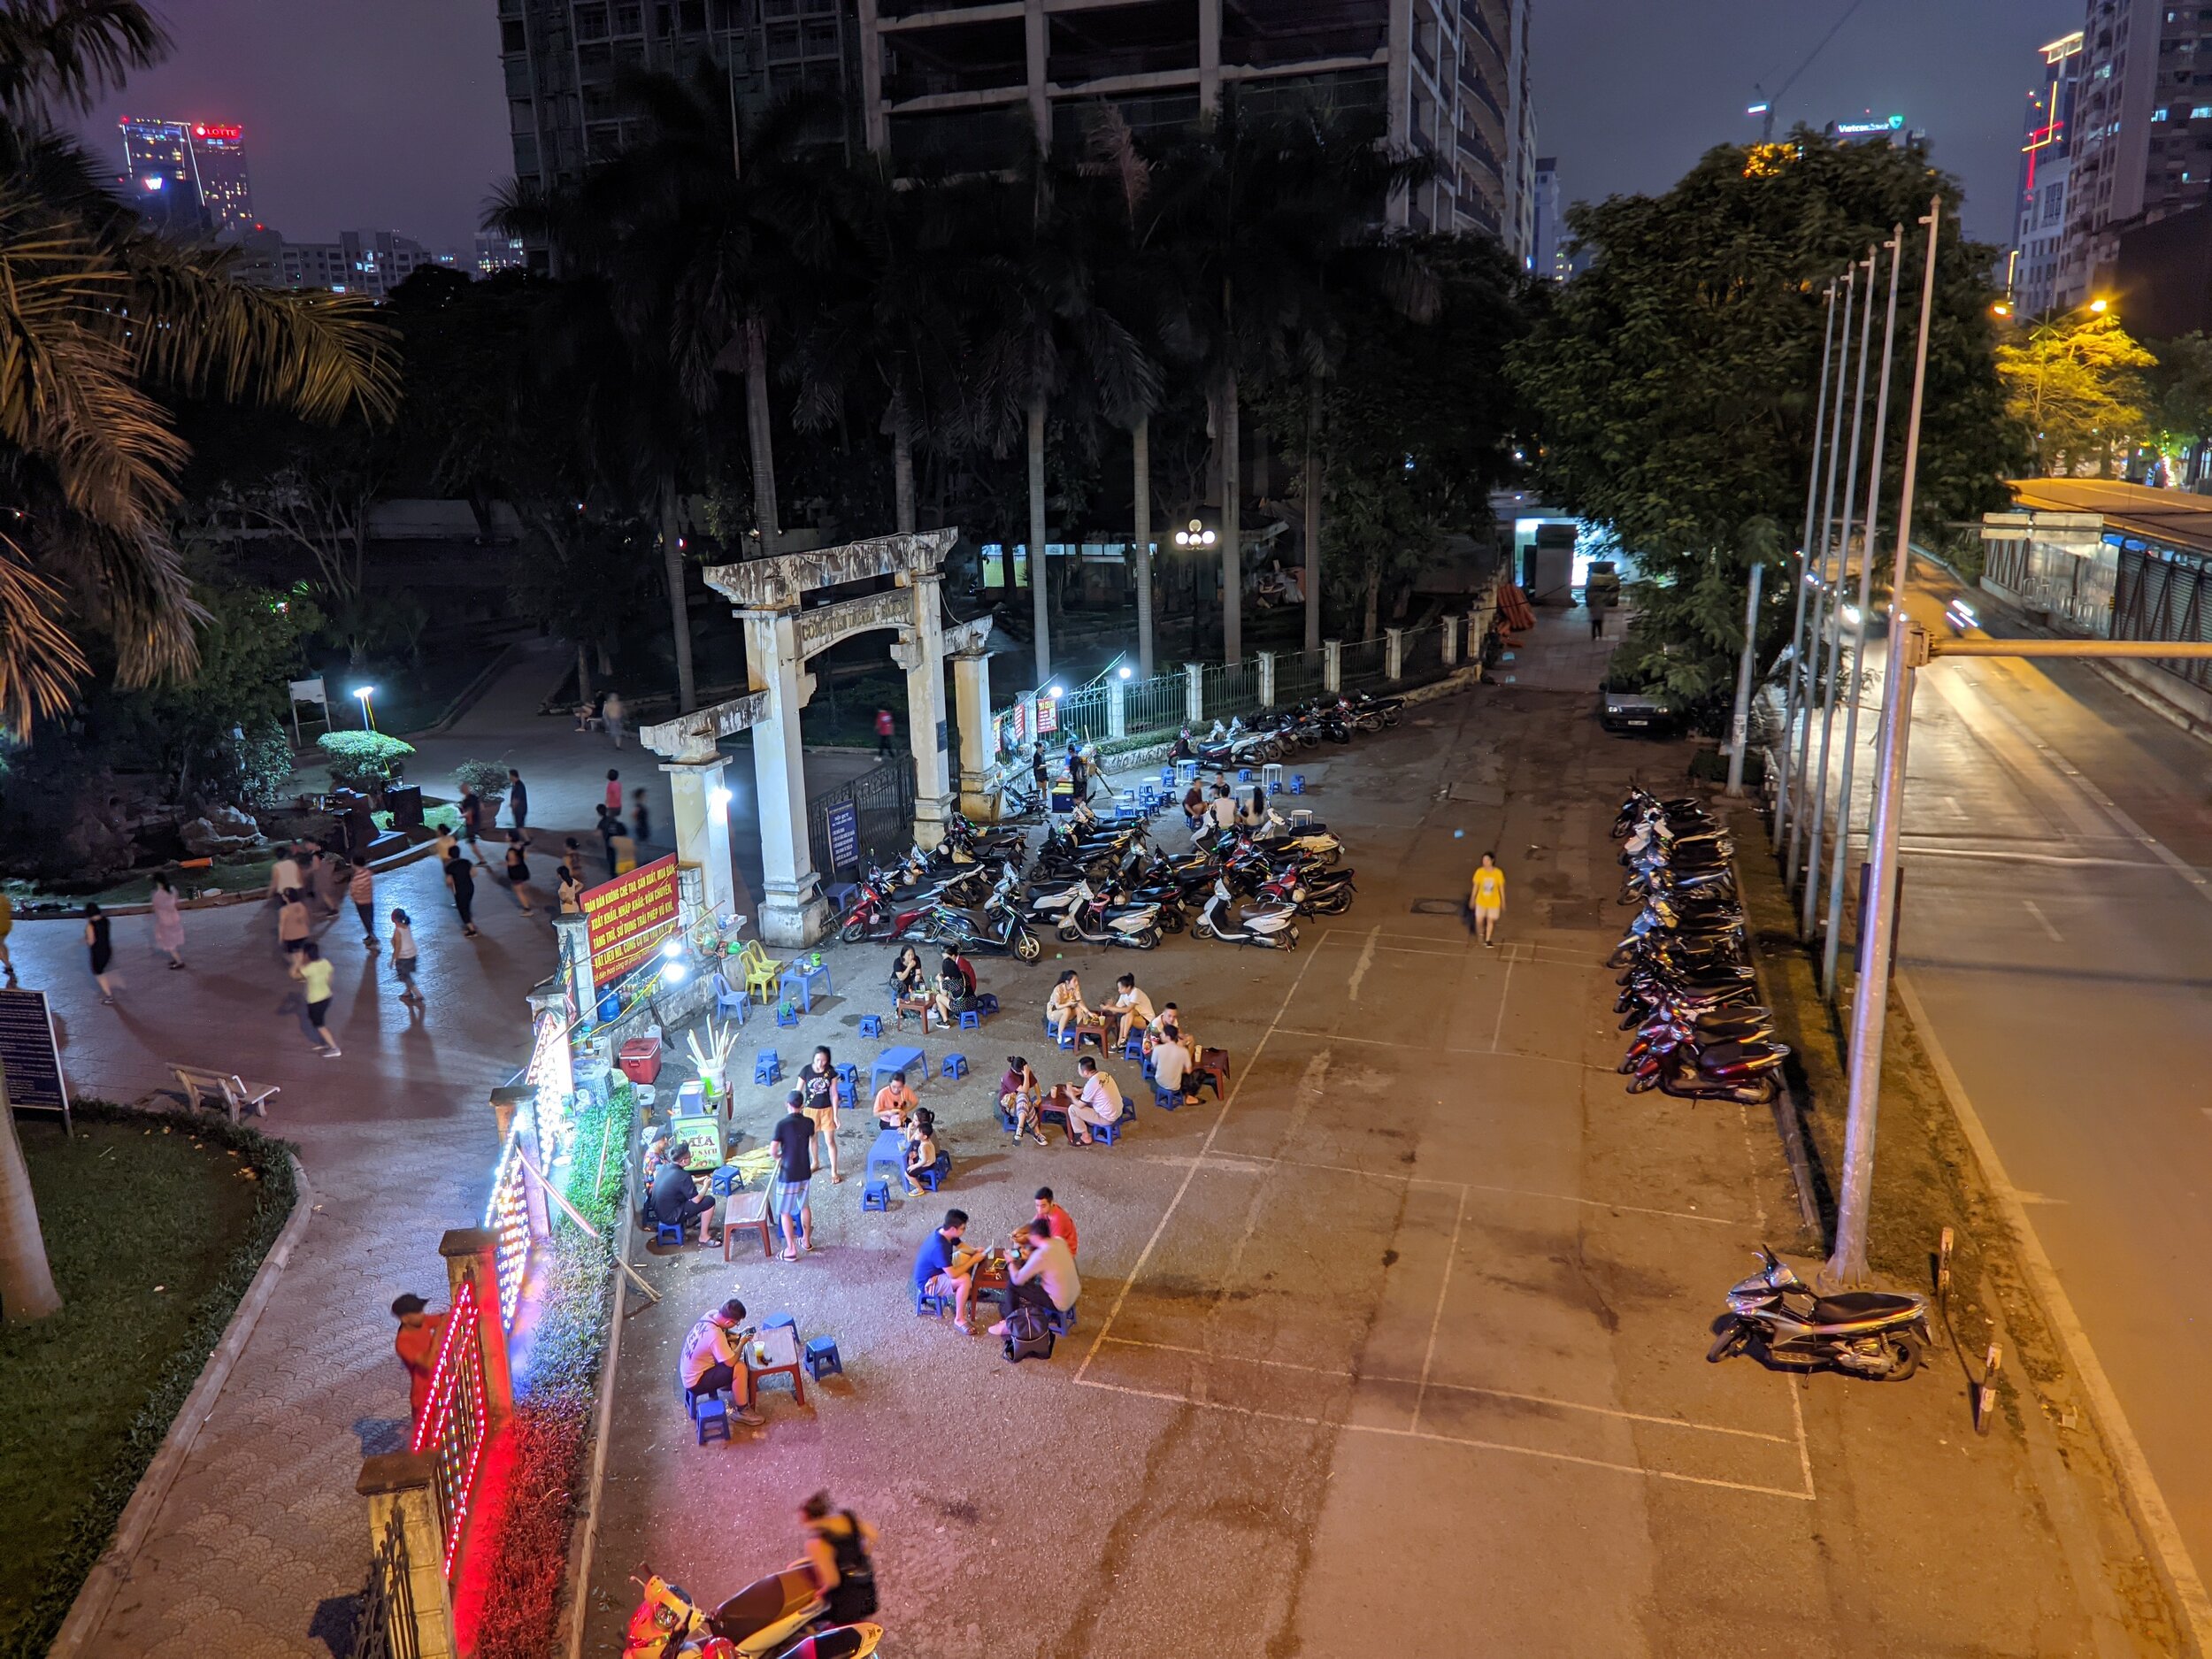
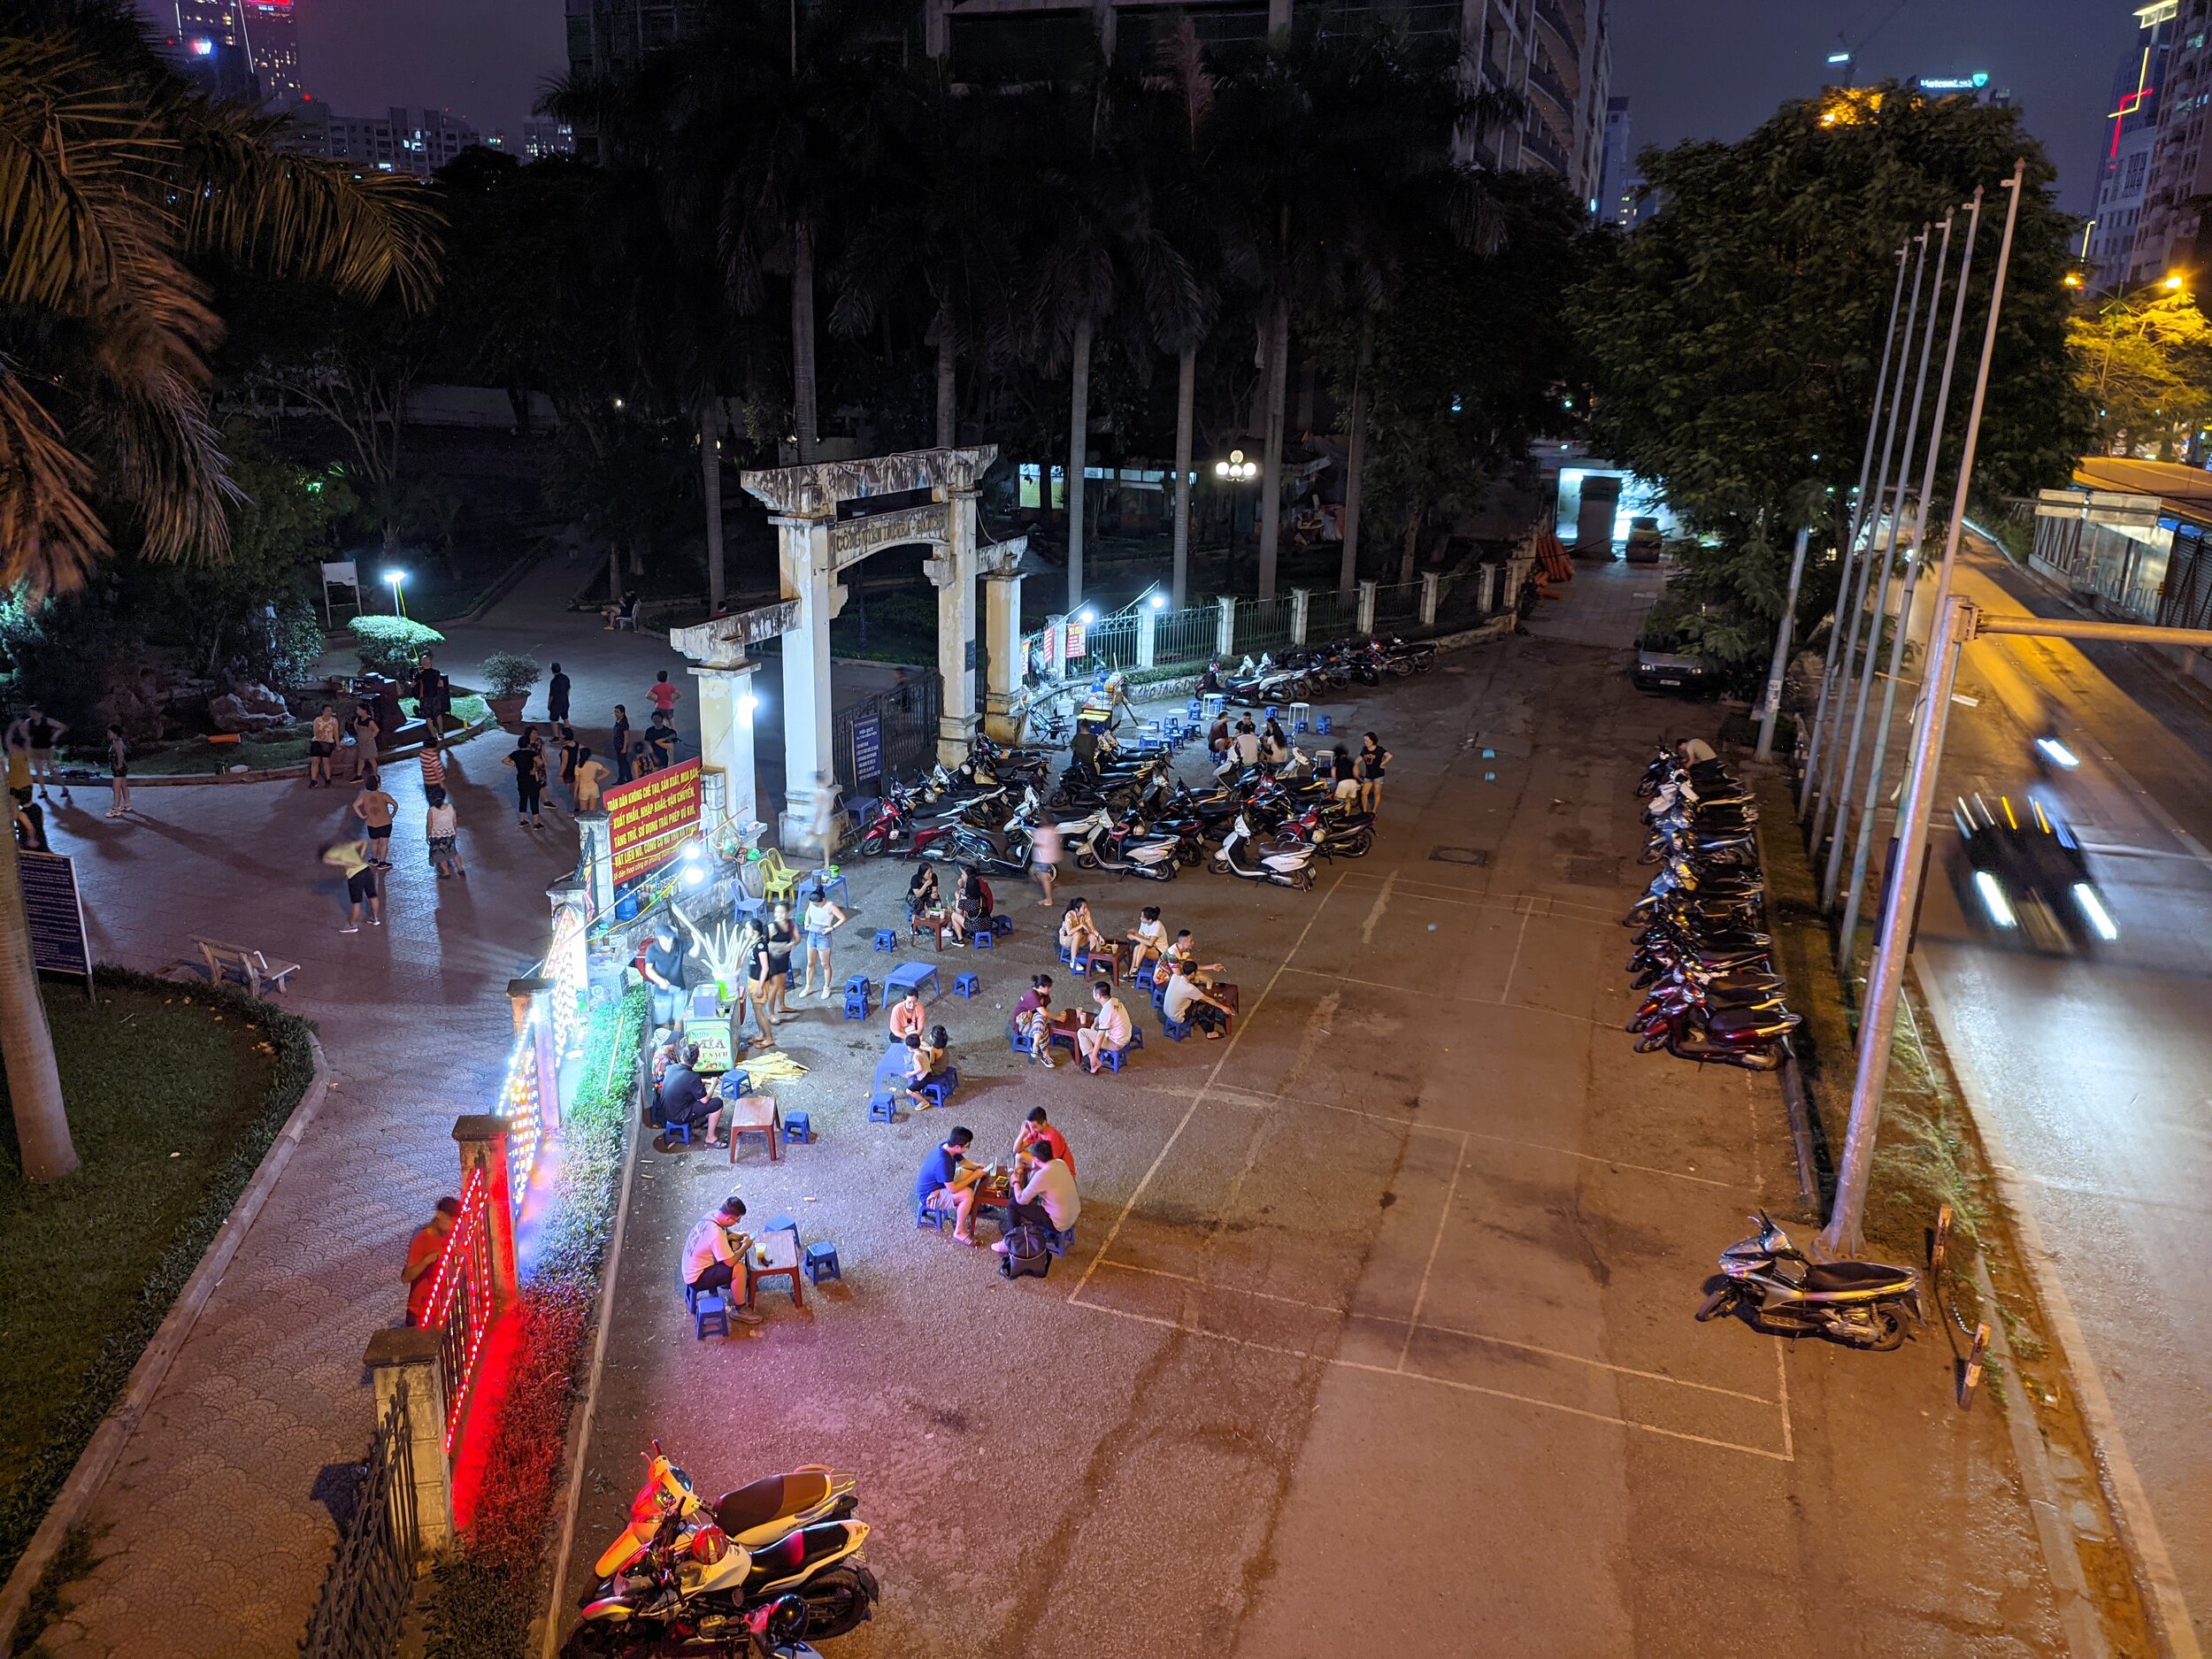
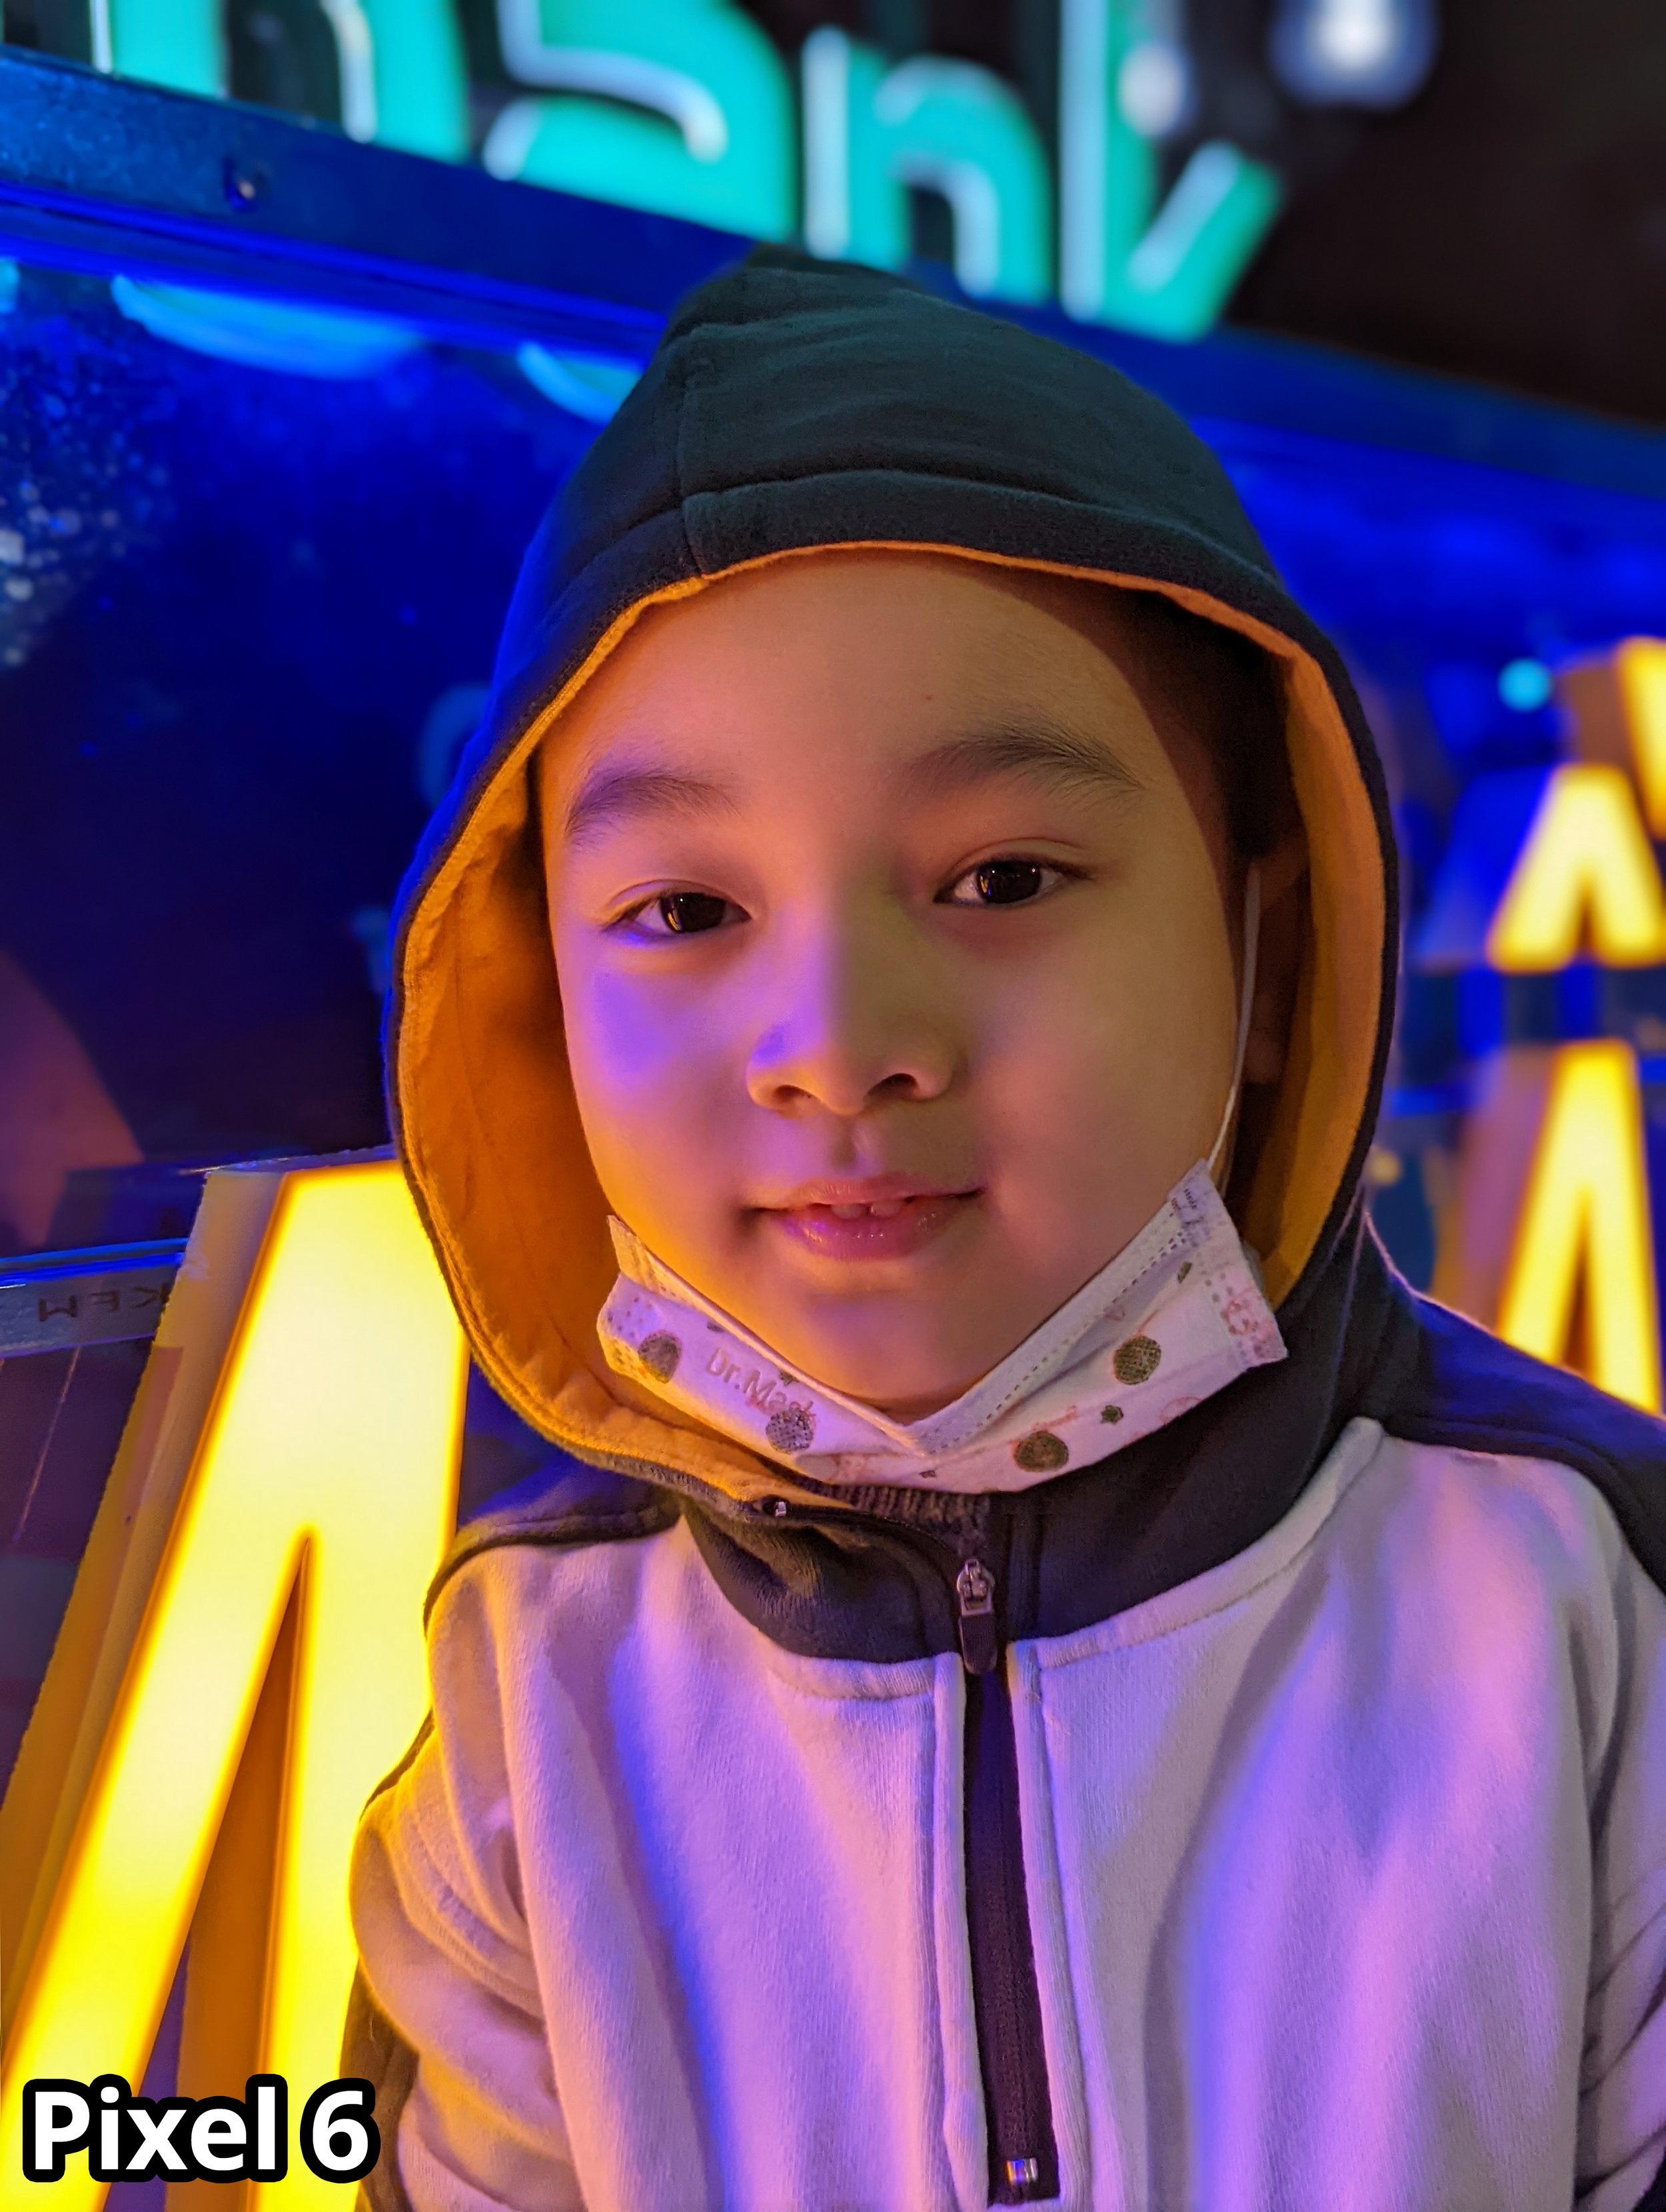
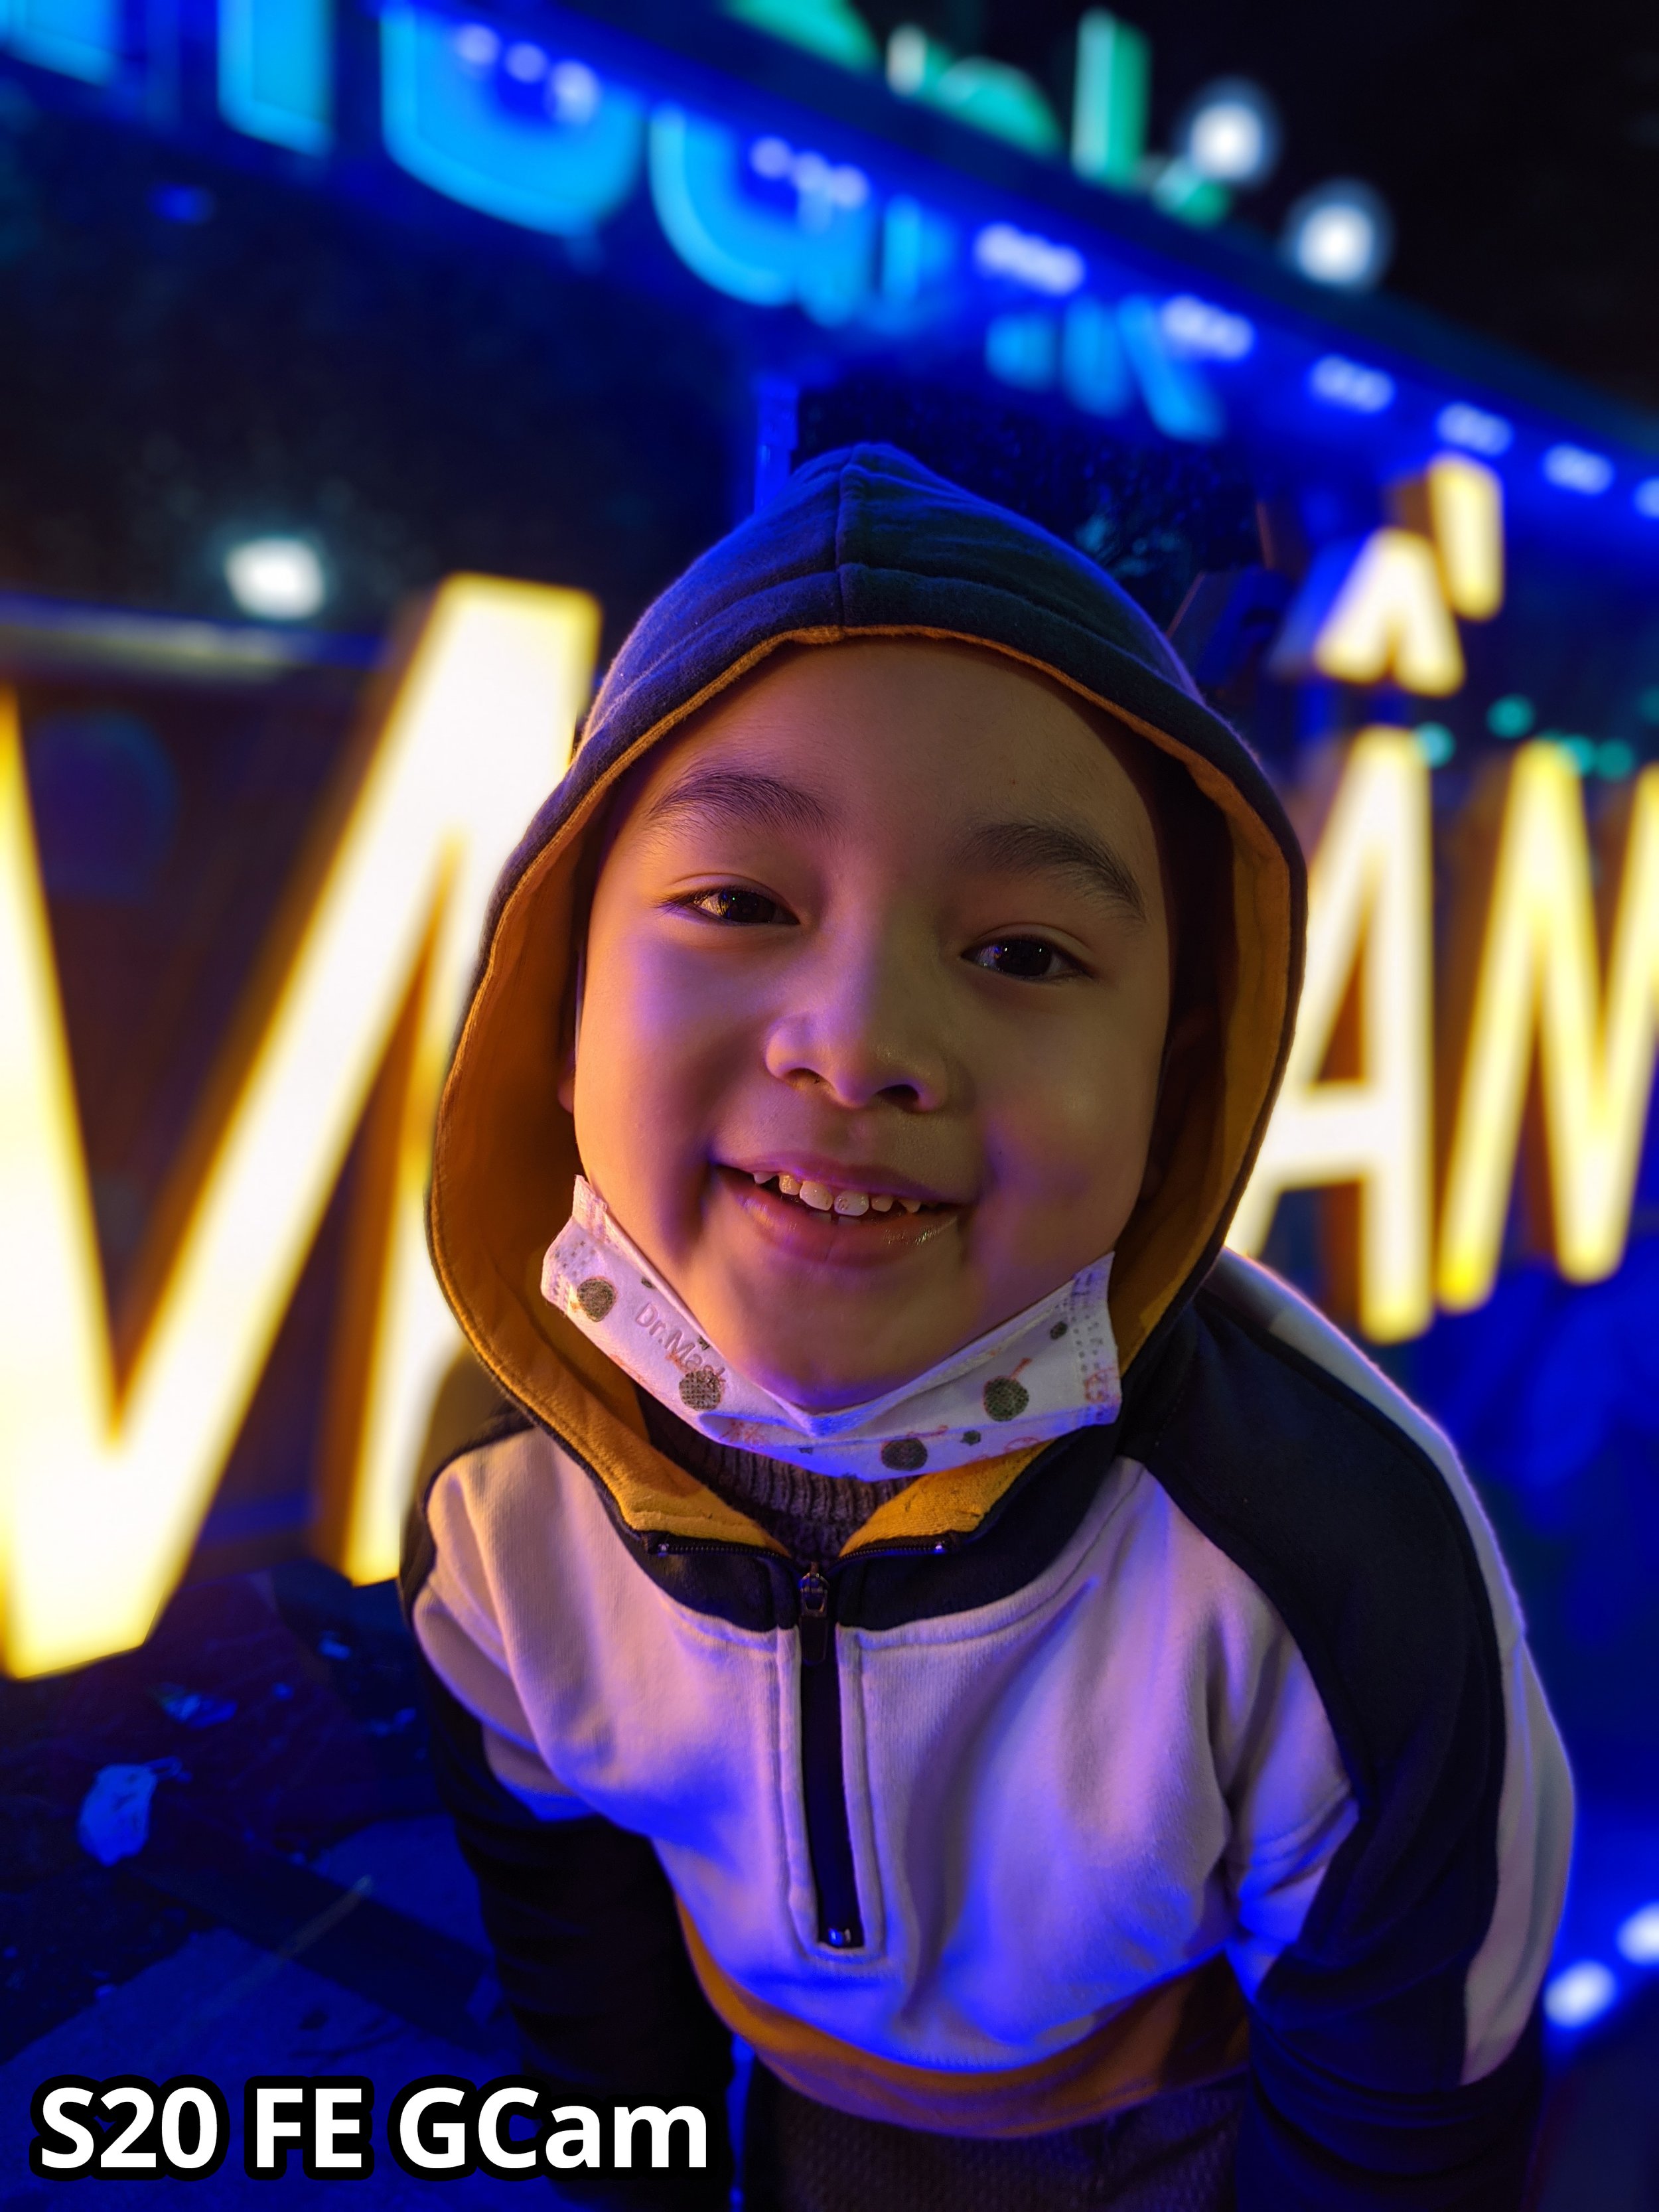
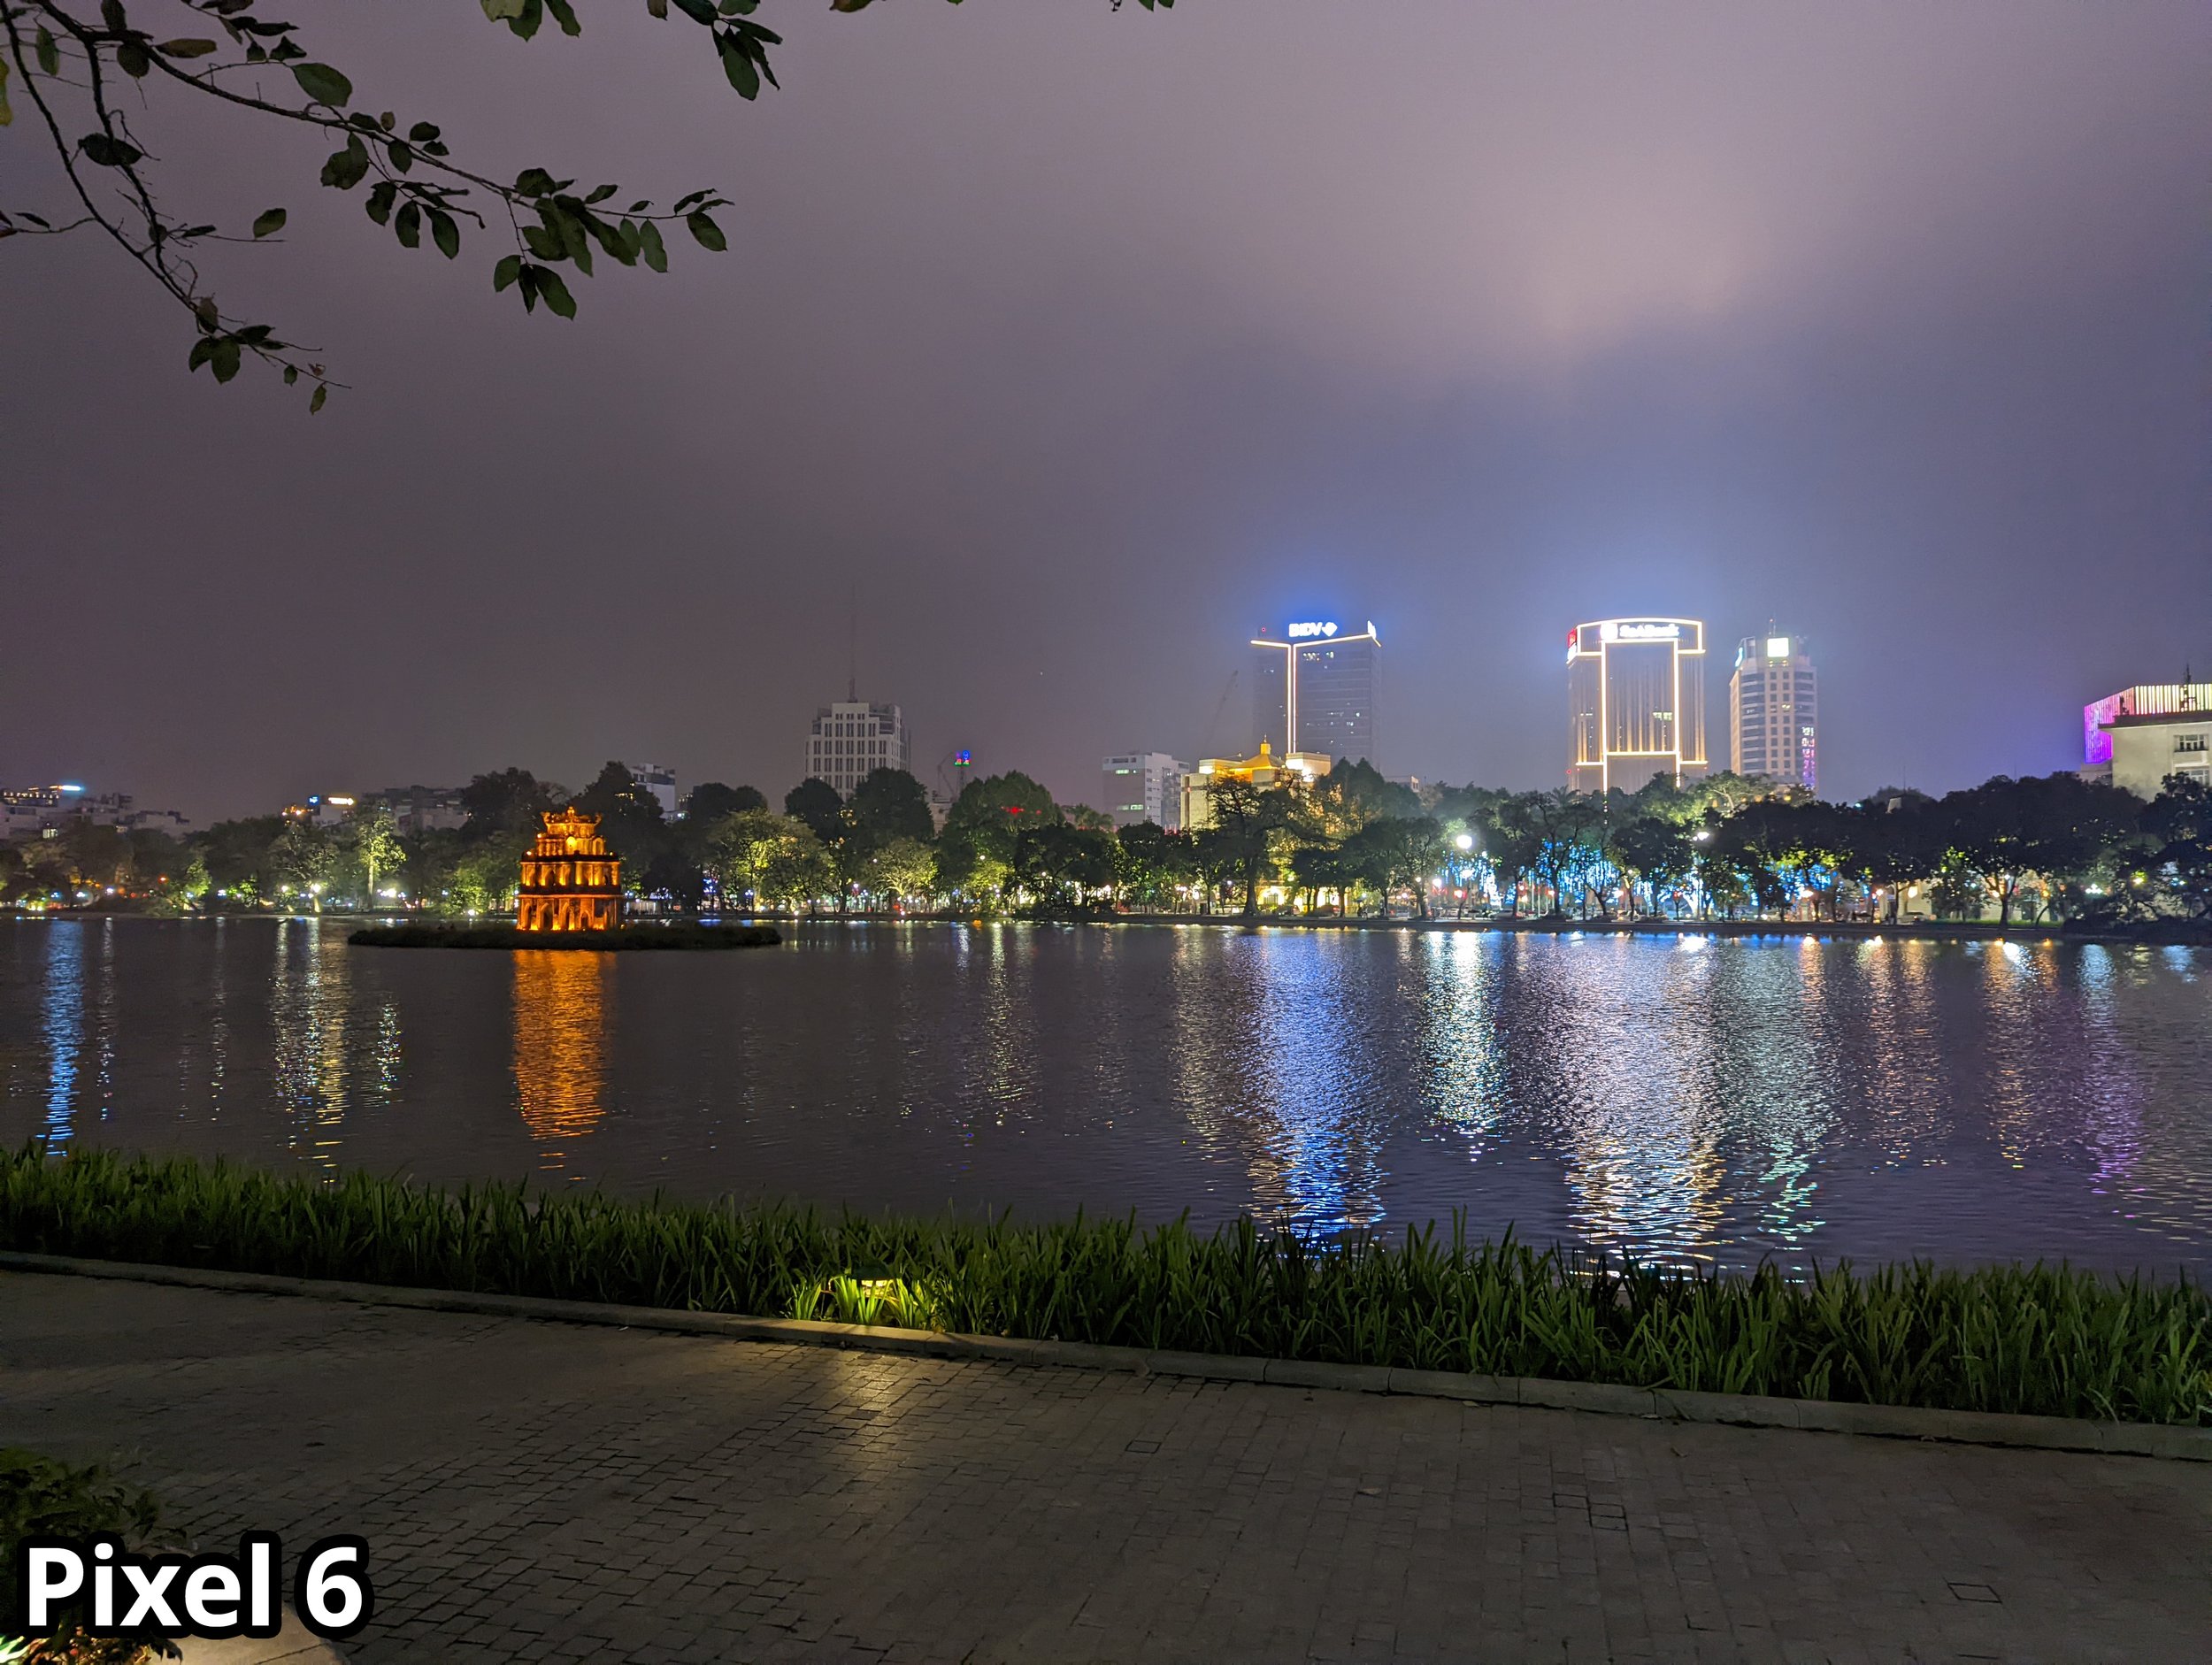
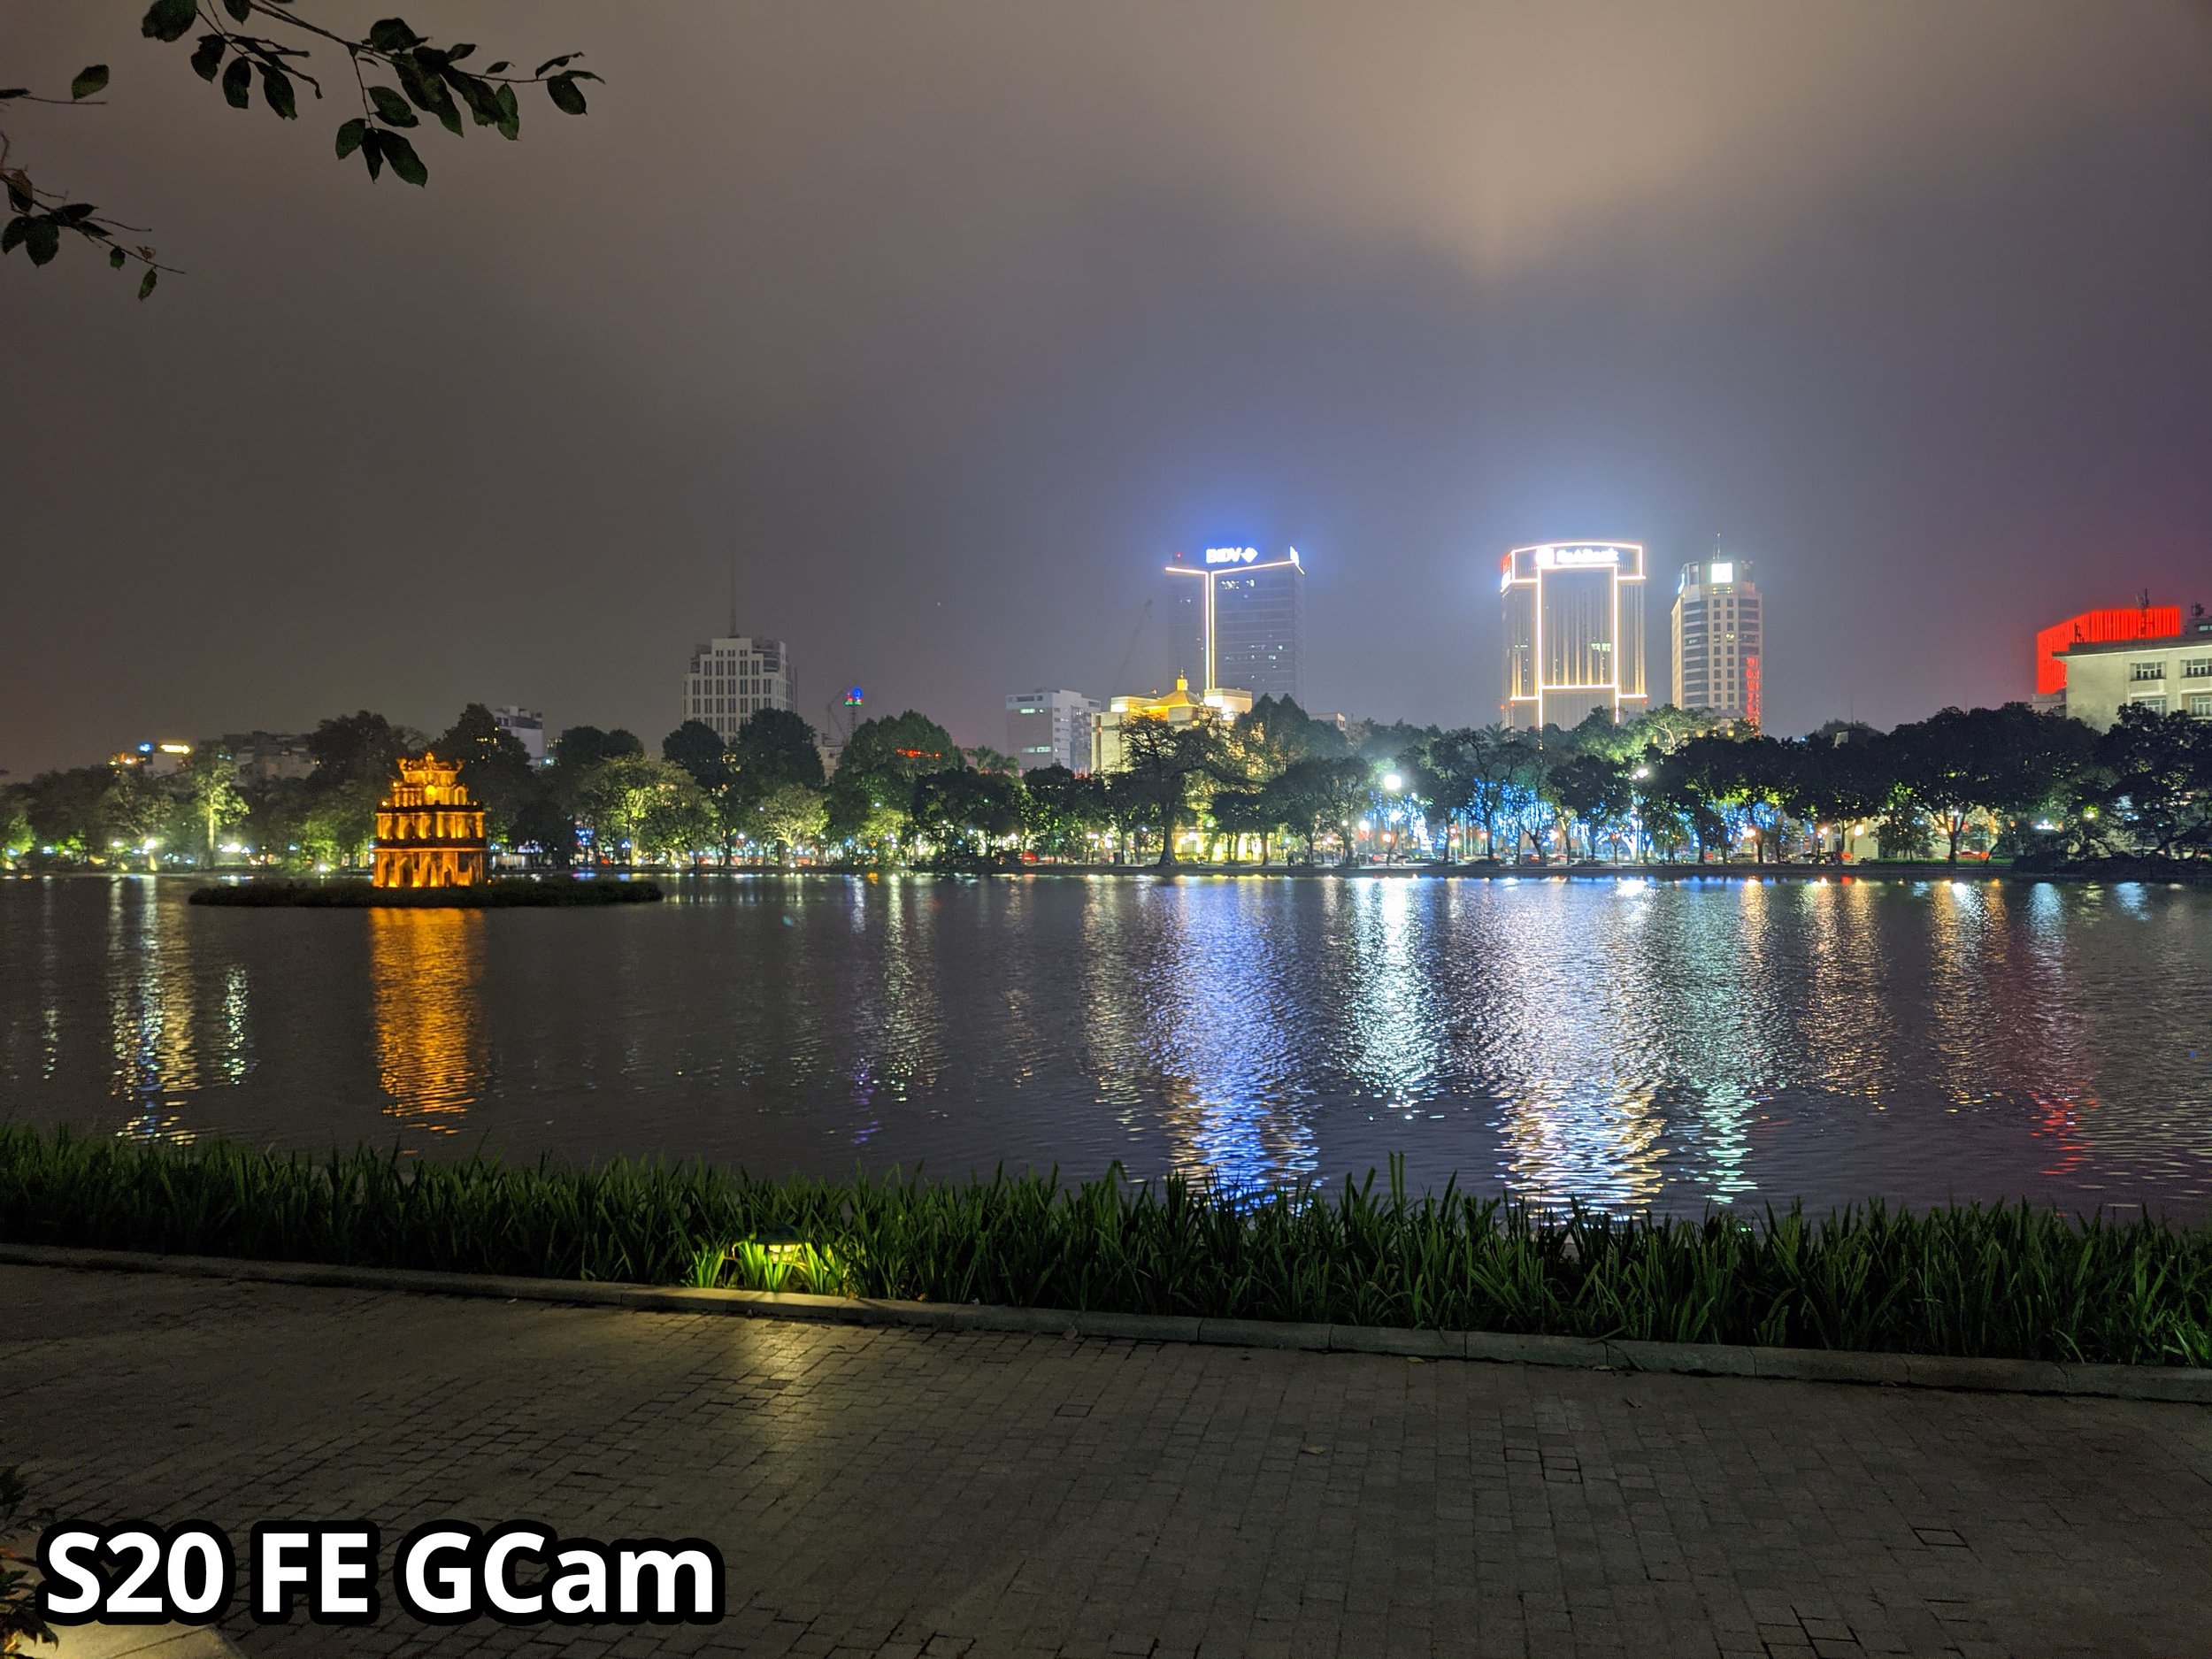
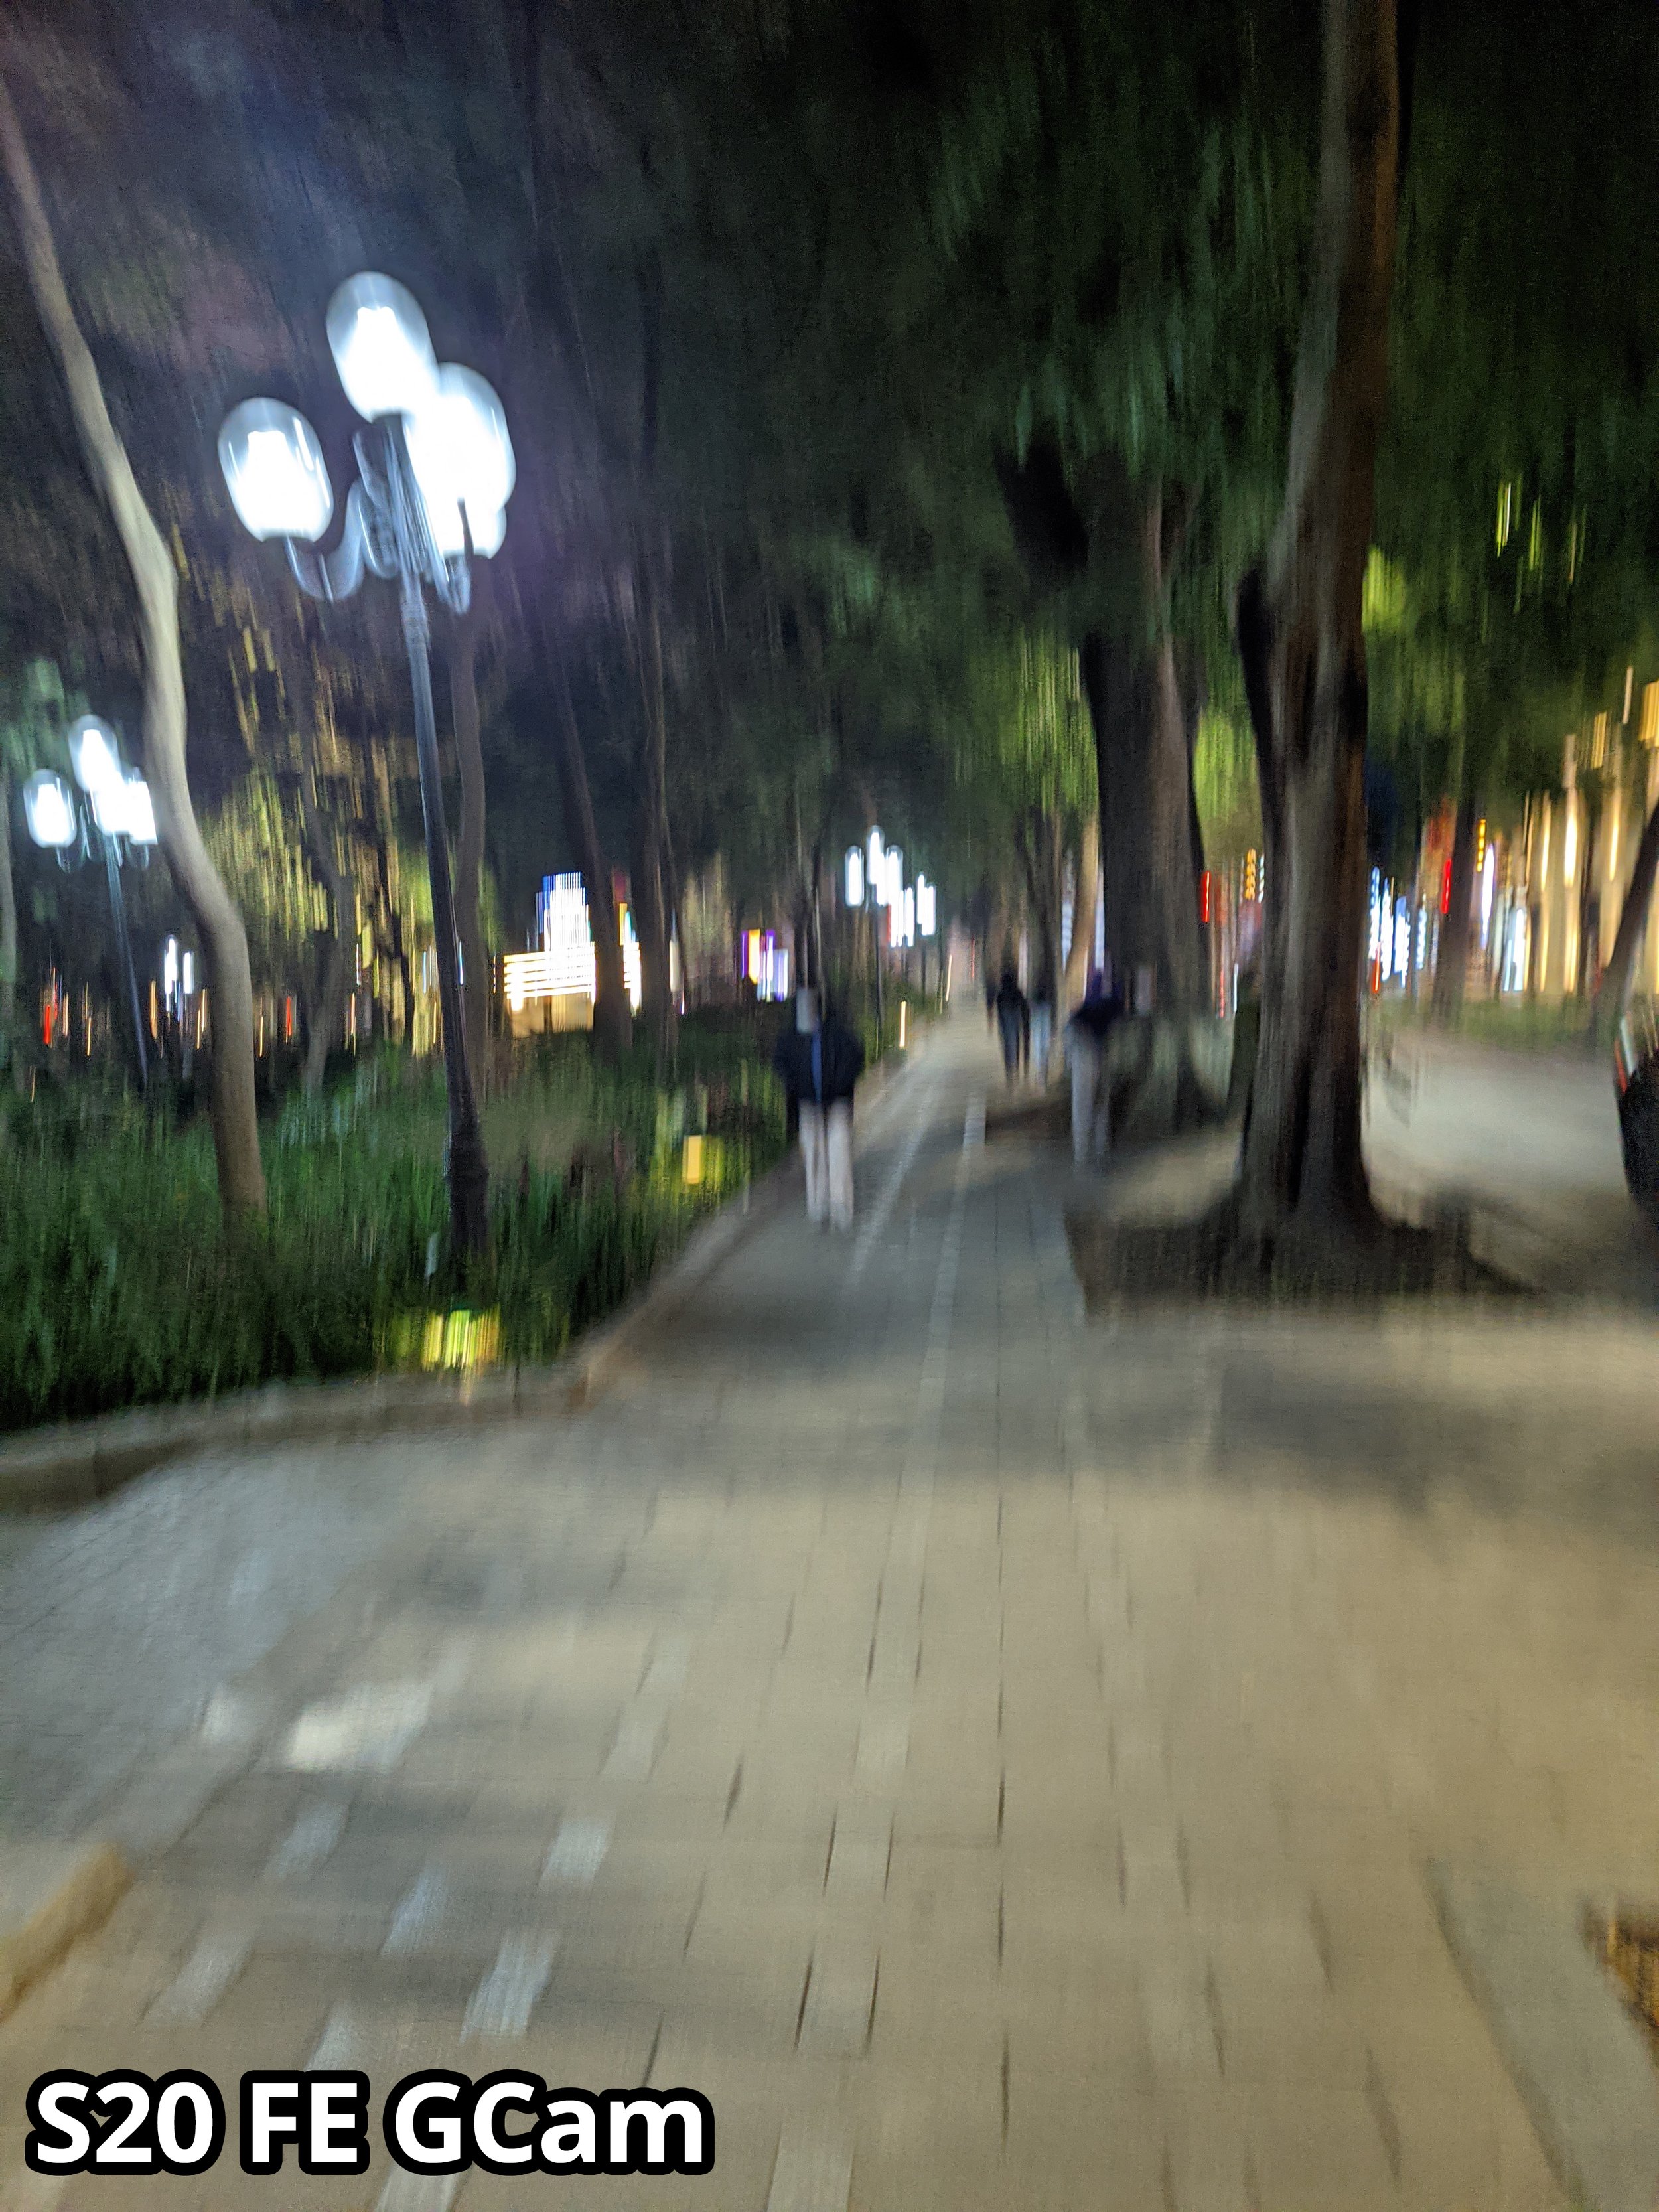
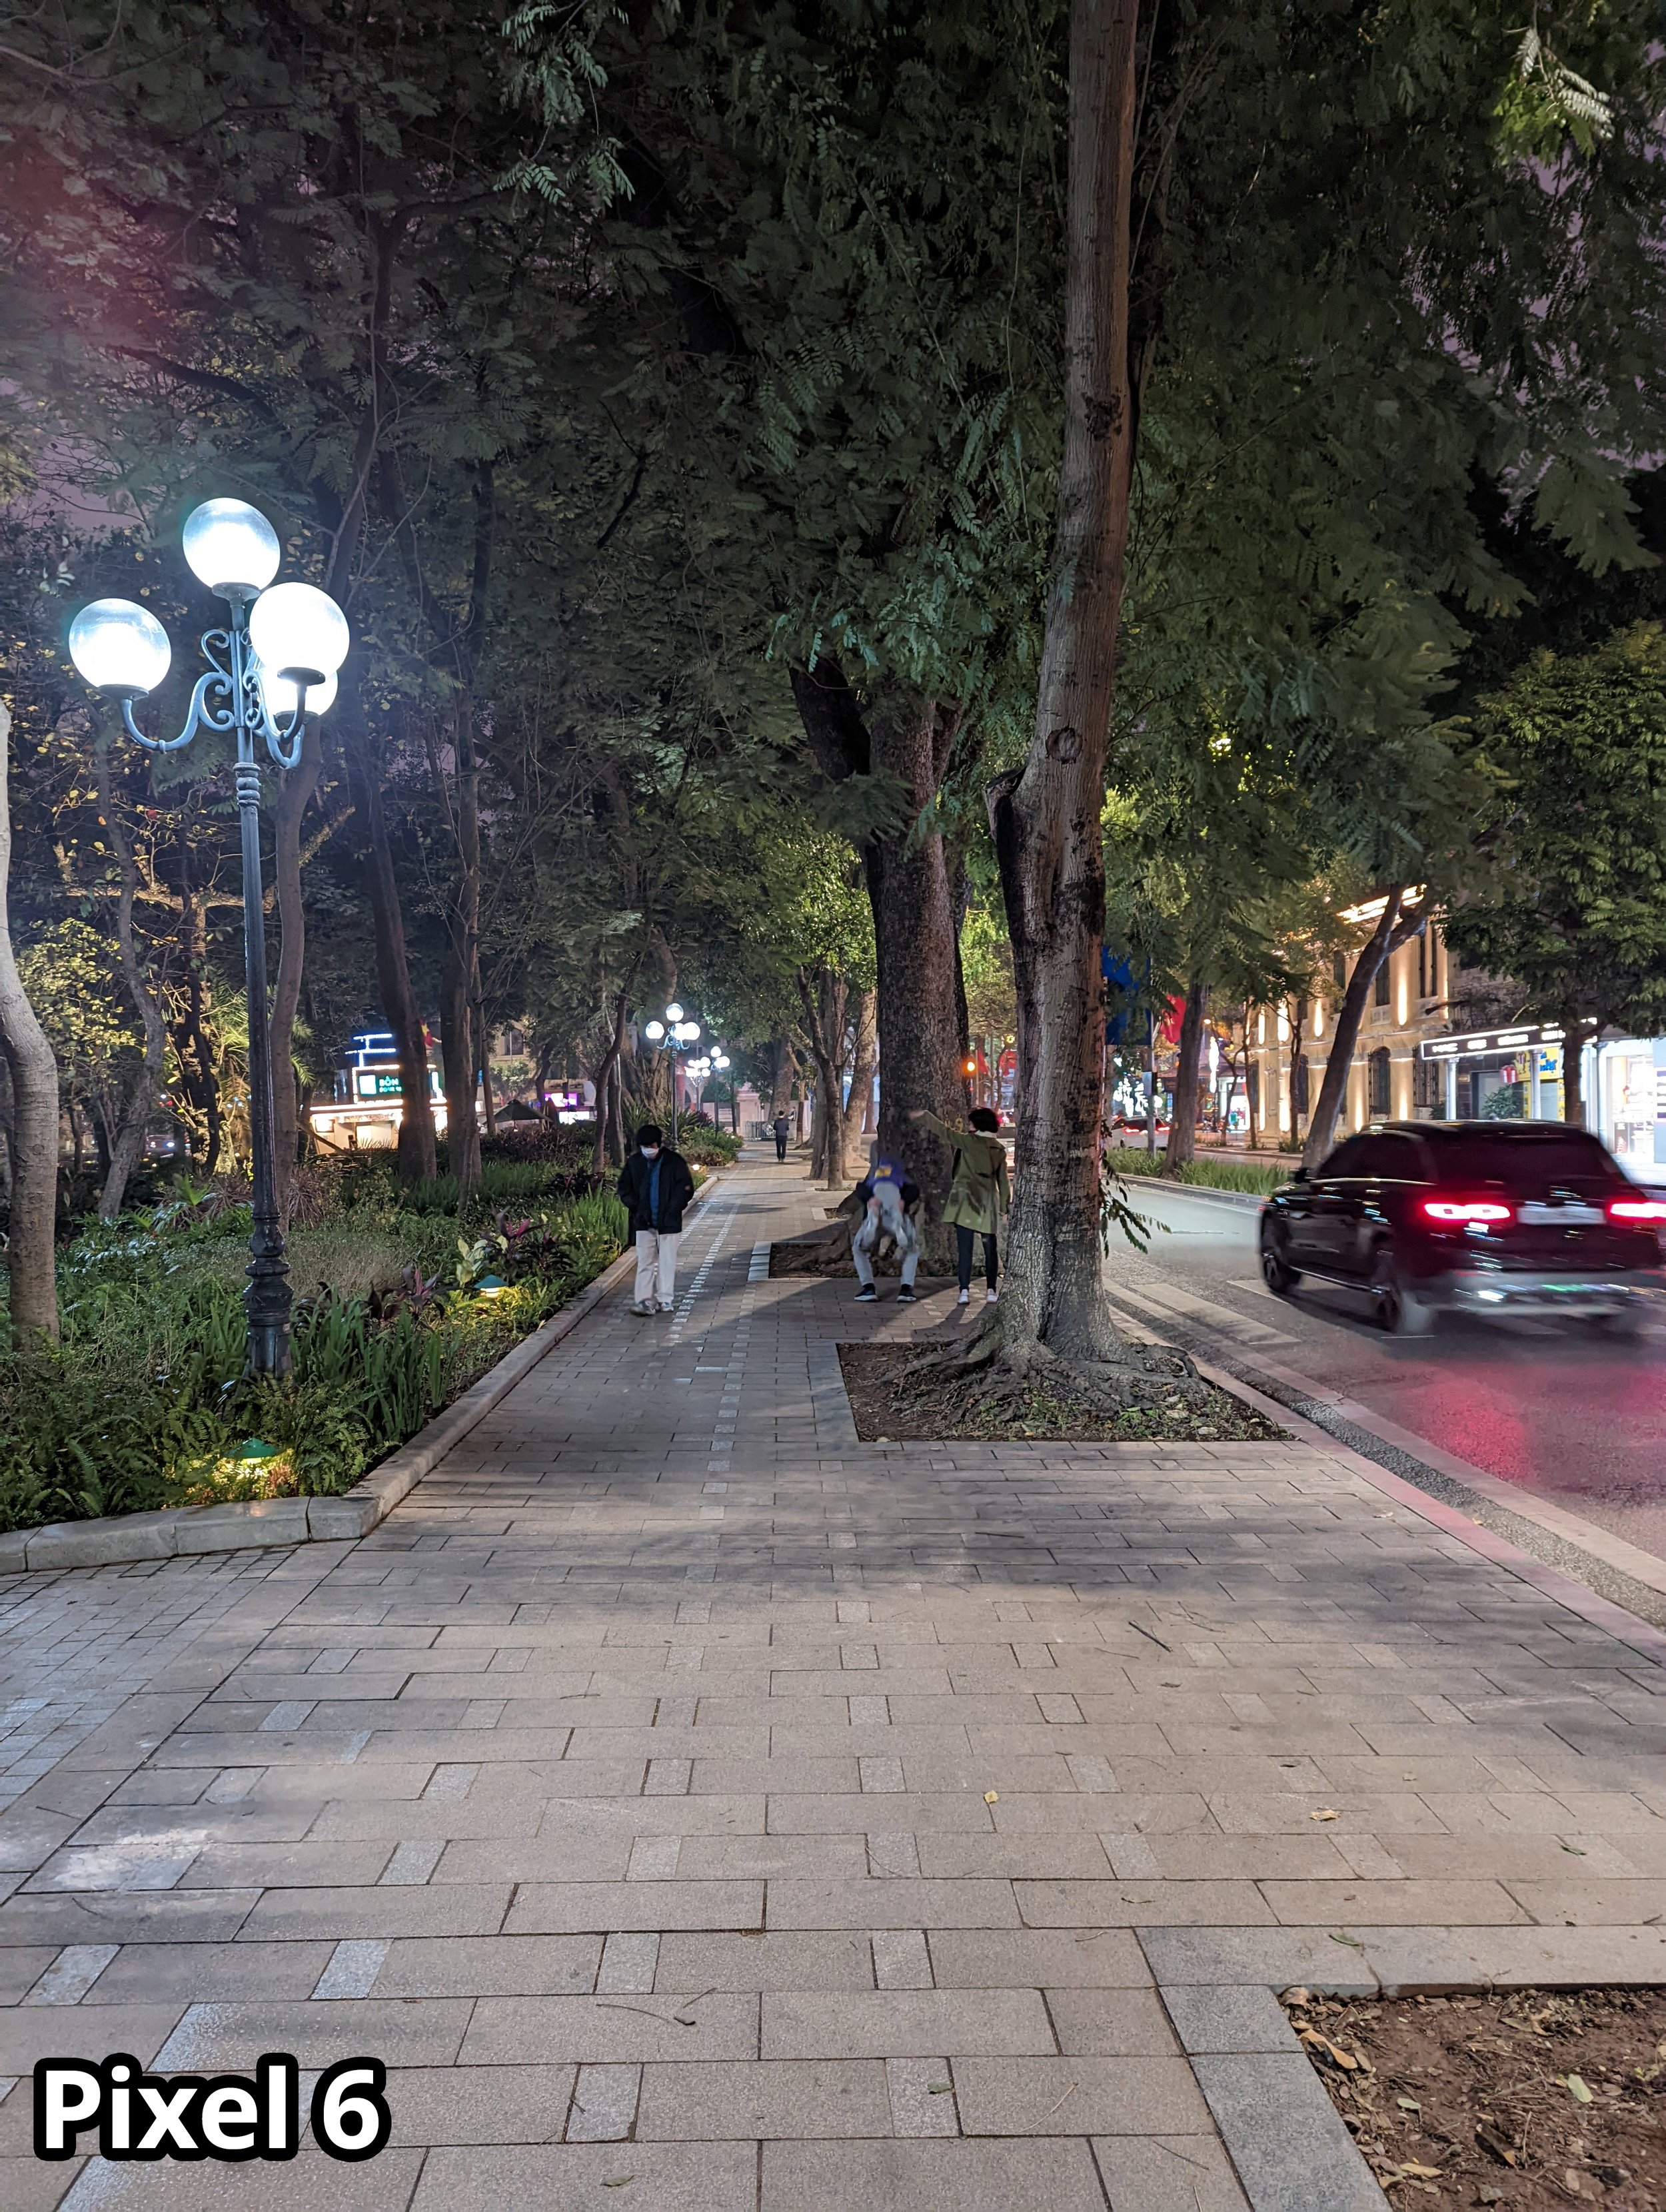
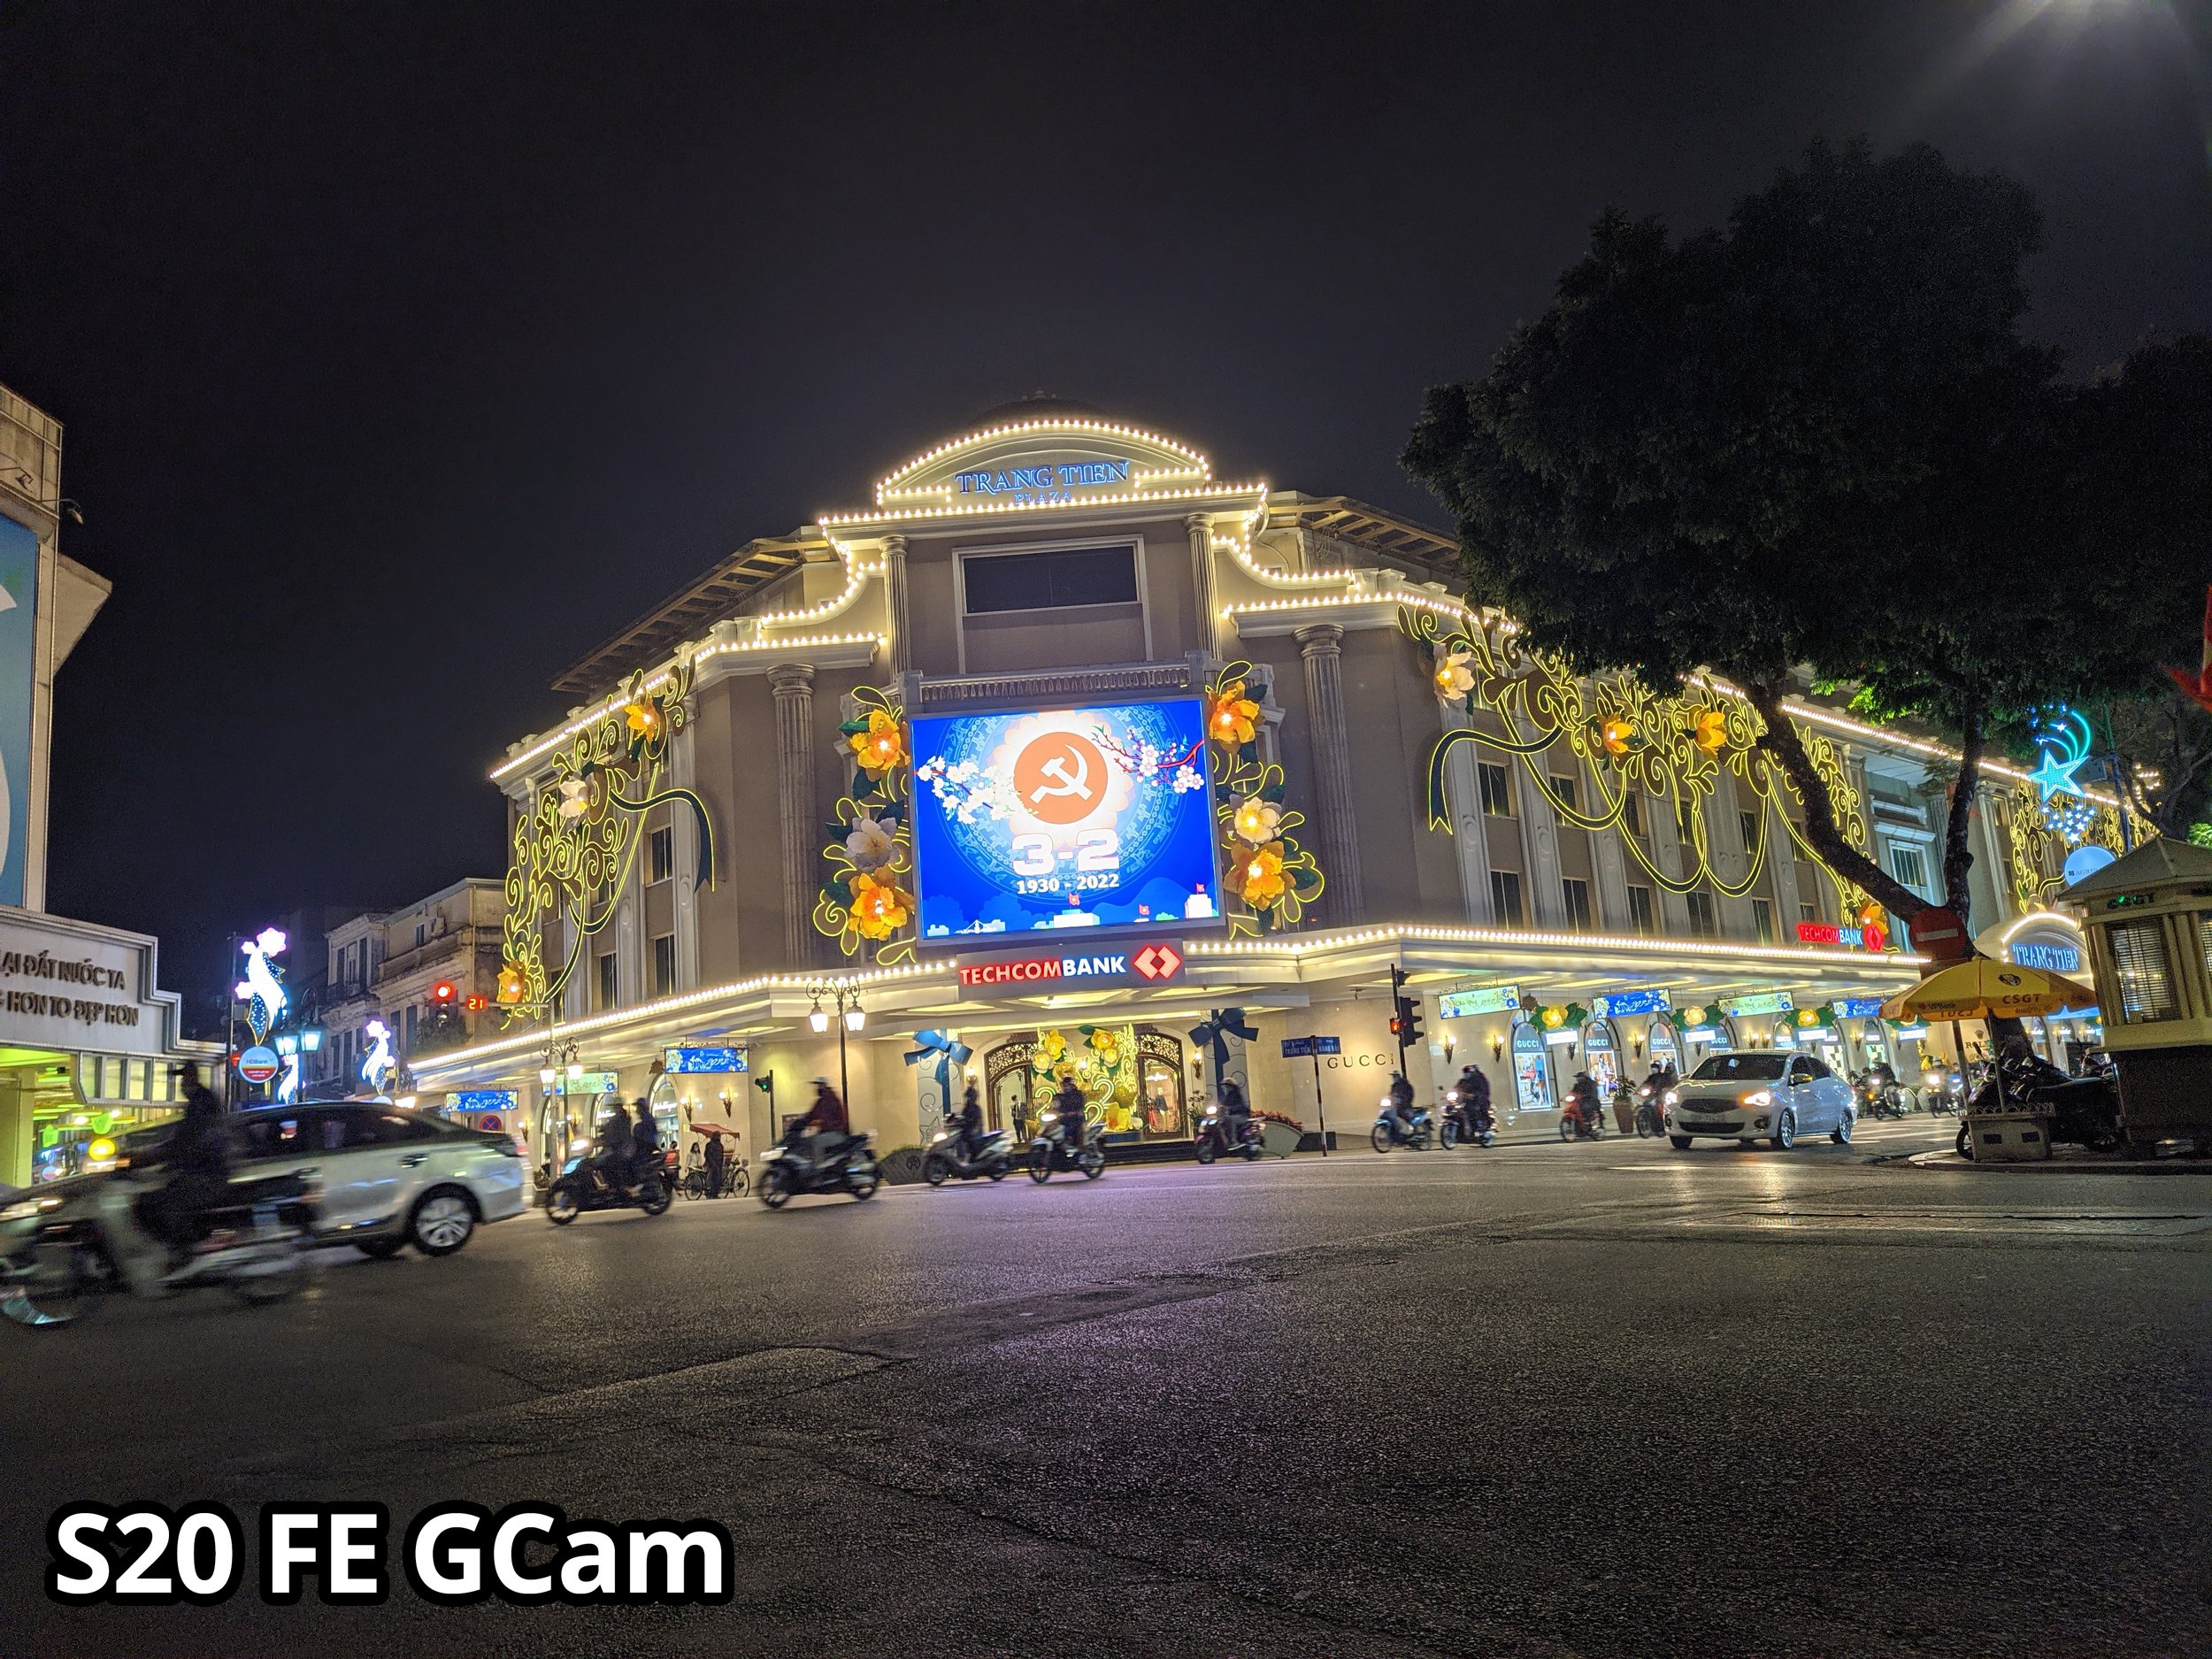
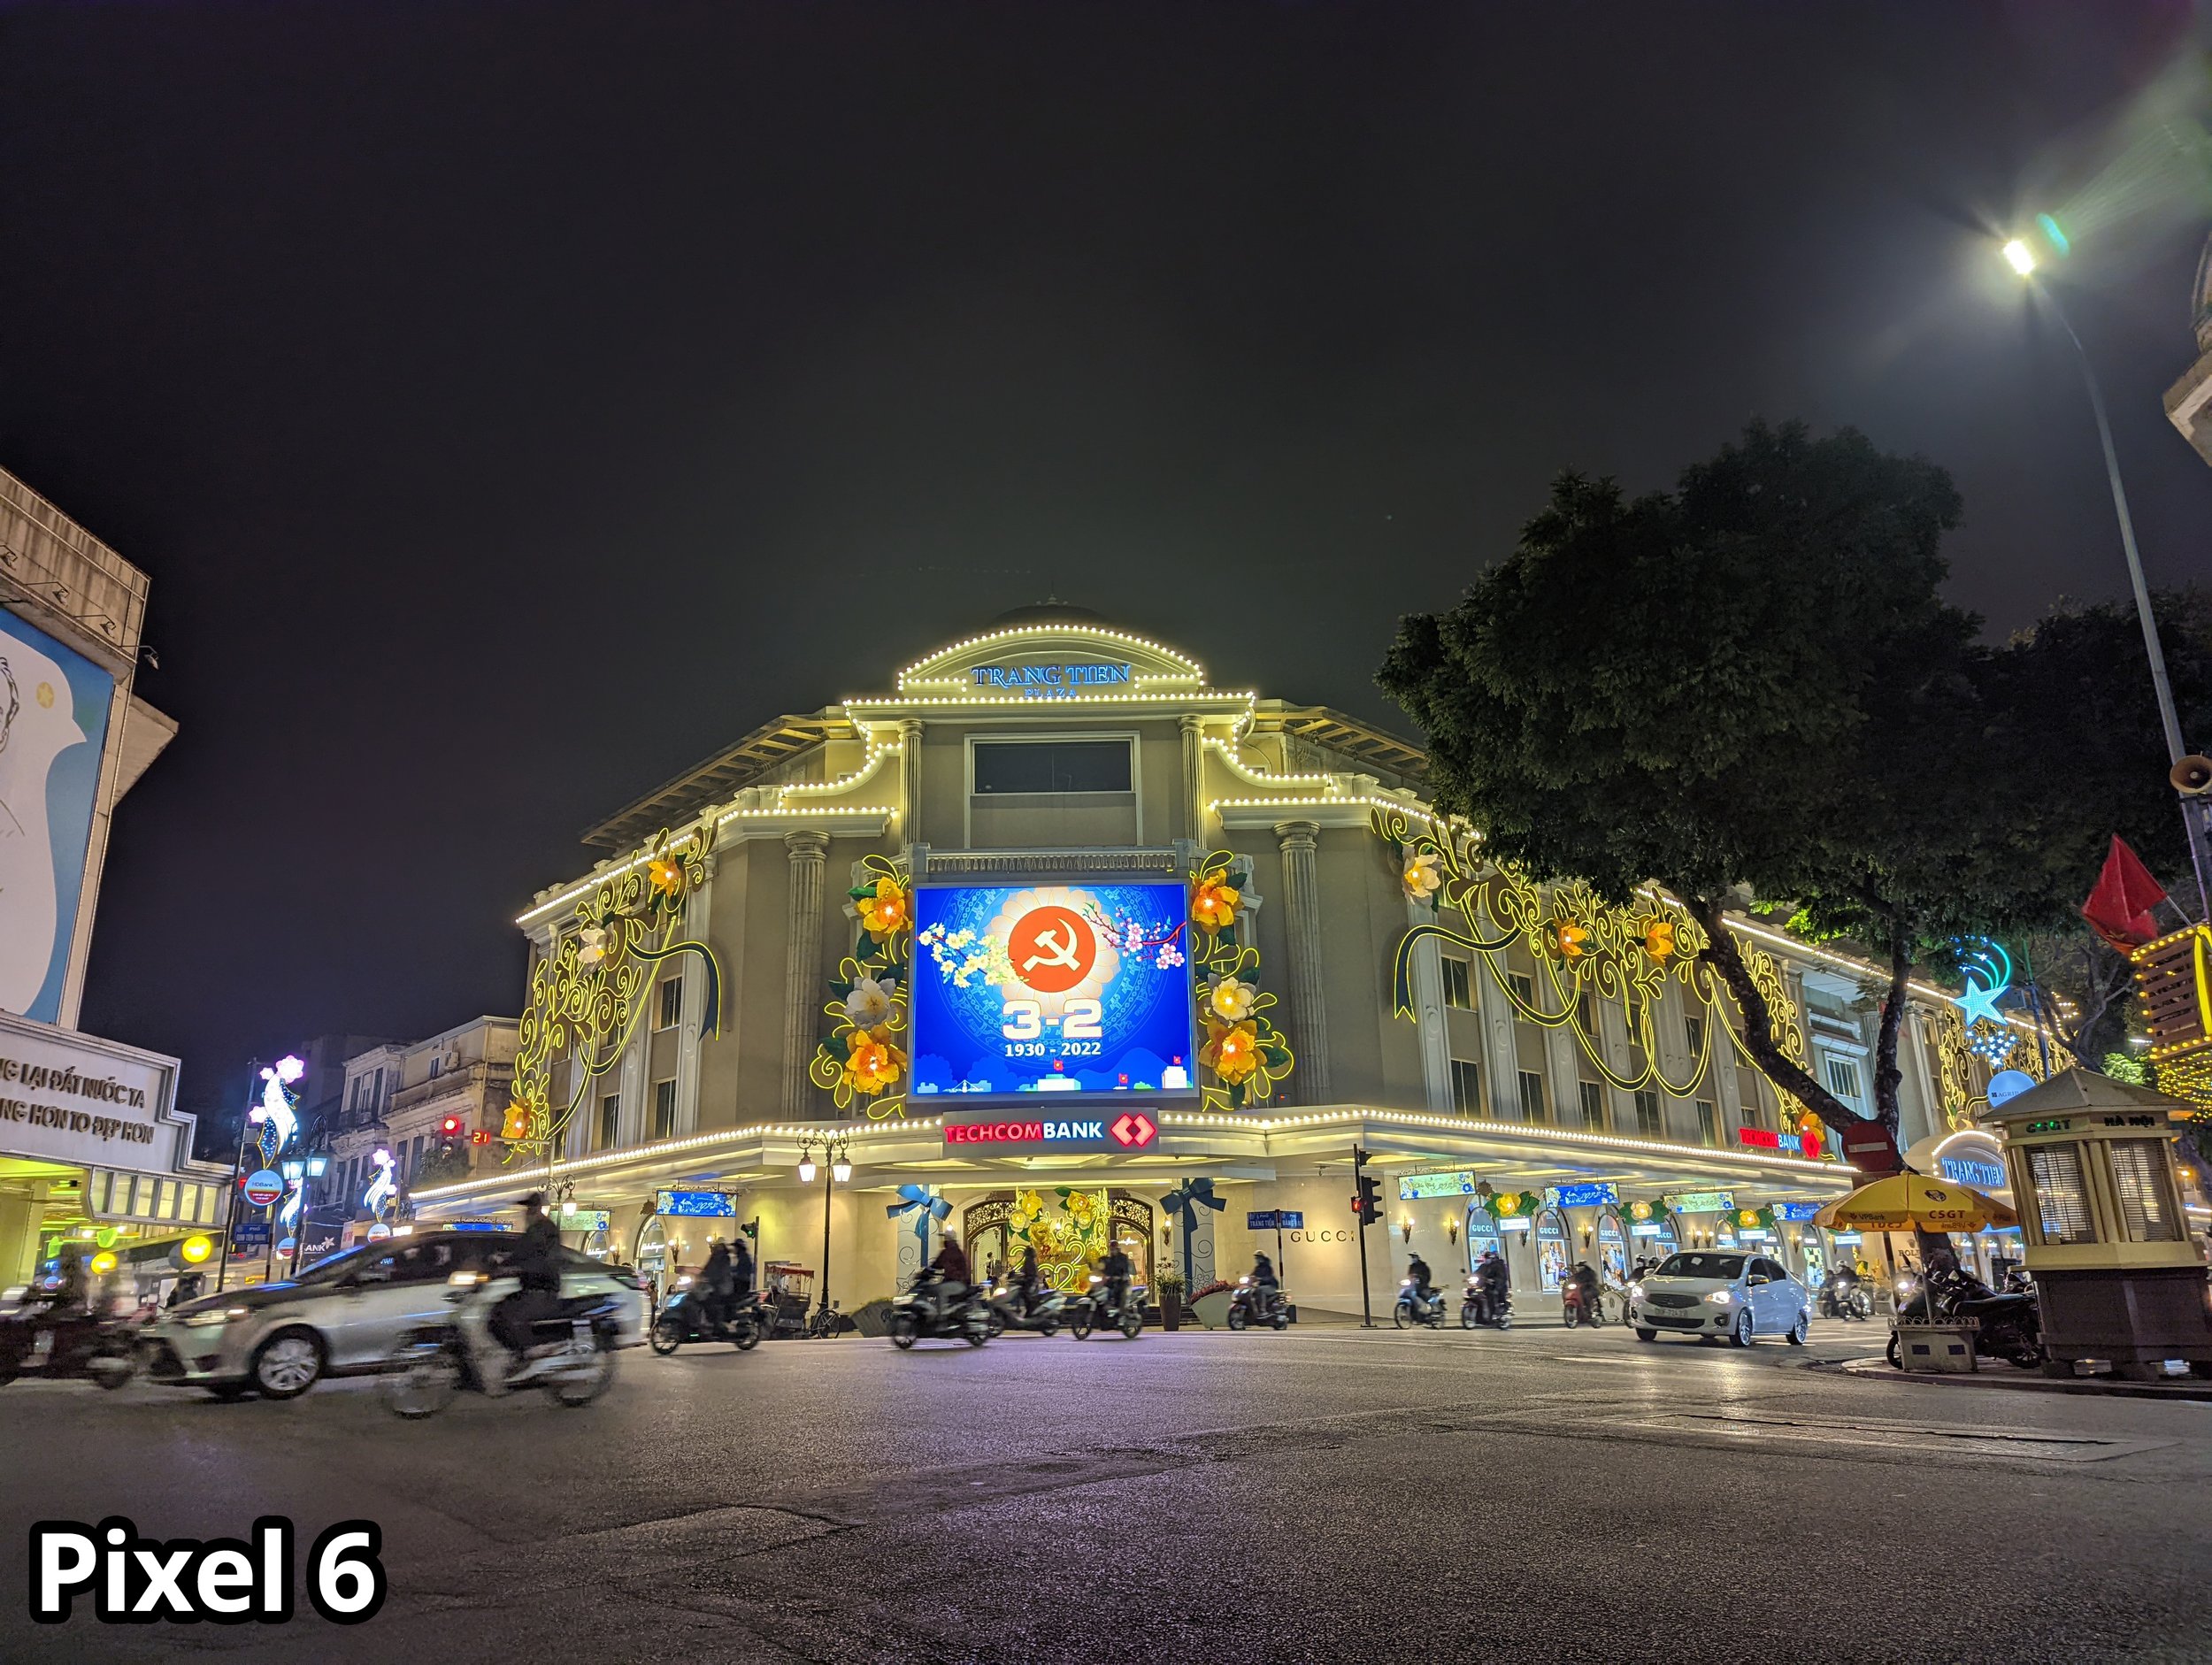
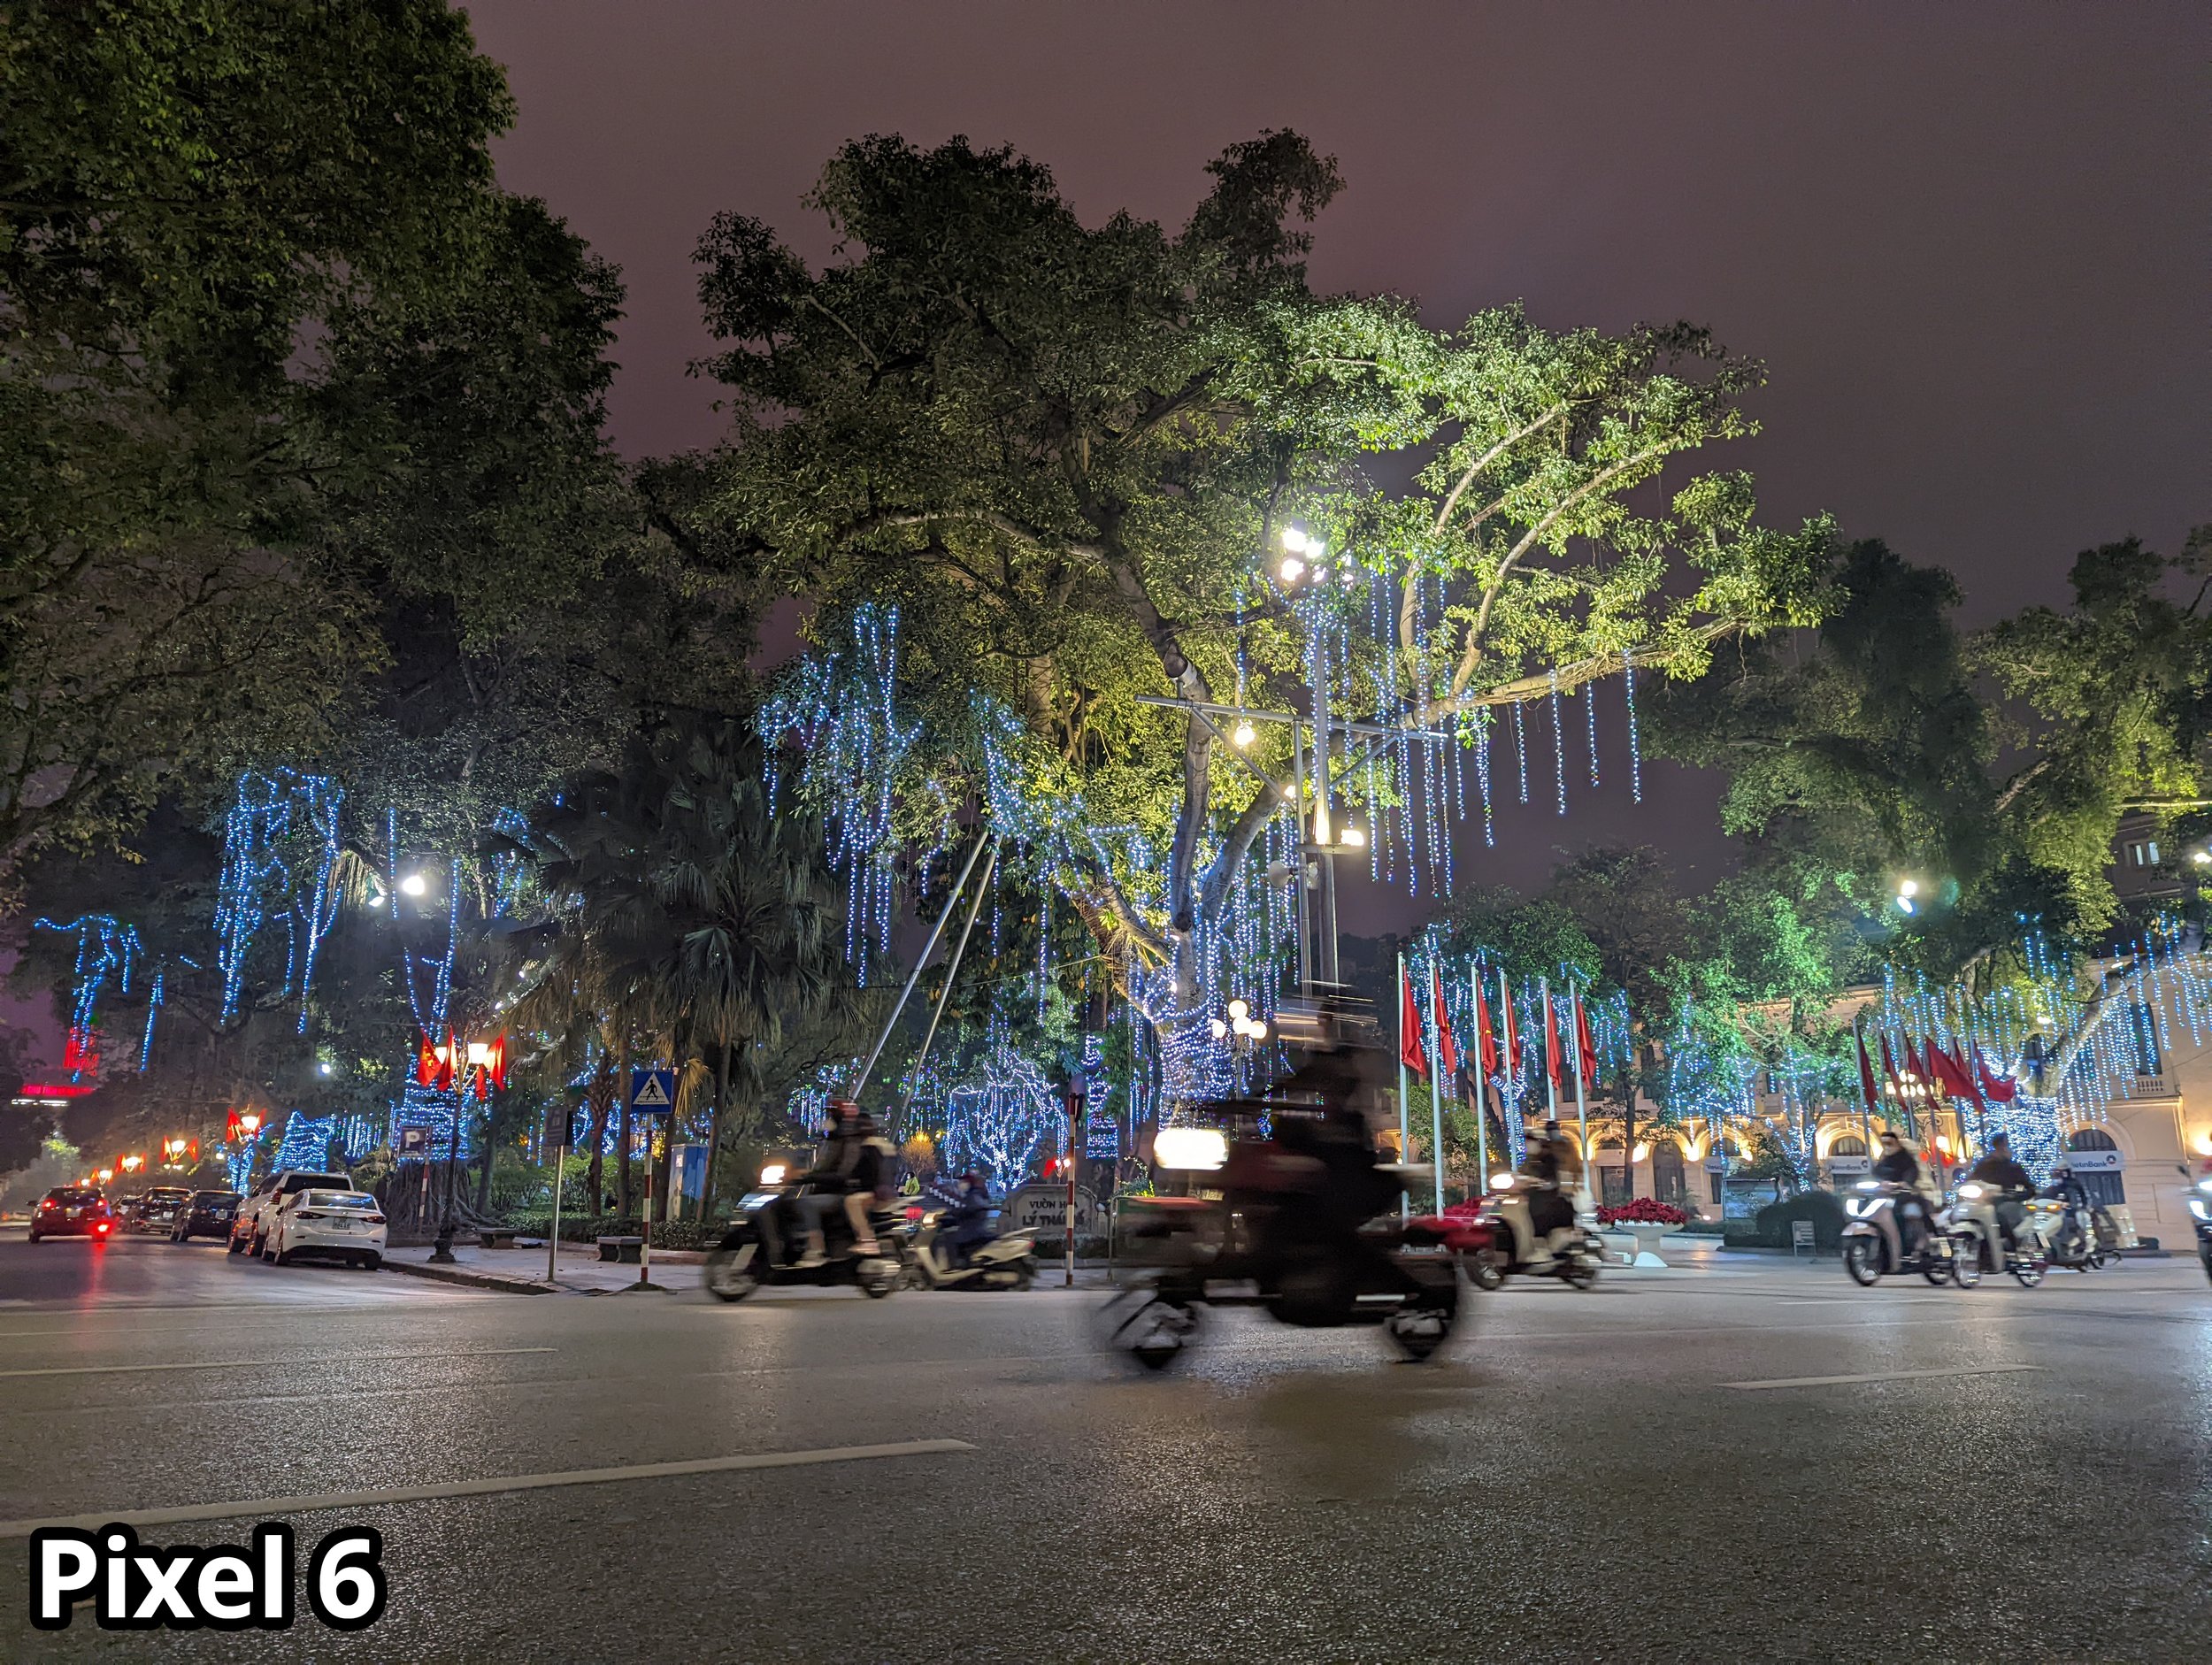
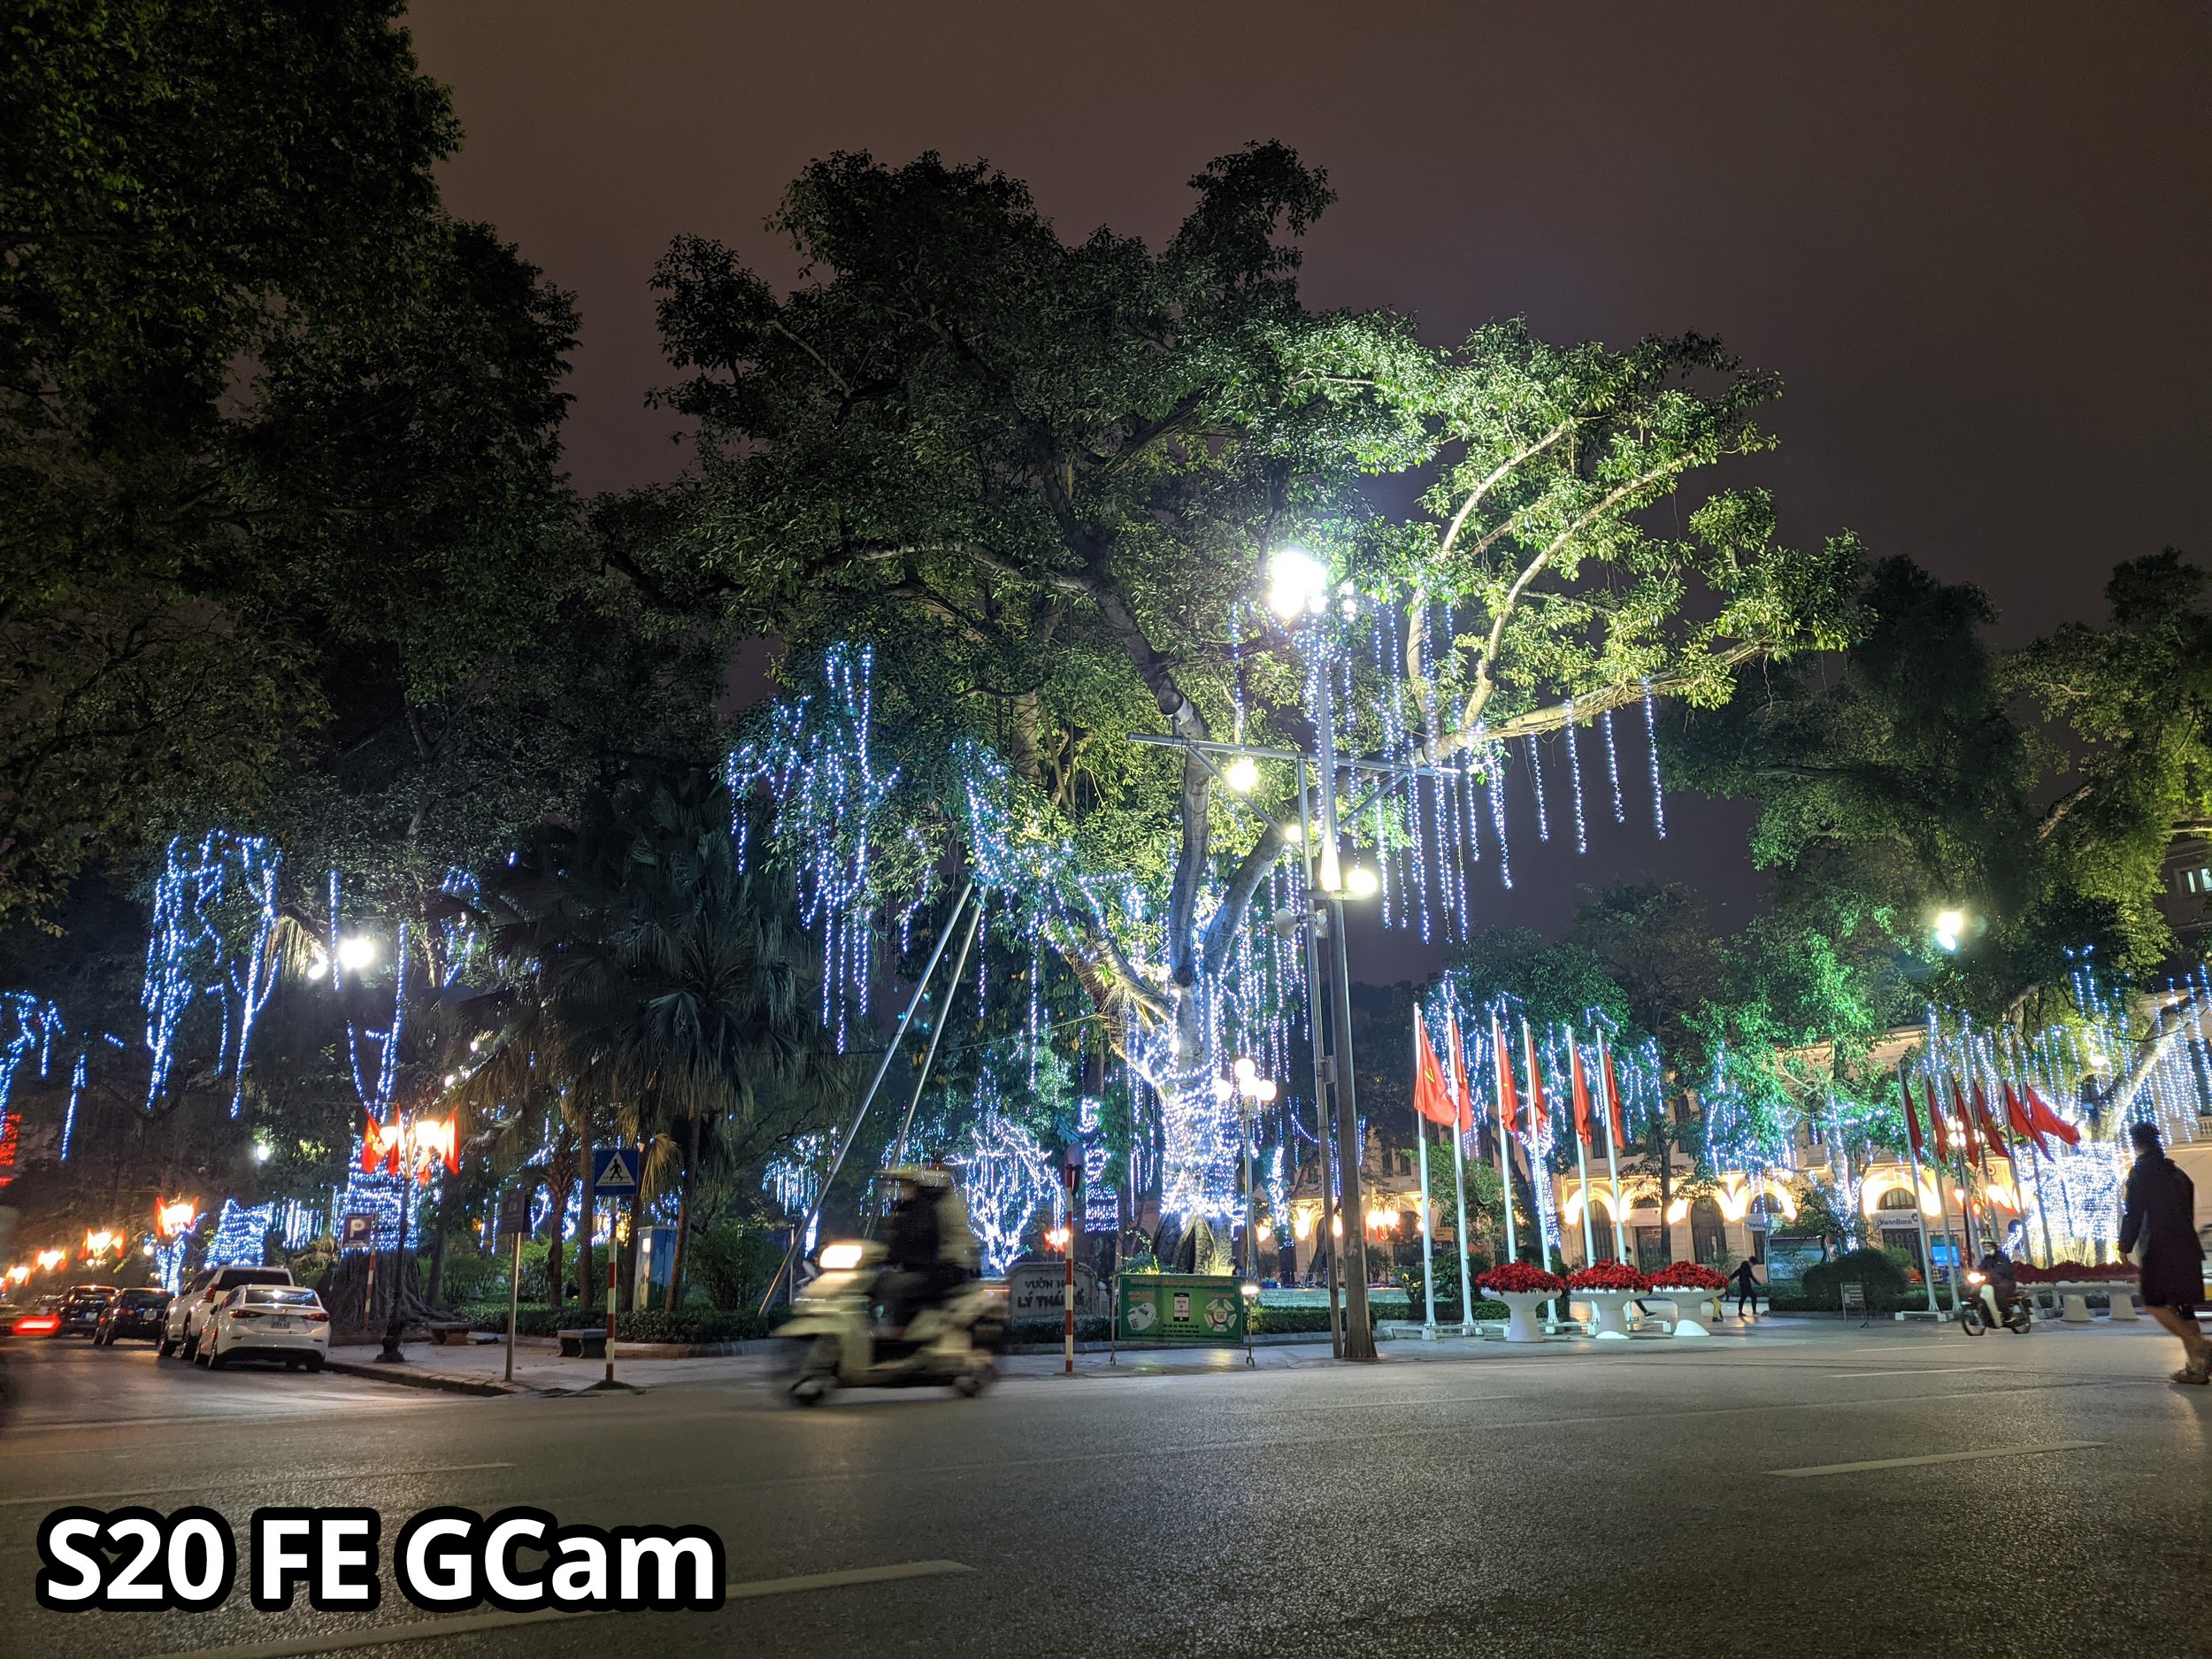
Nightmode: Samsung Nightmode VS GCam VS Pixel 6 Nightmode
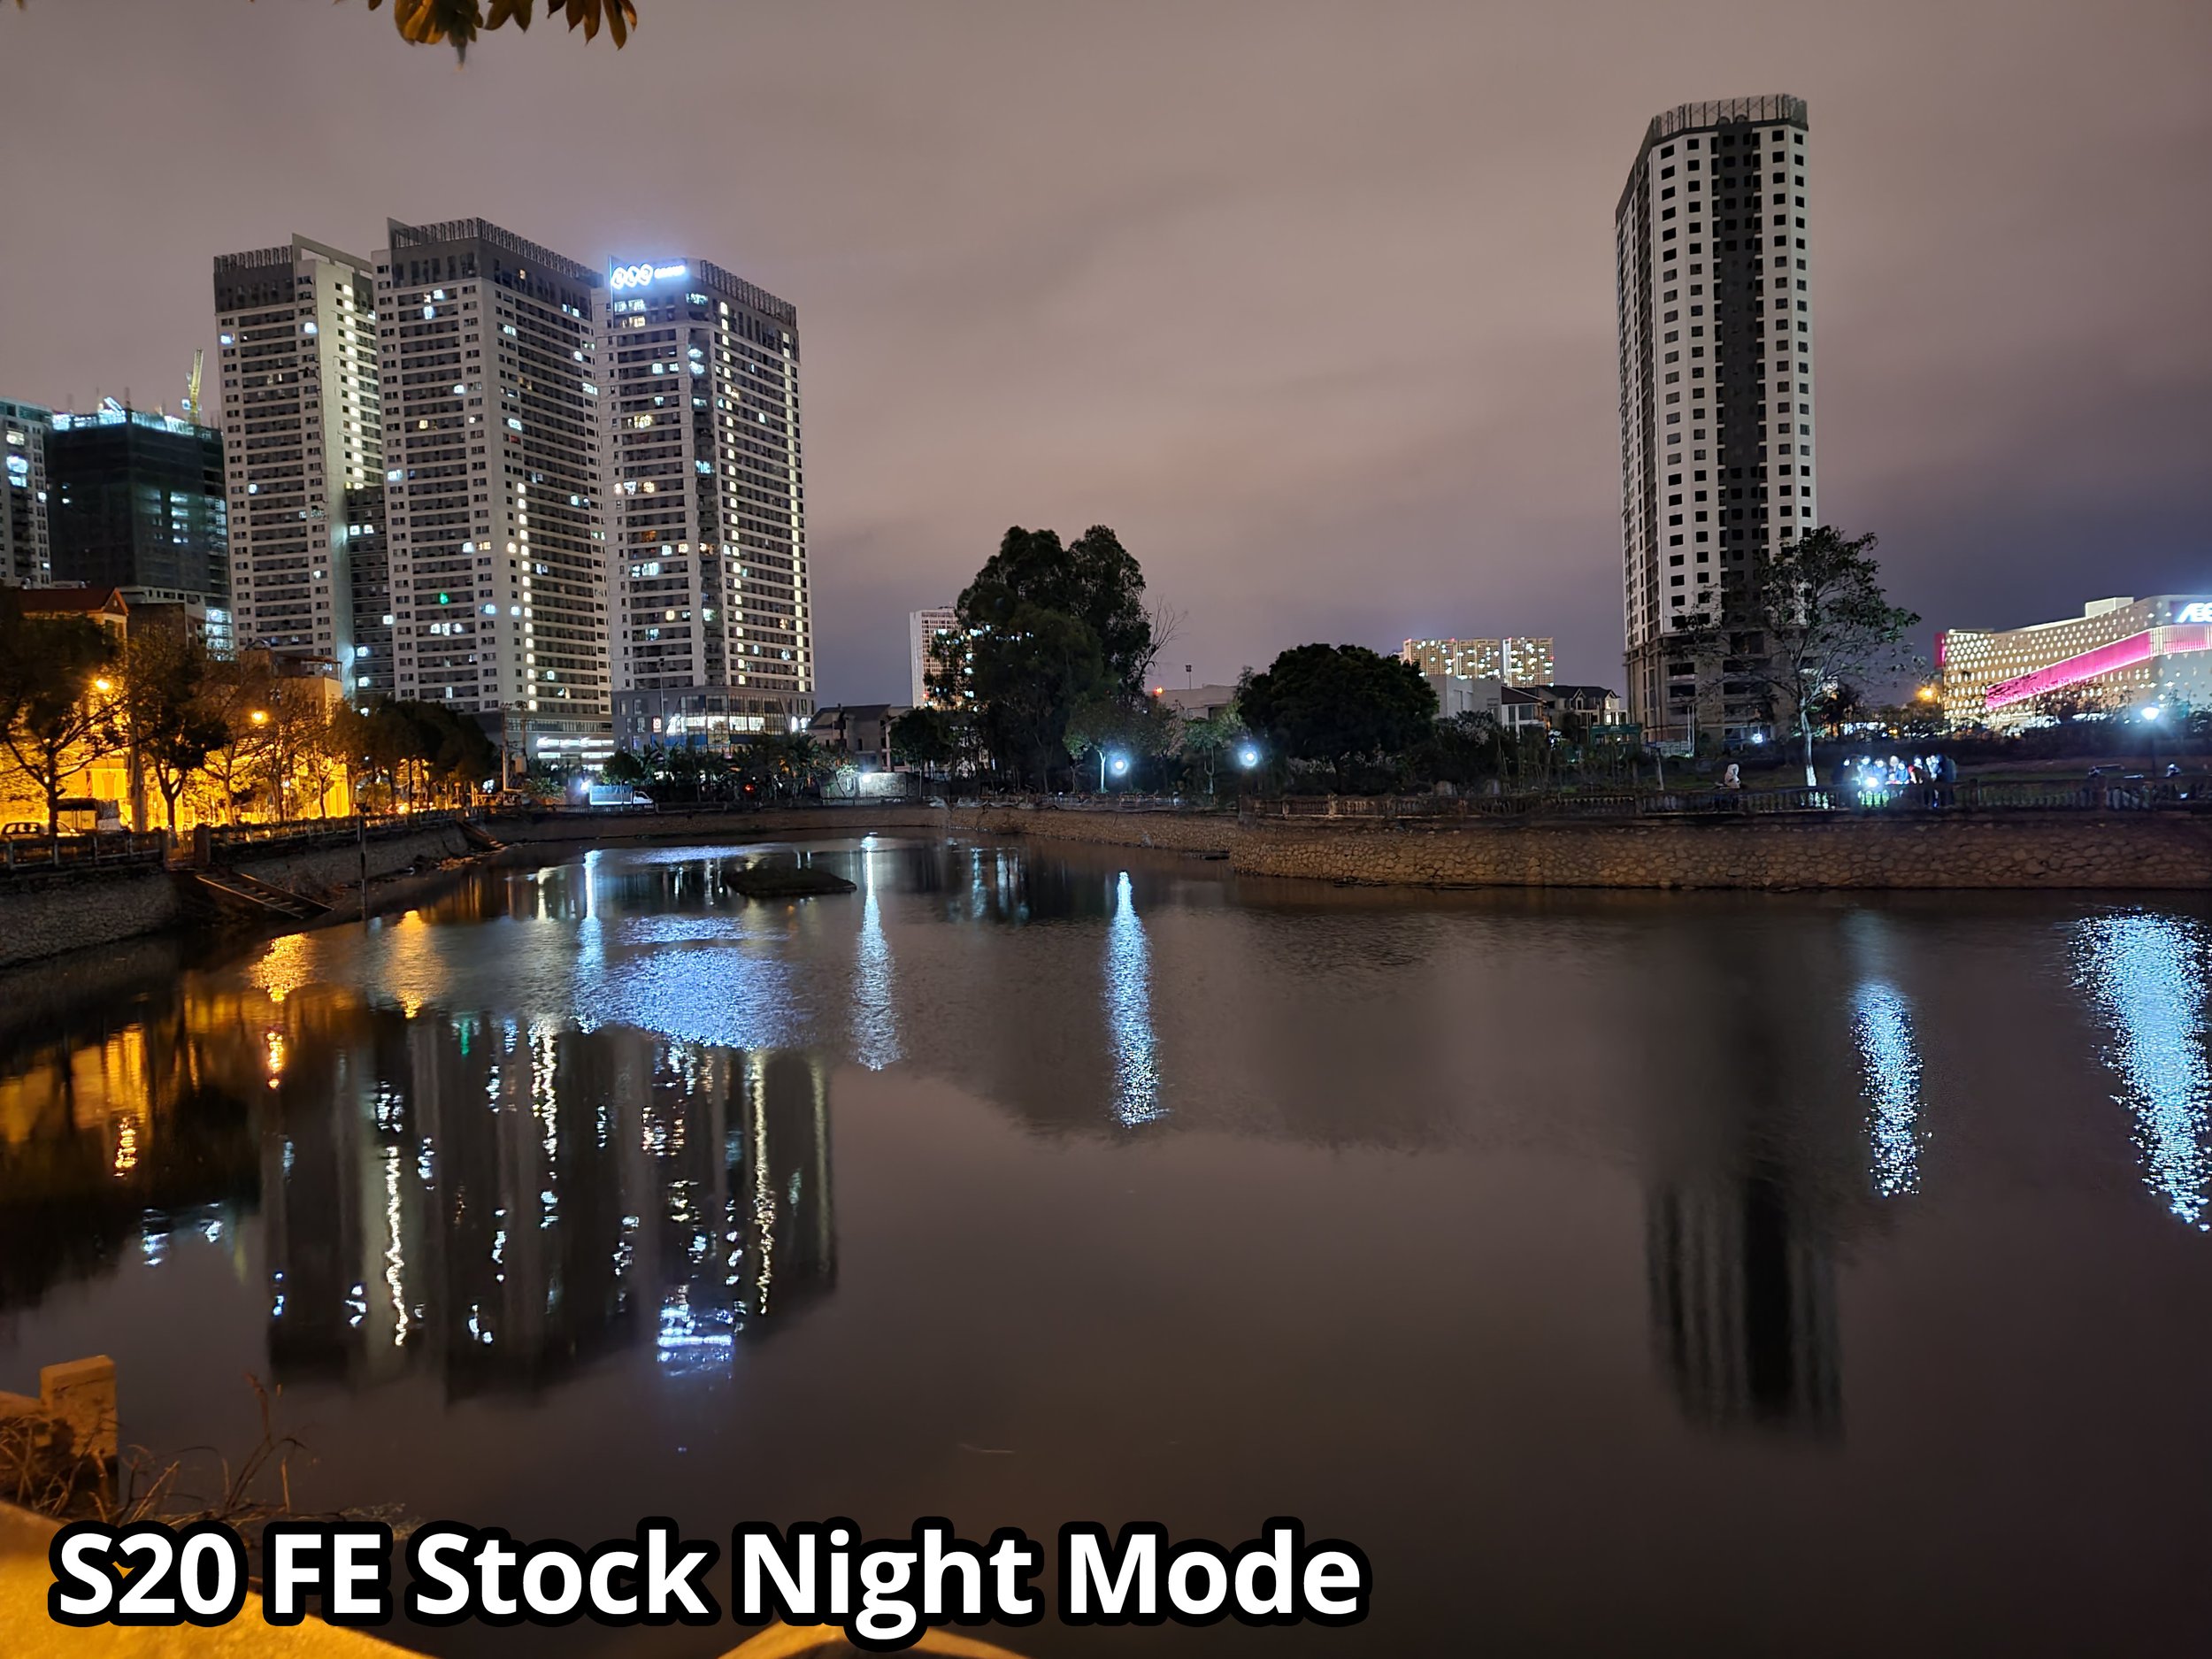
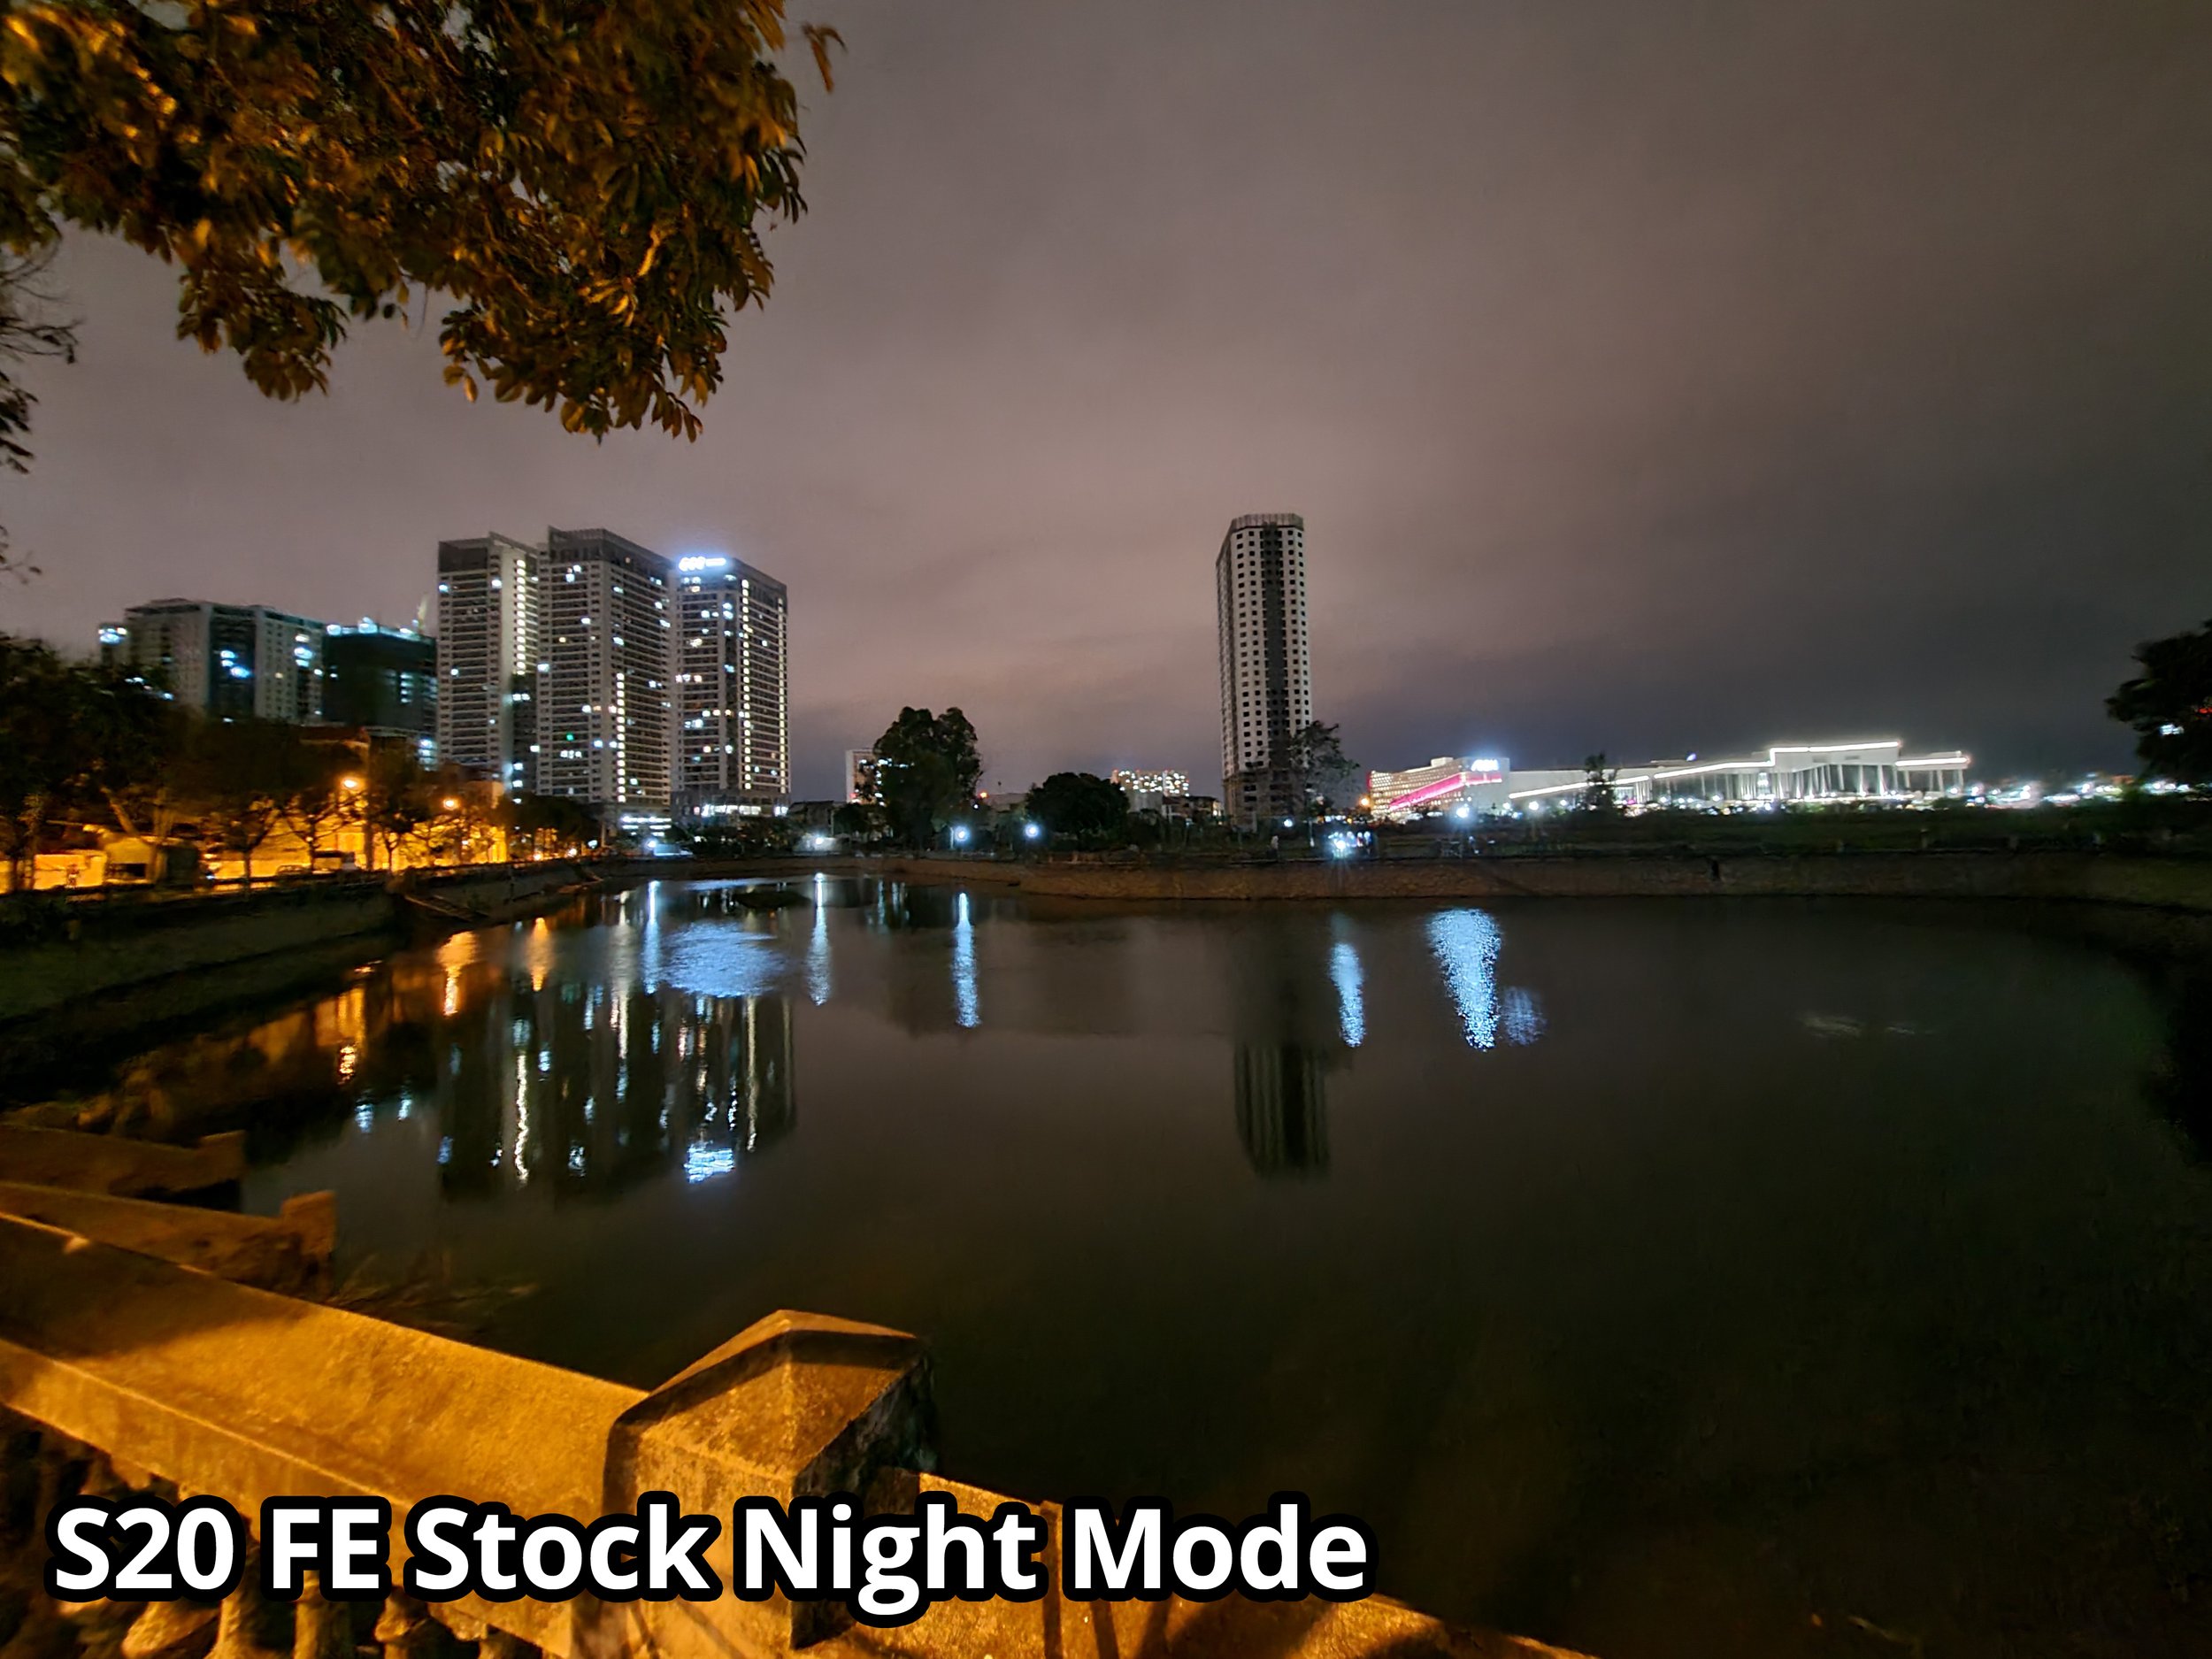

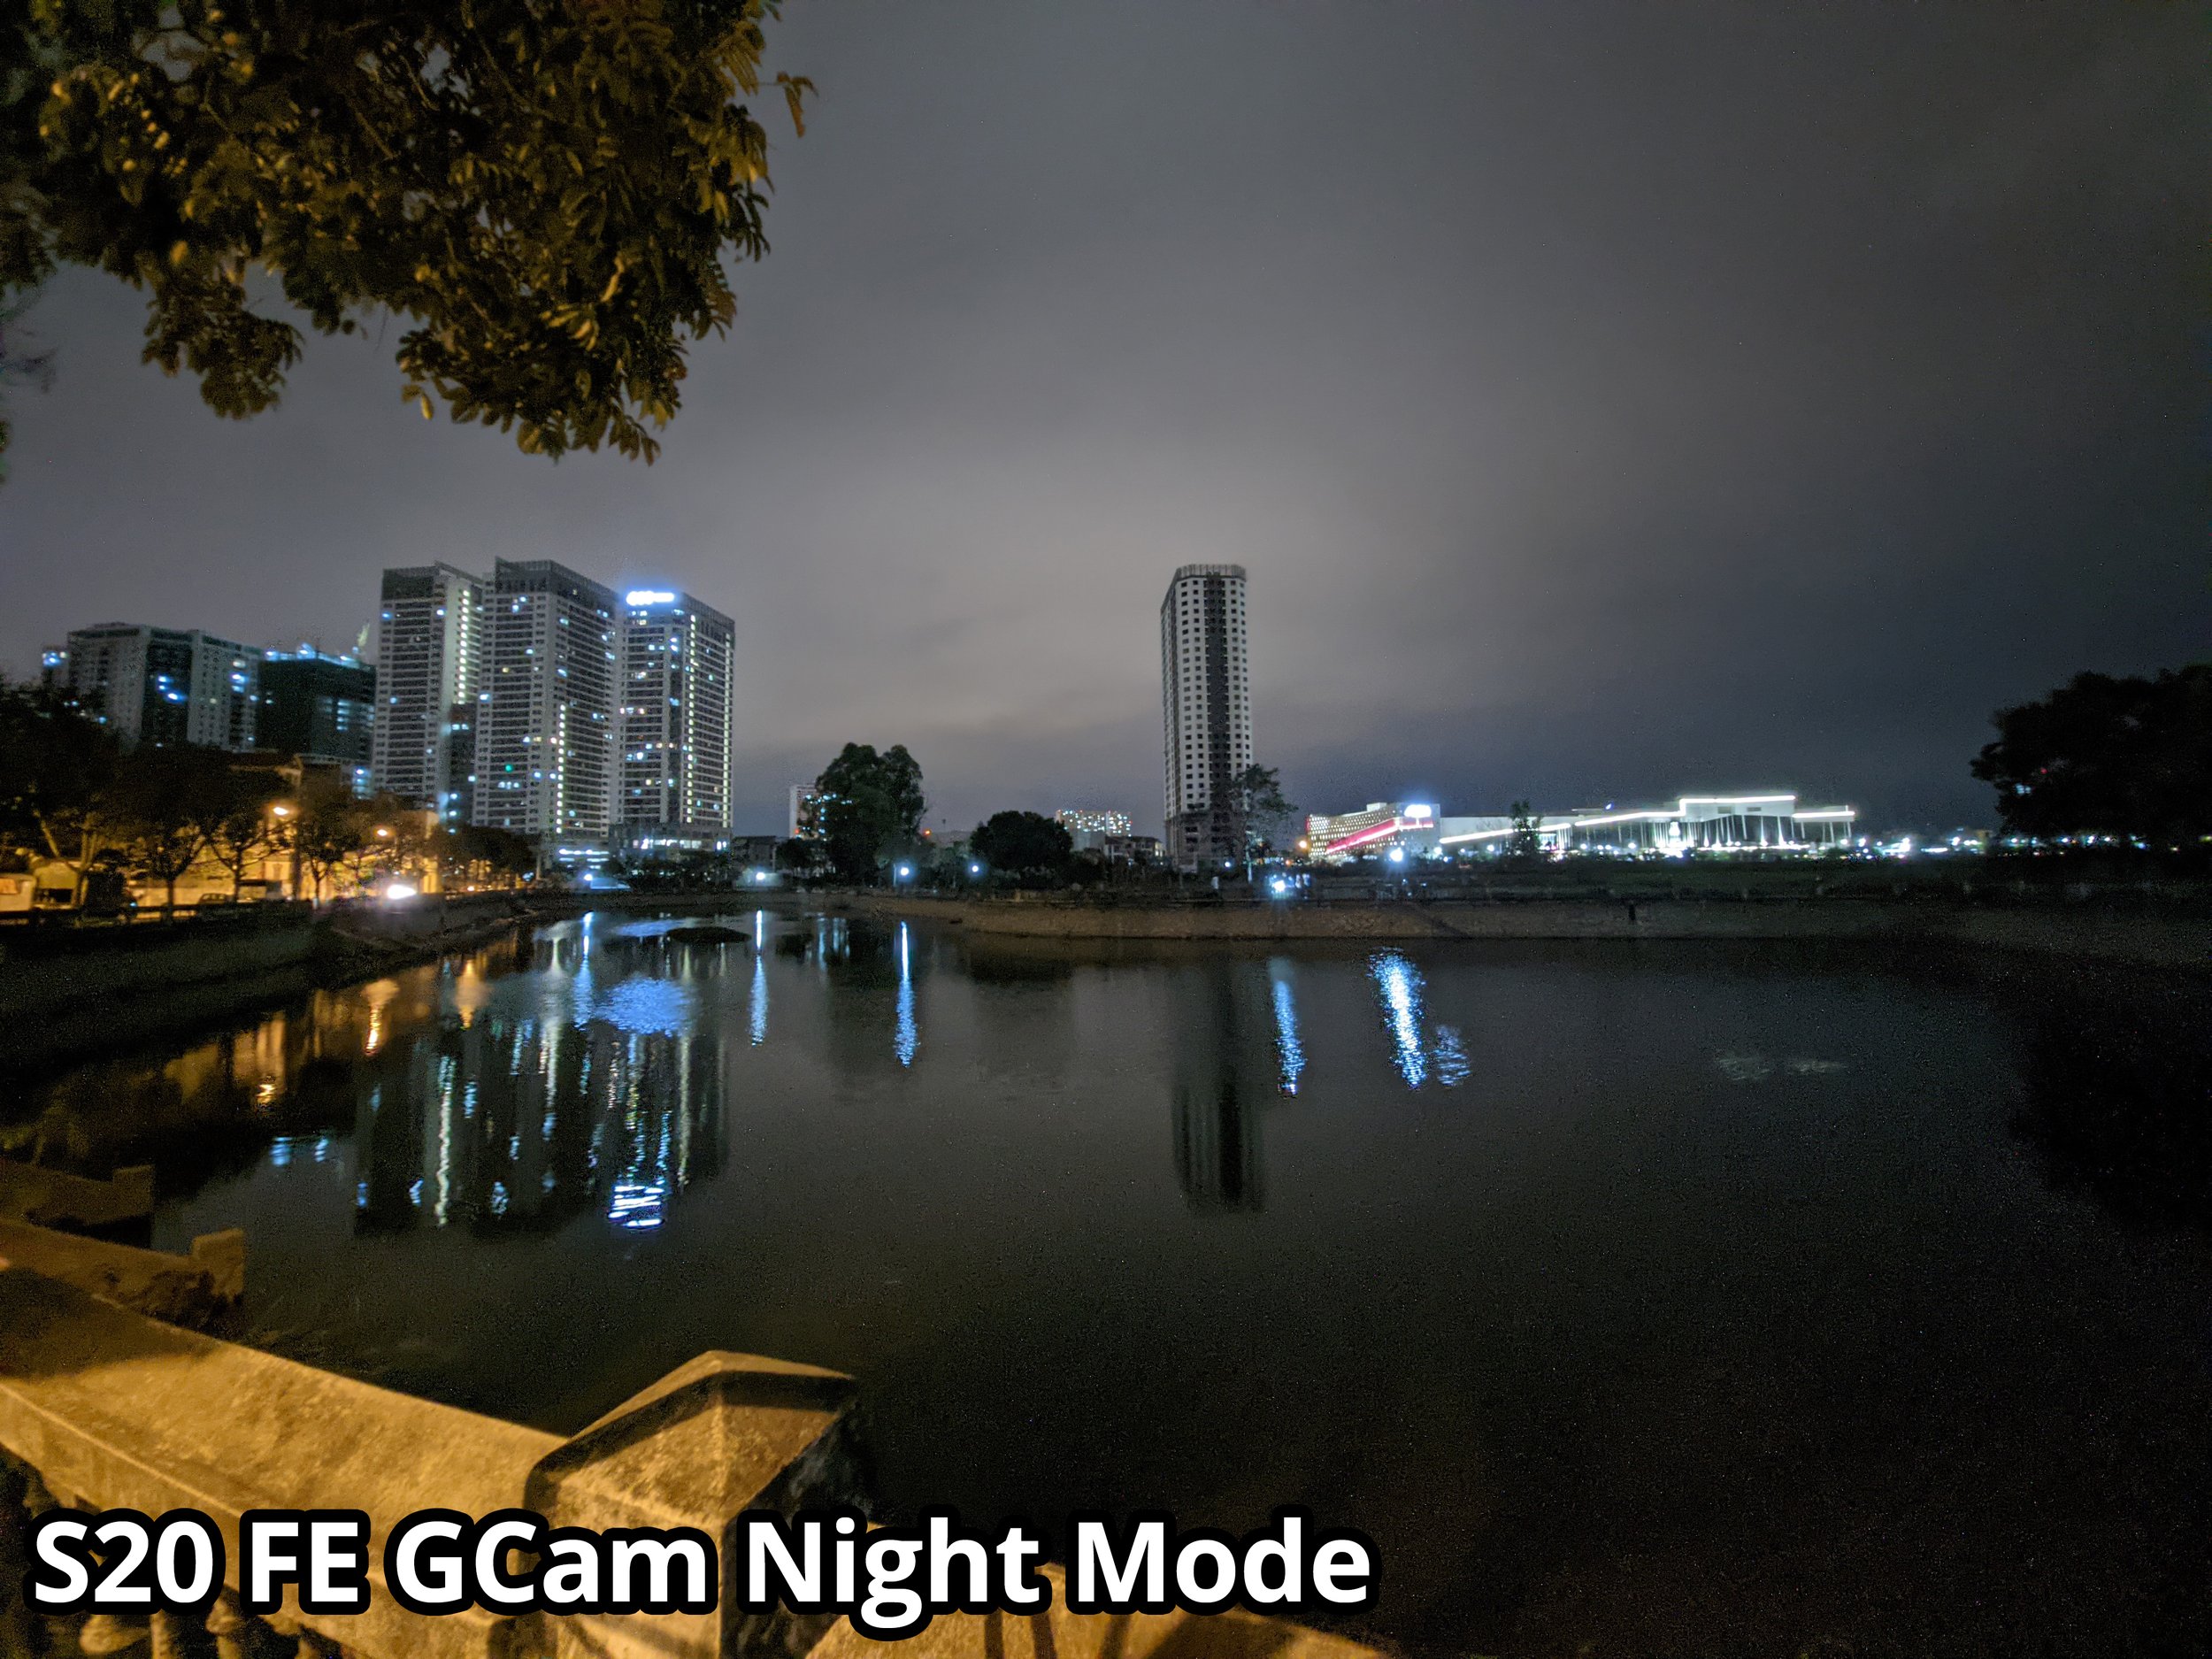
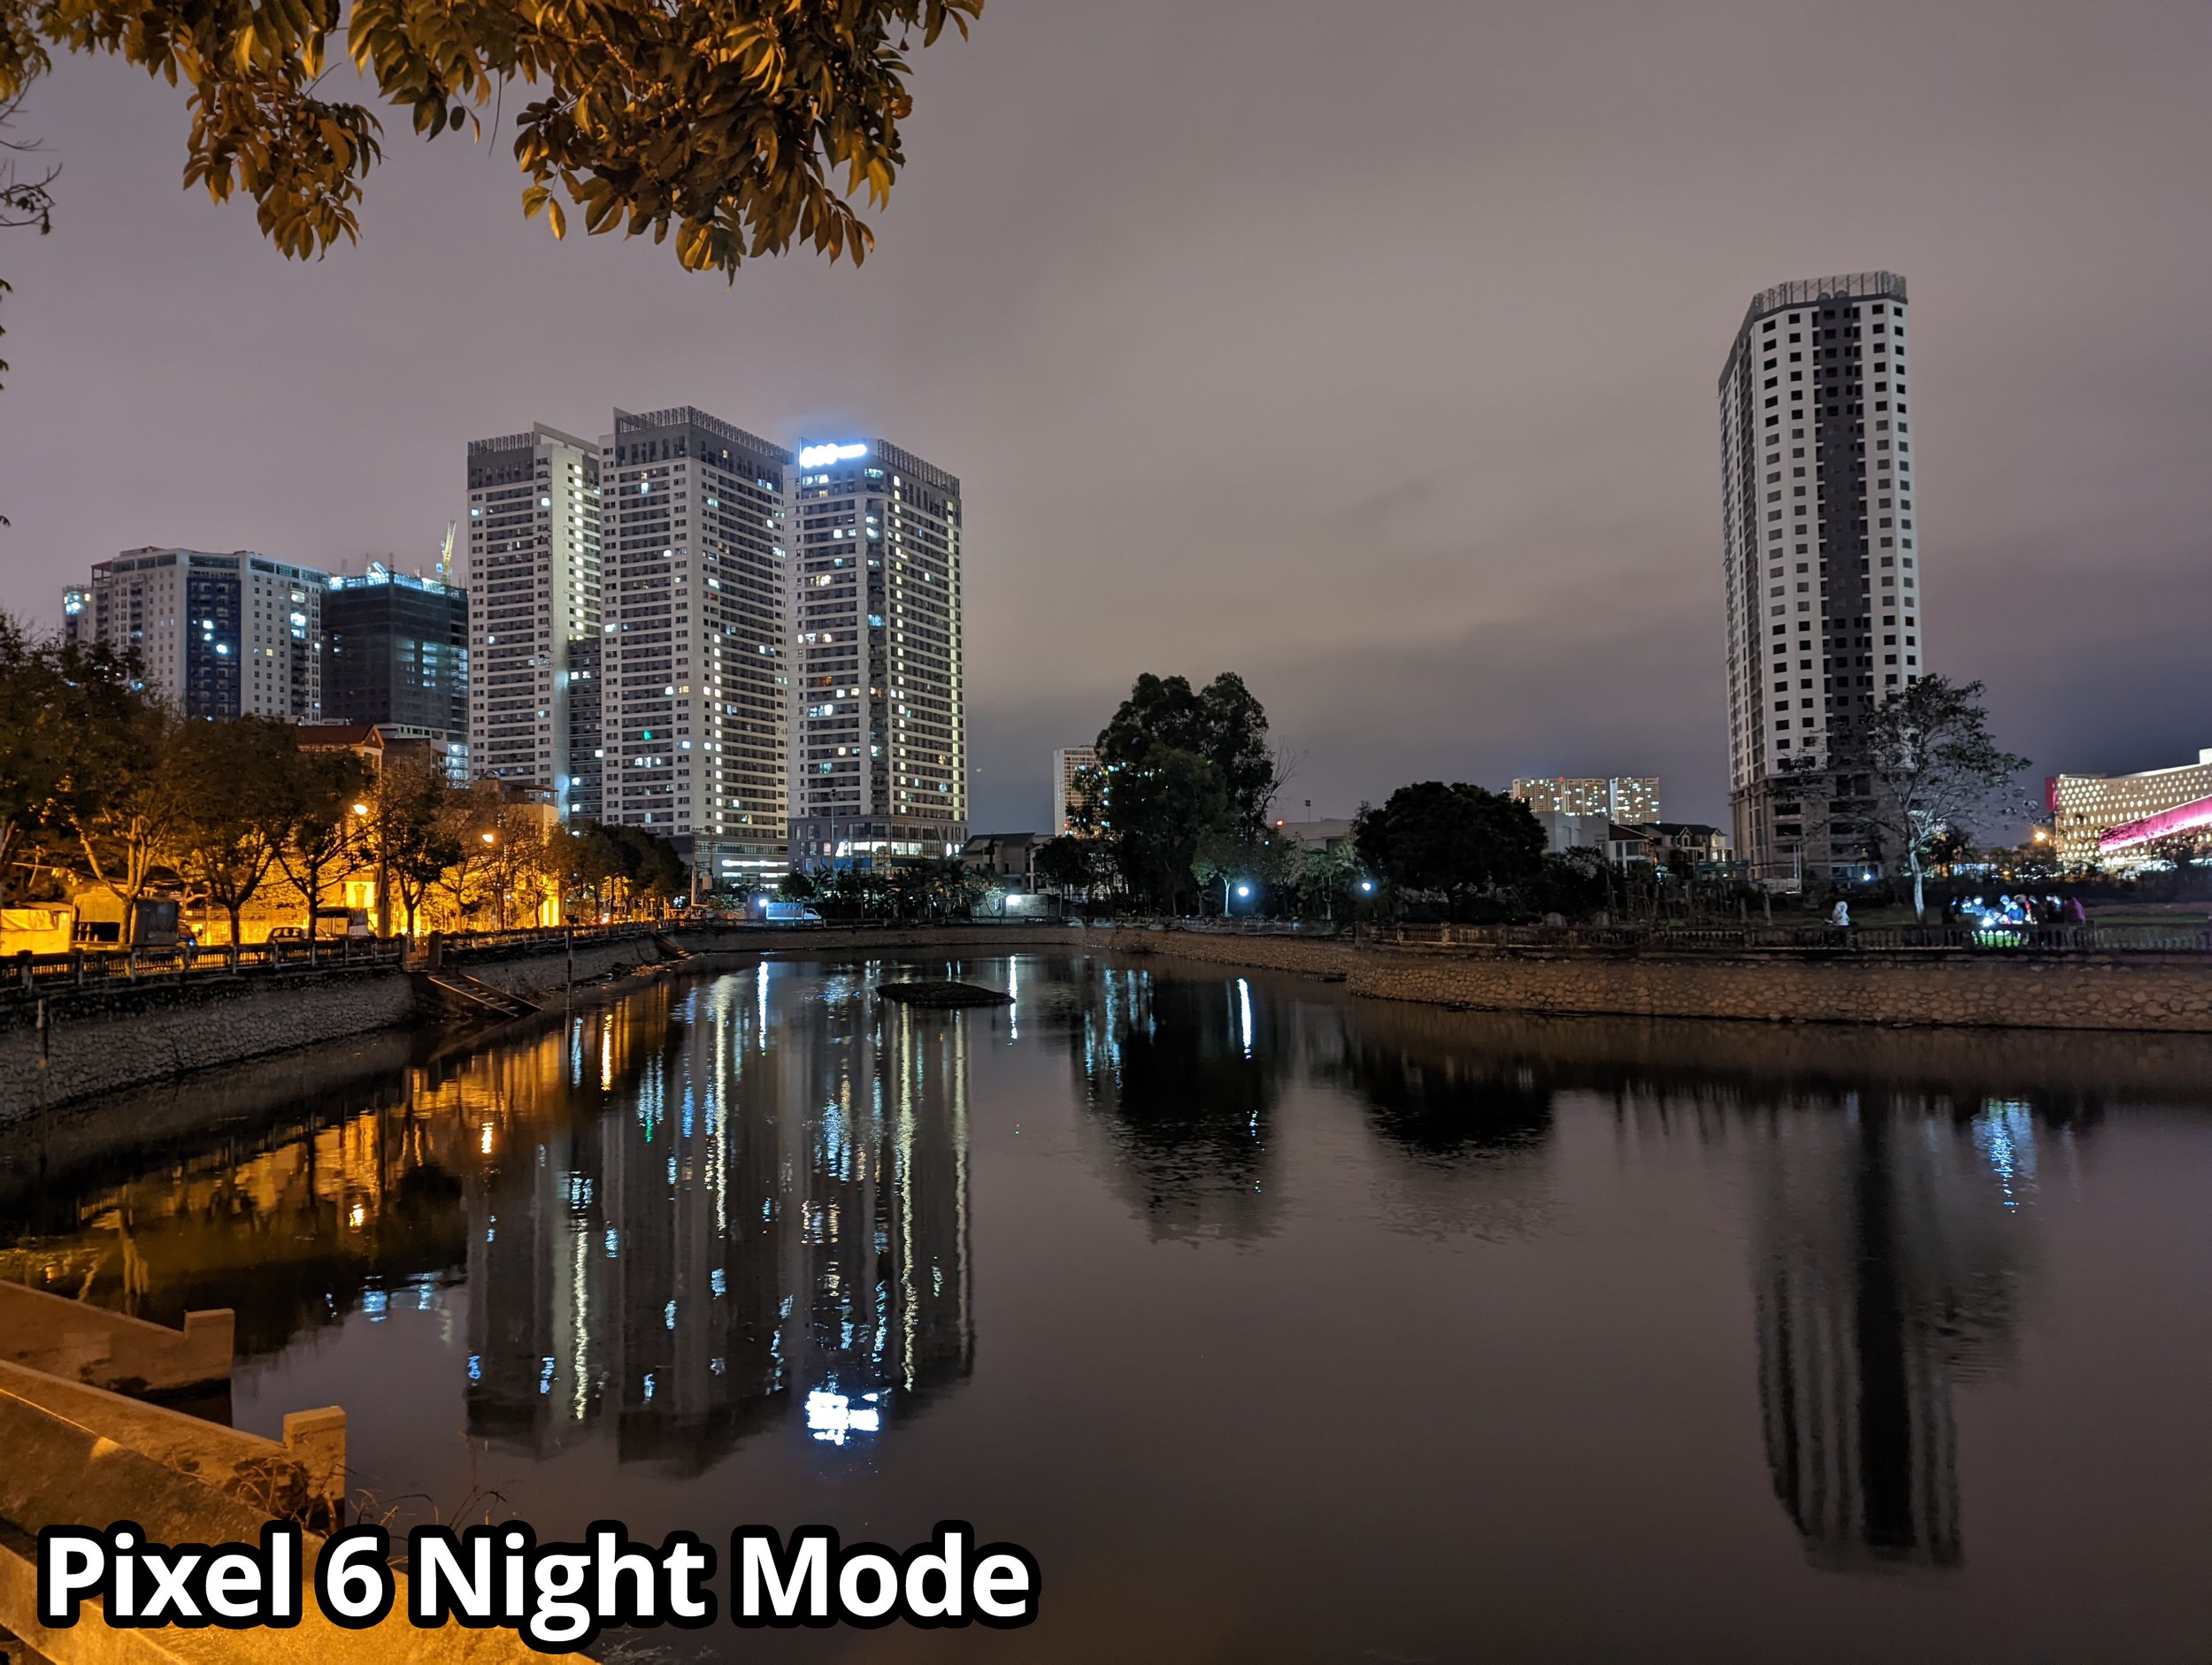
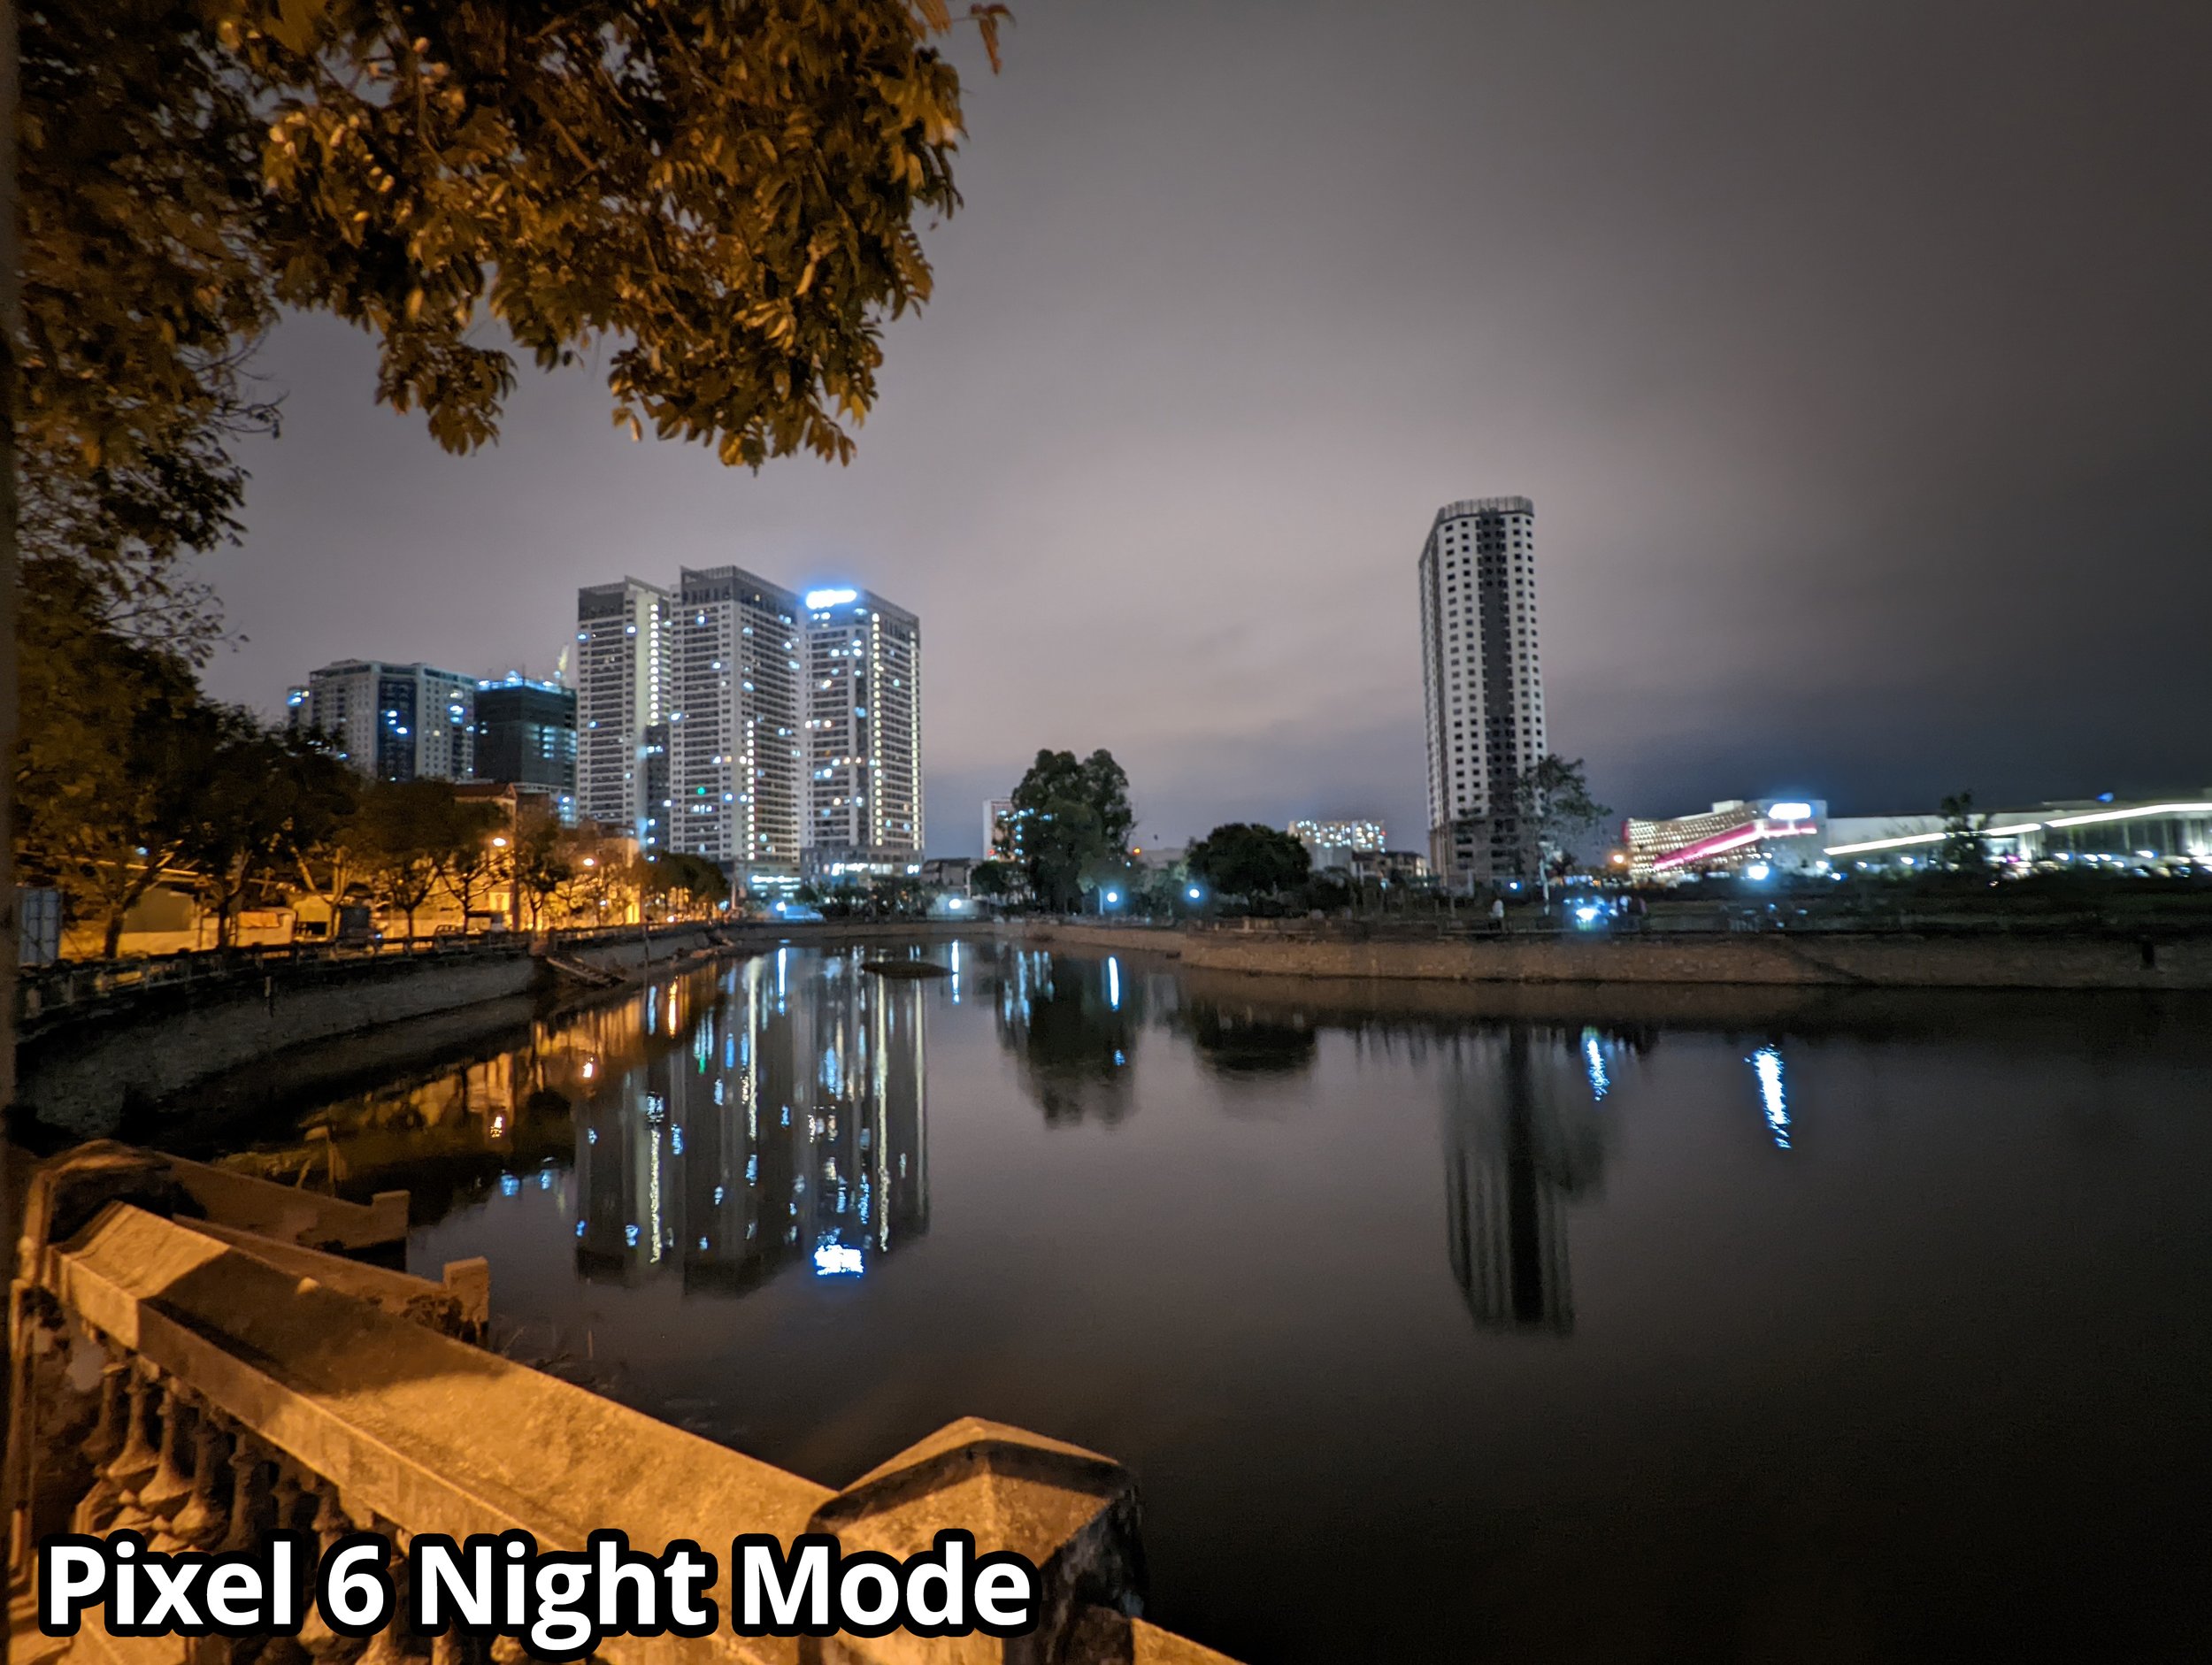


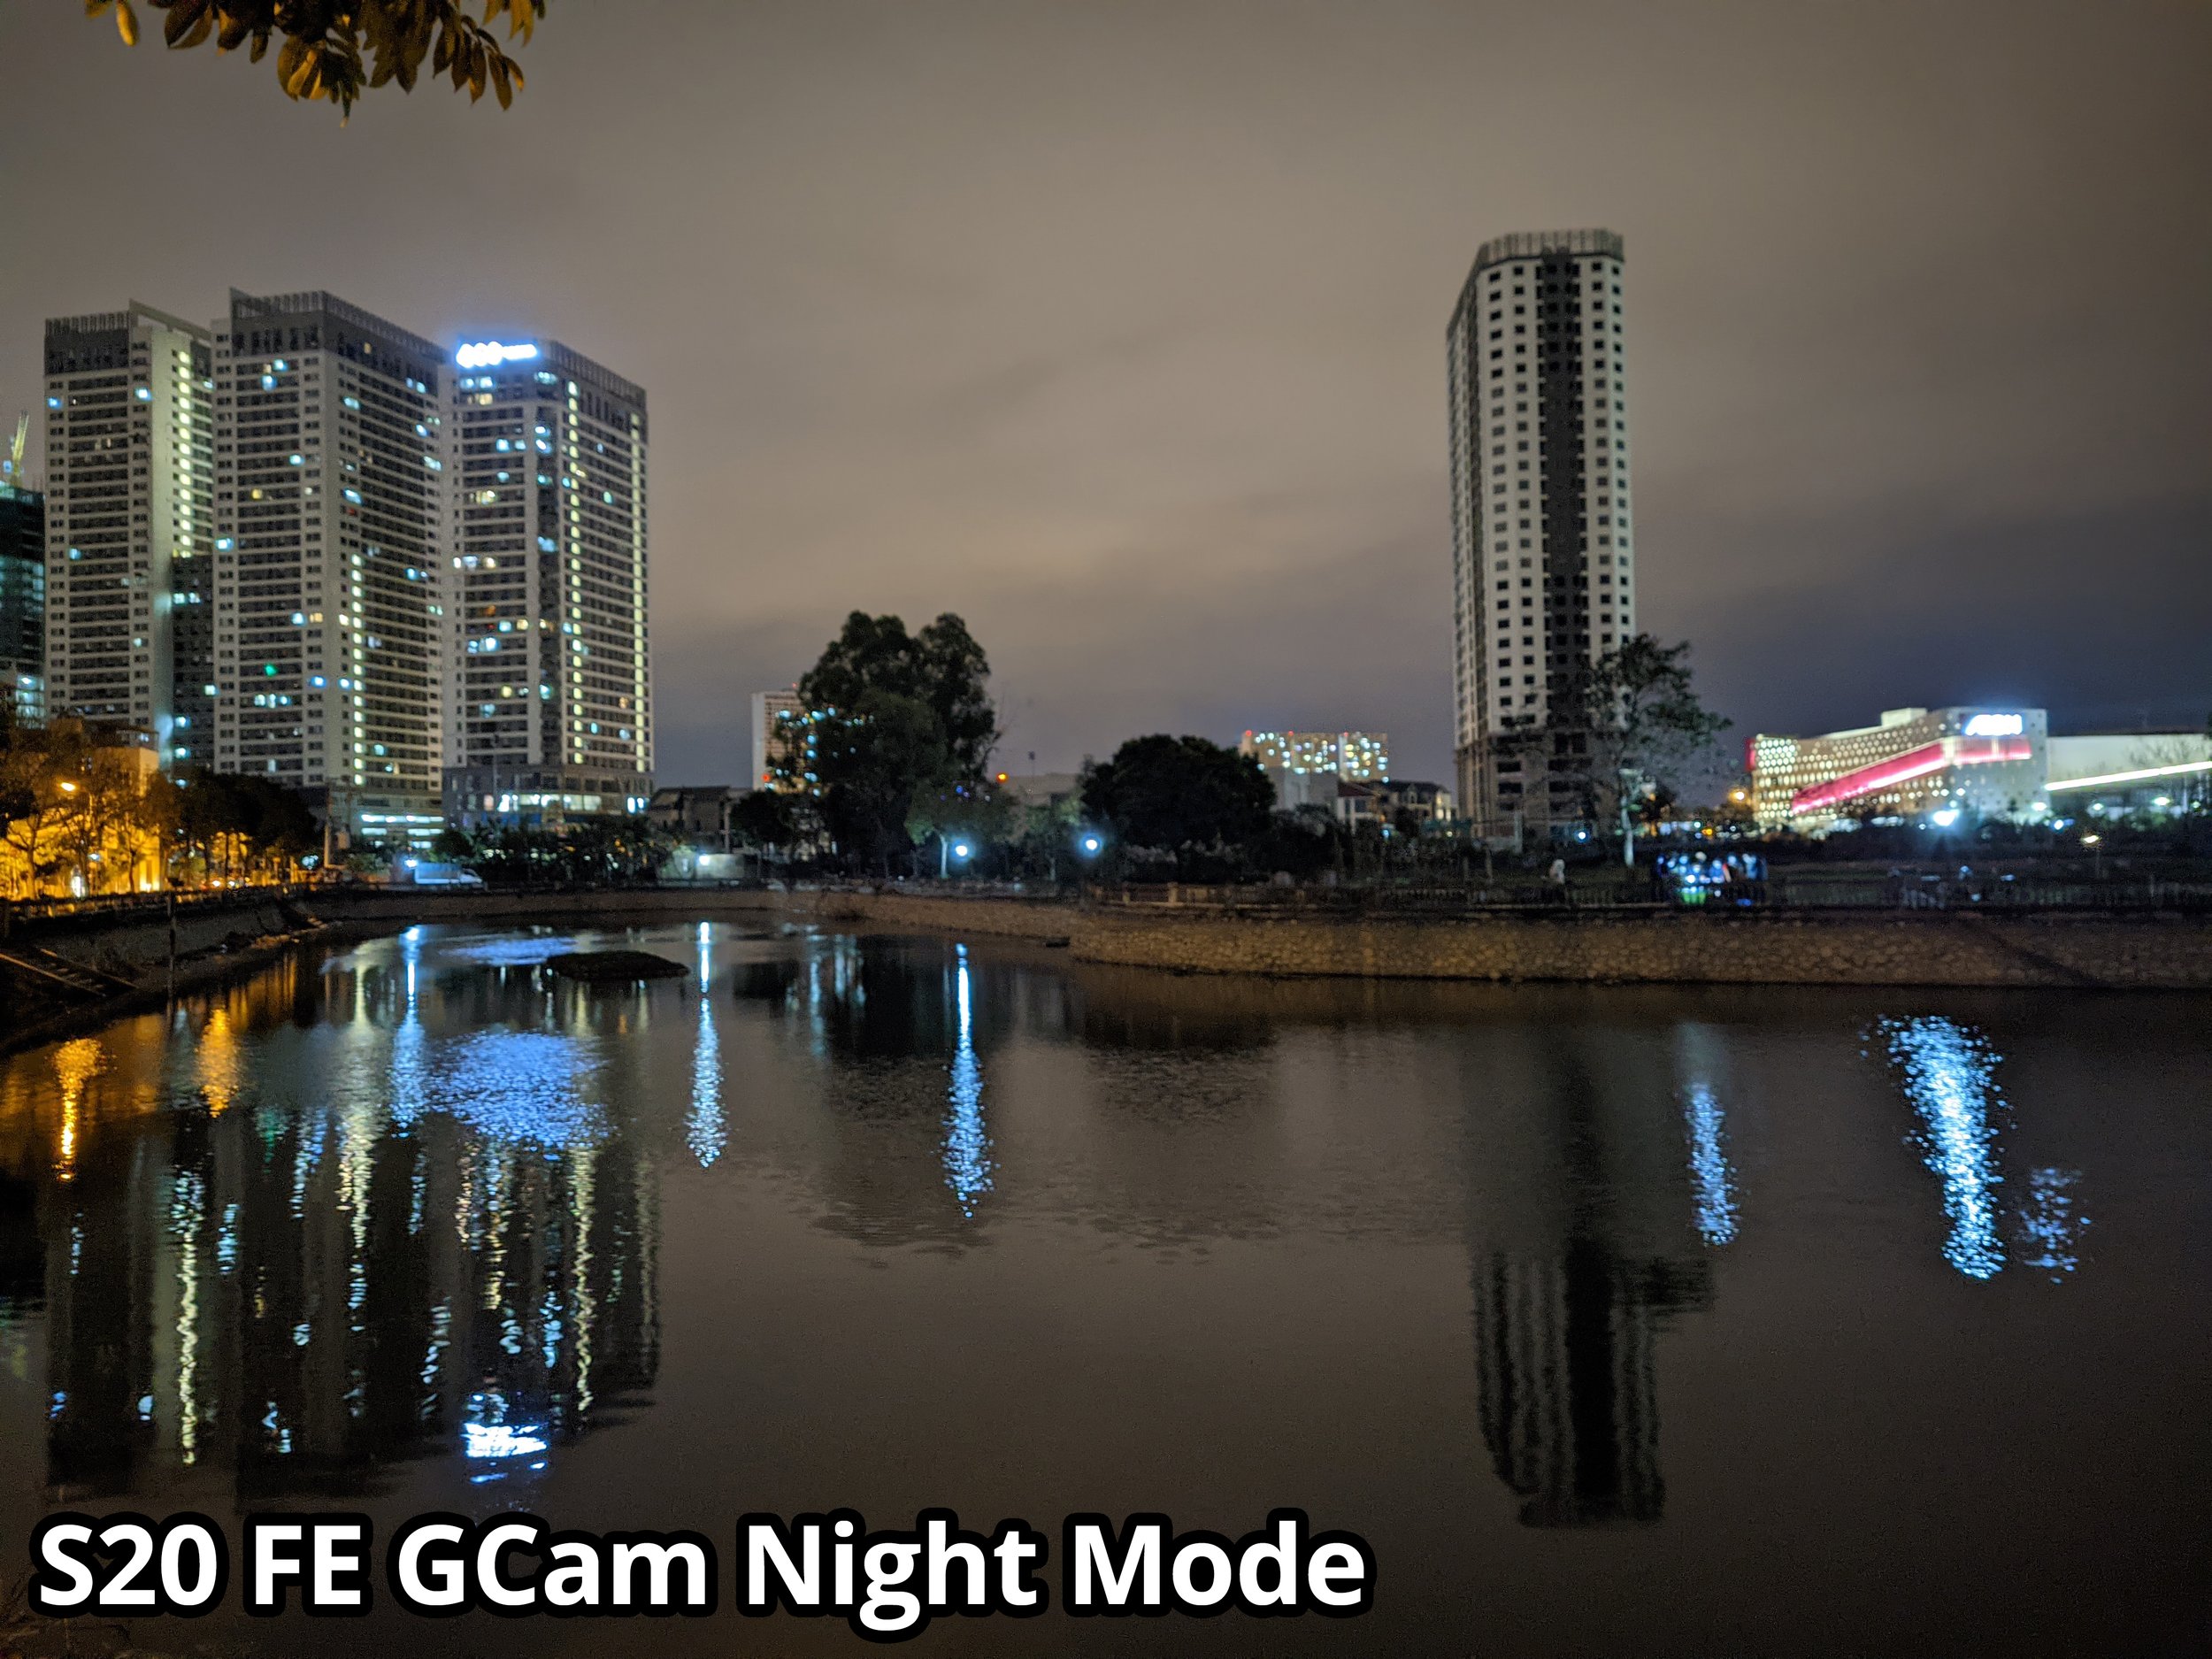


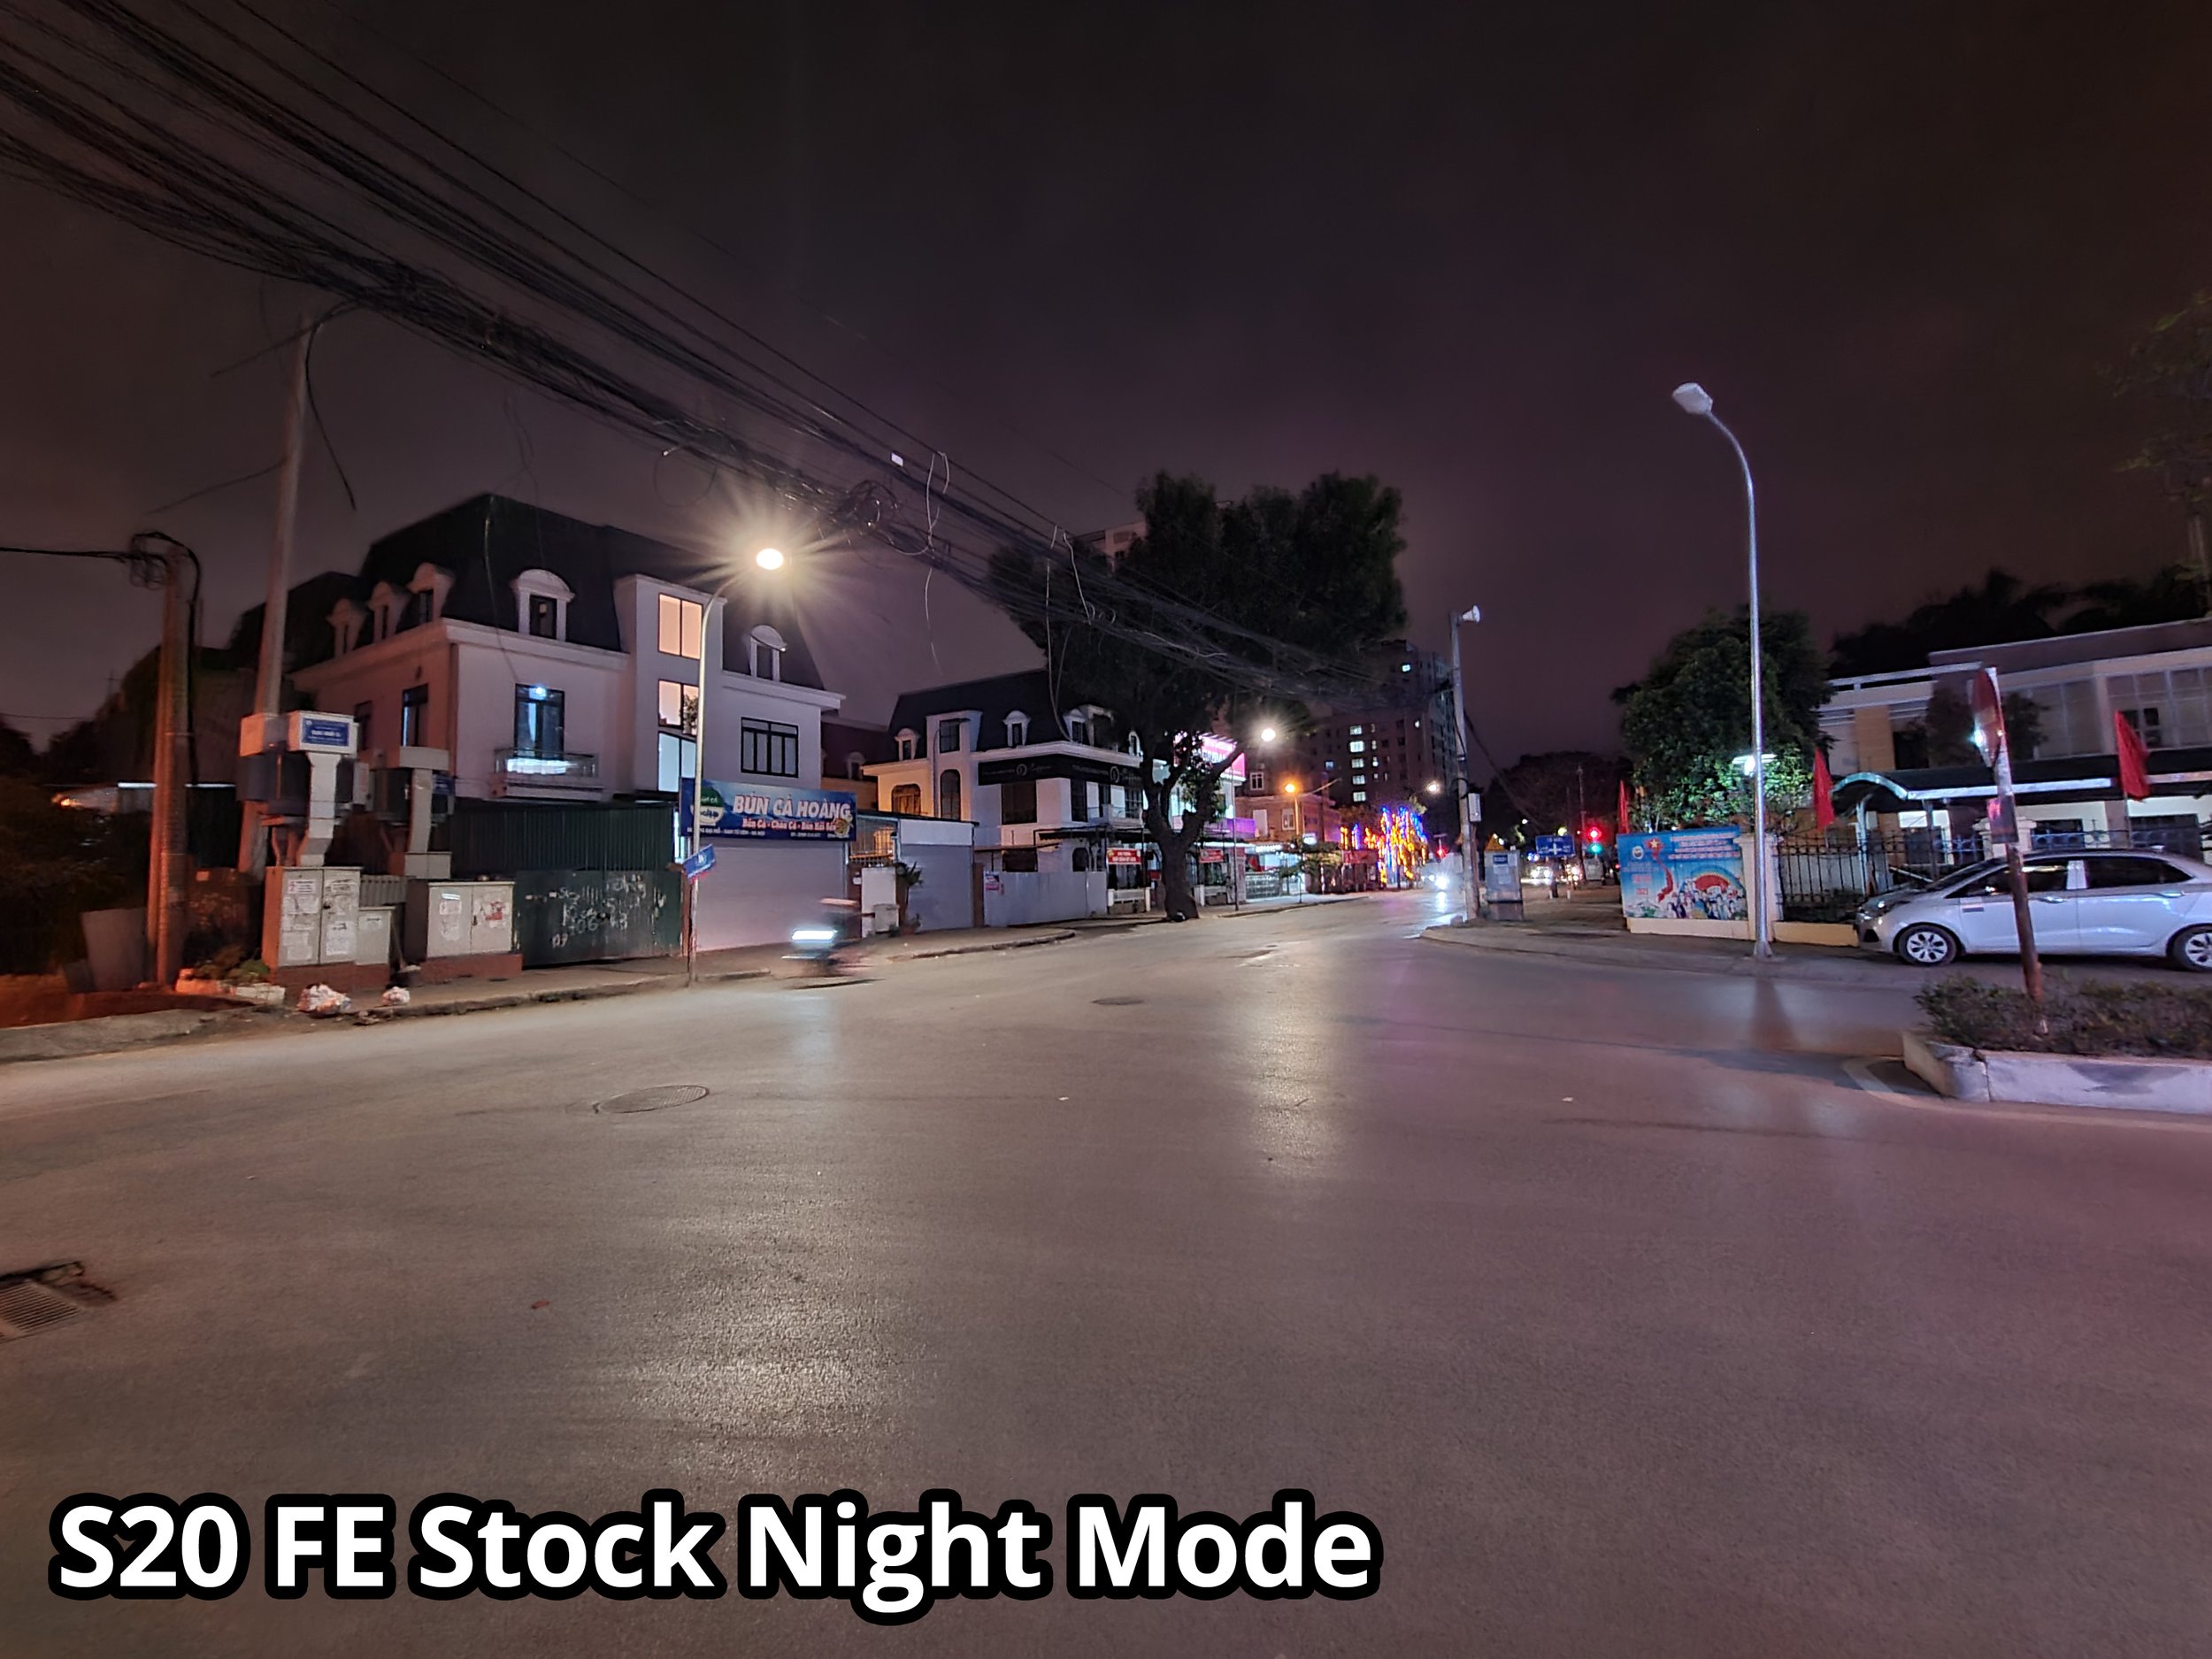
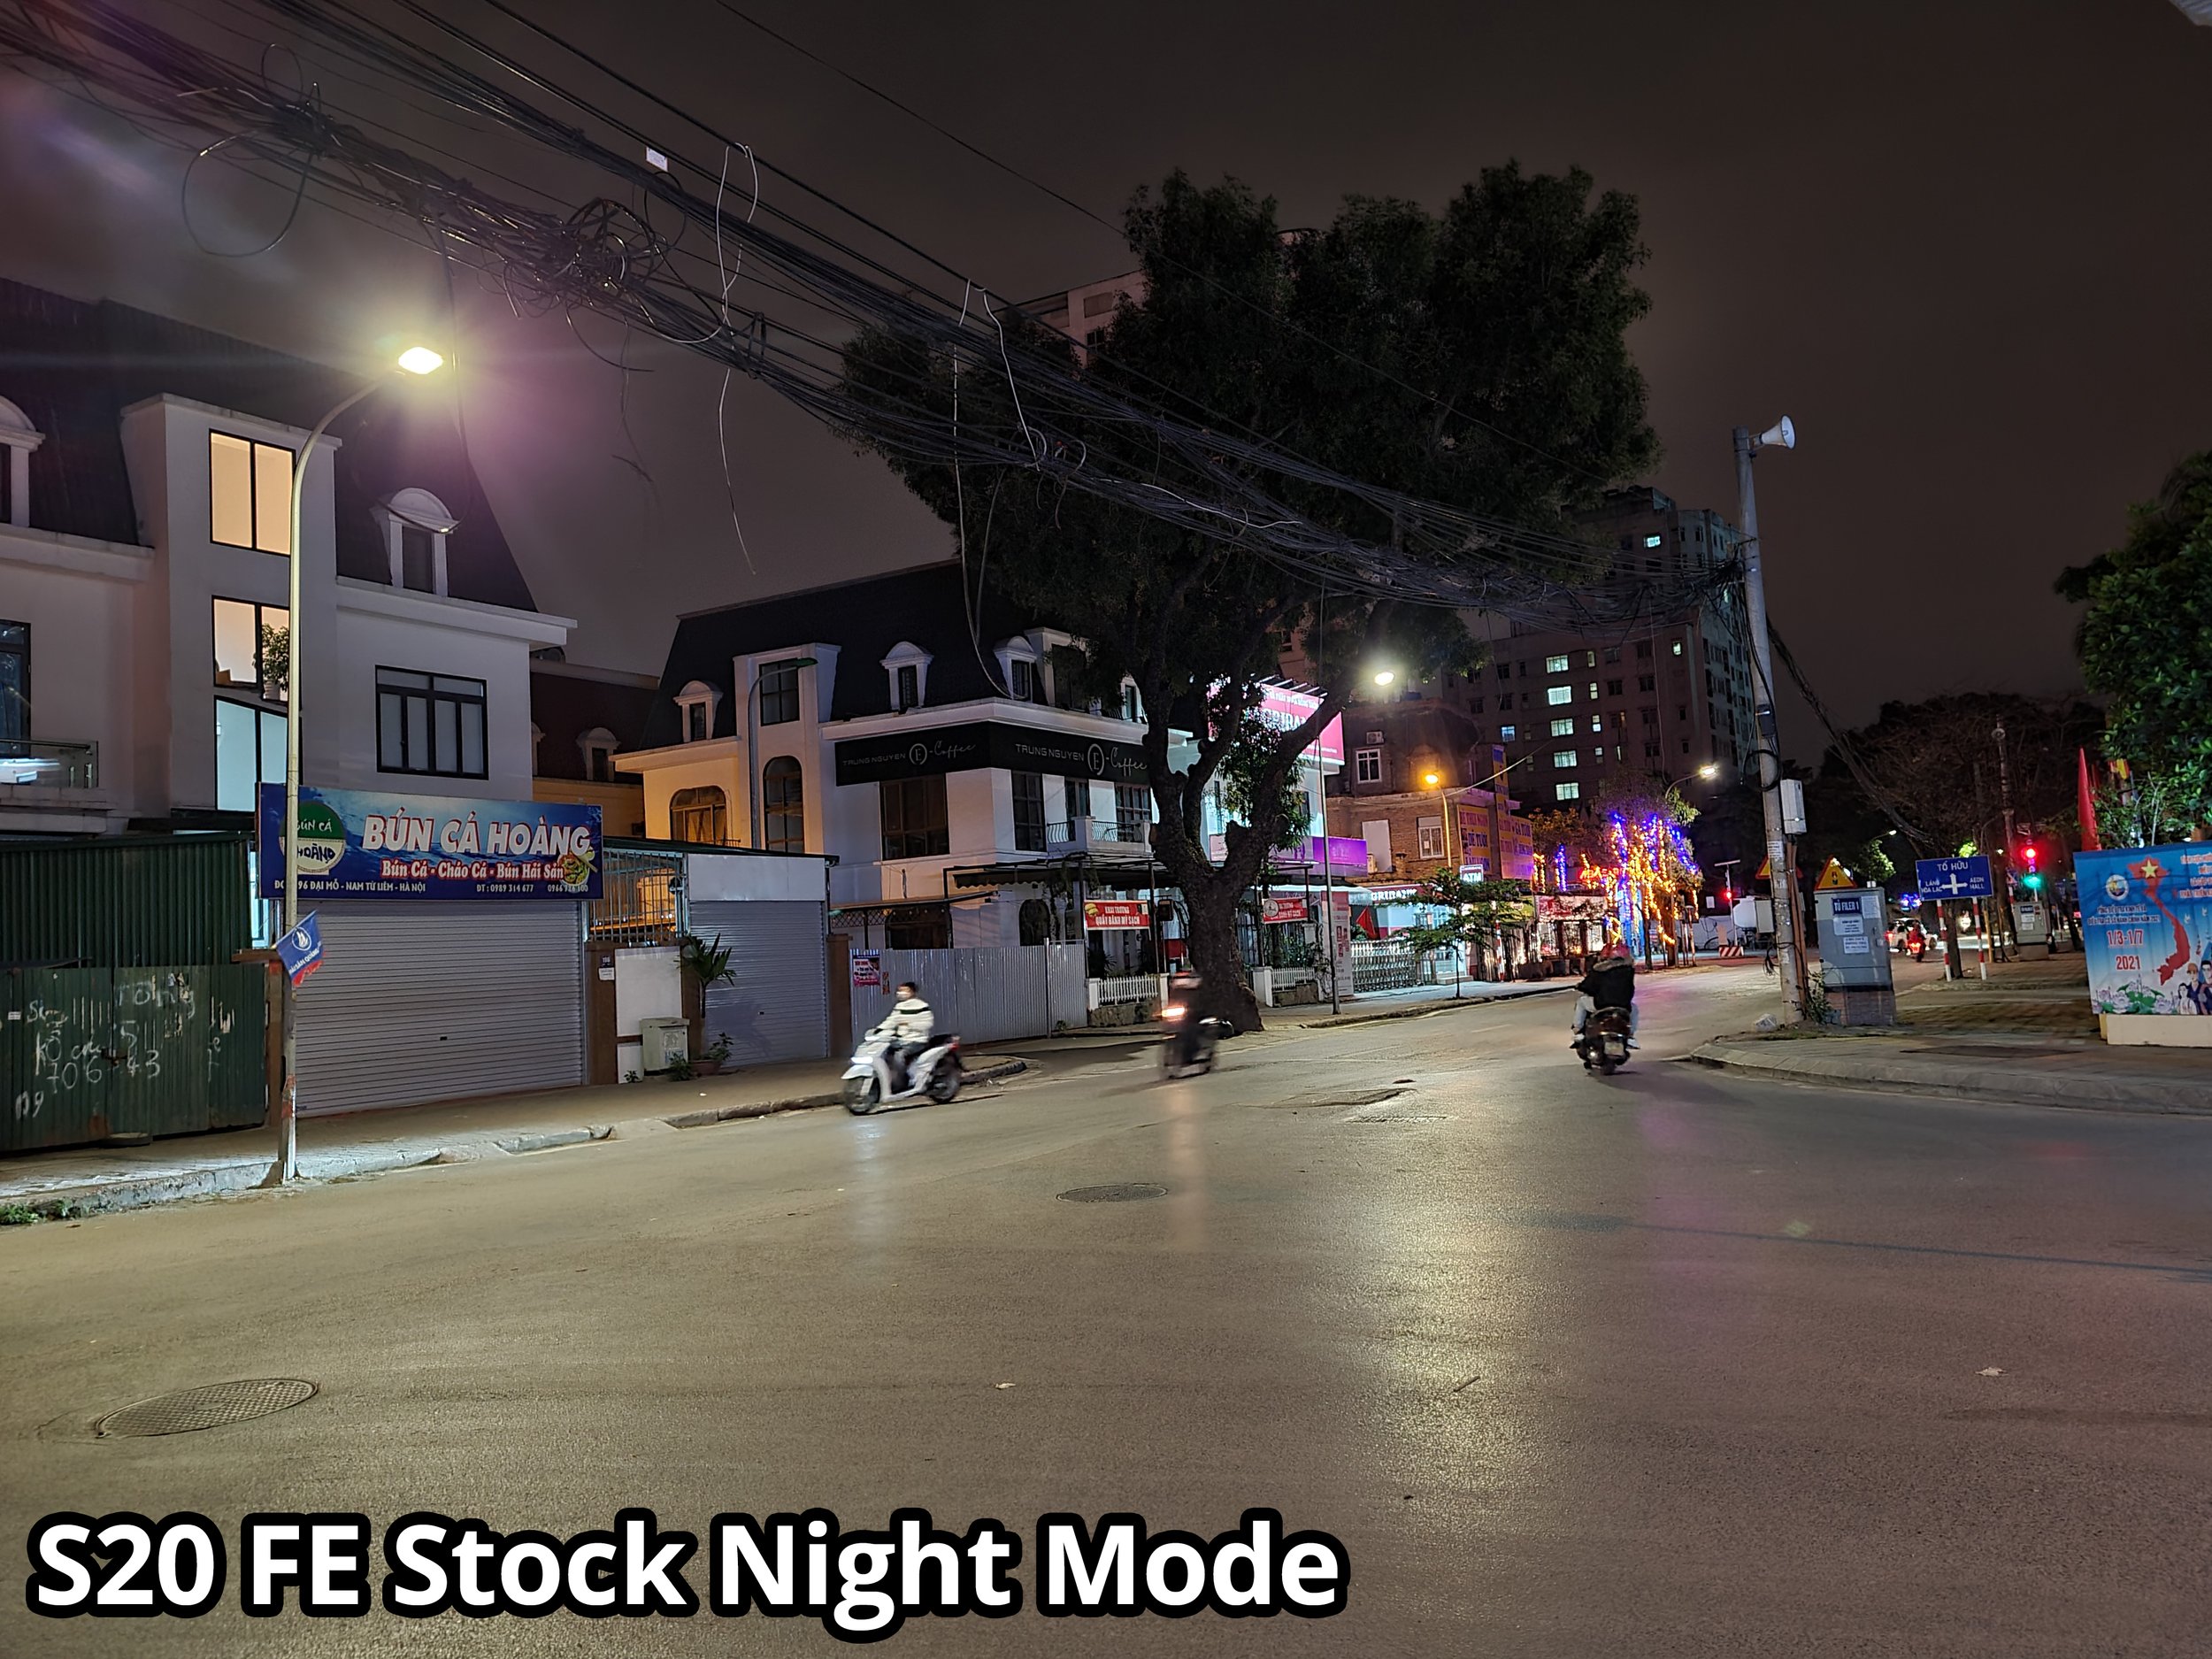
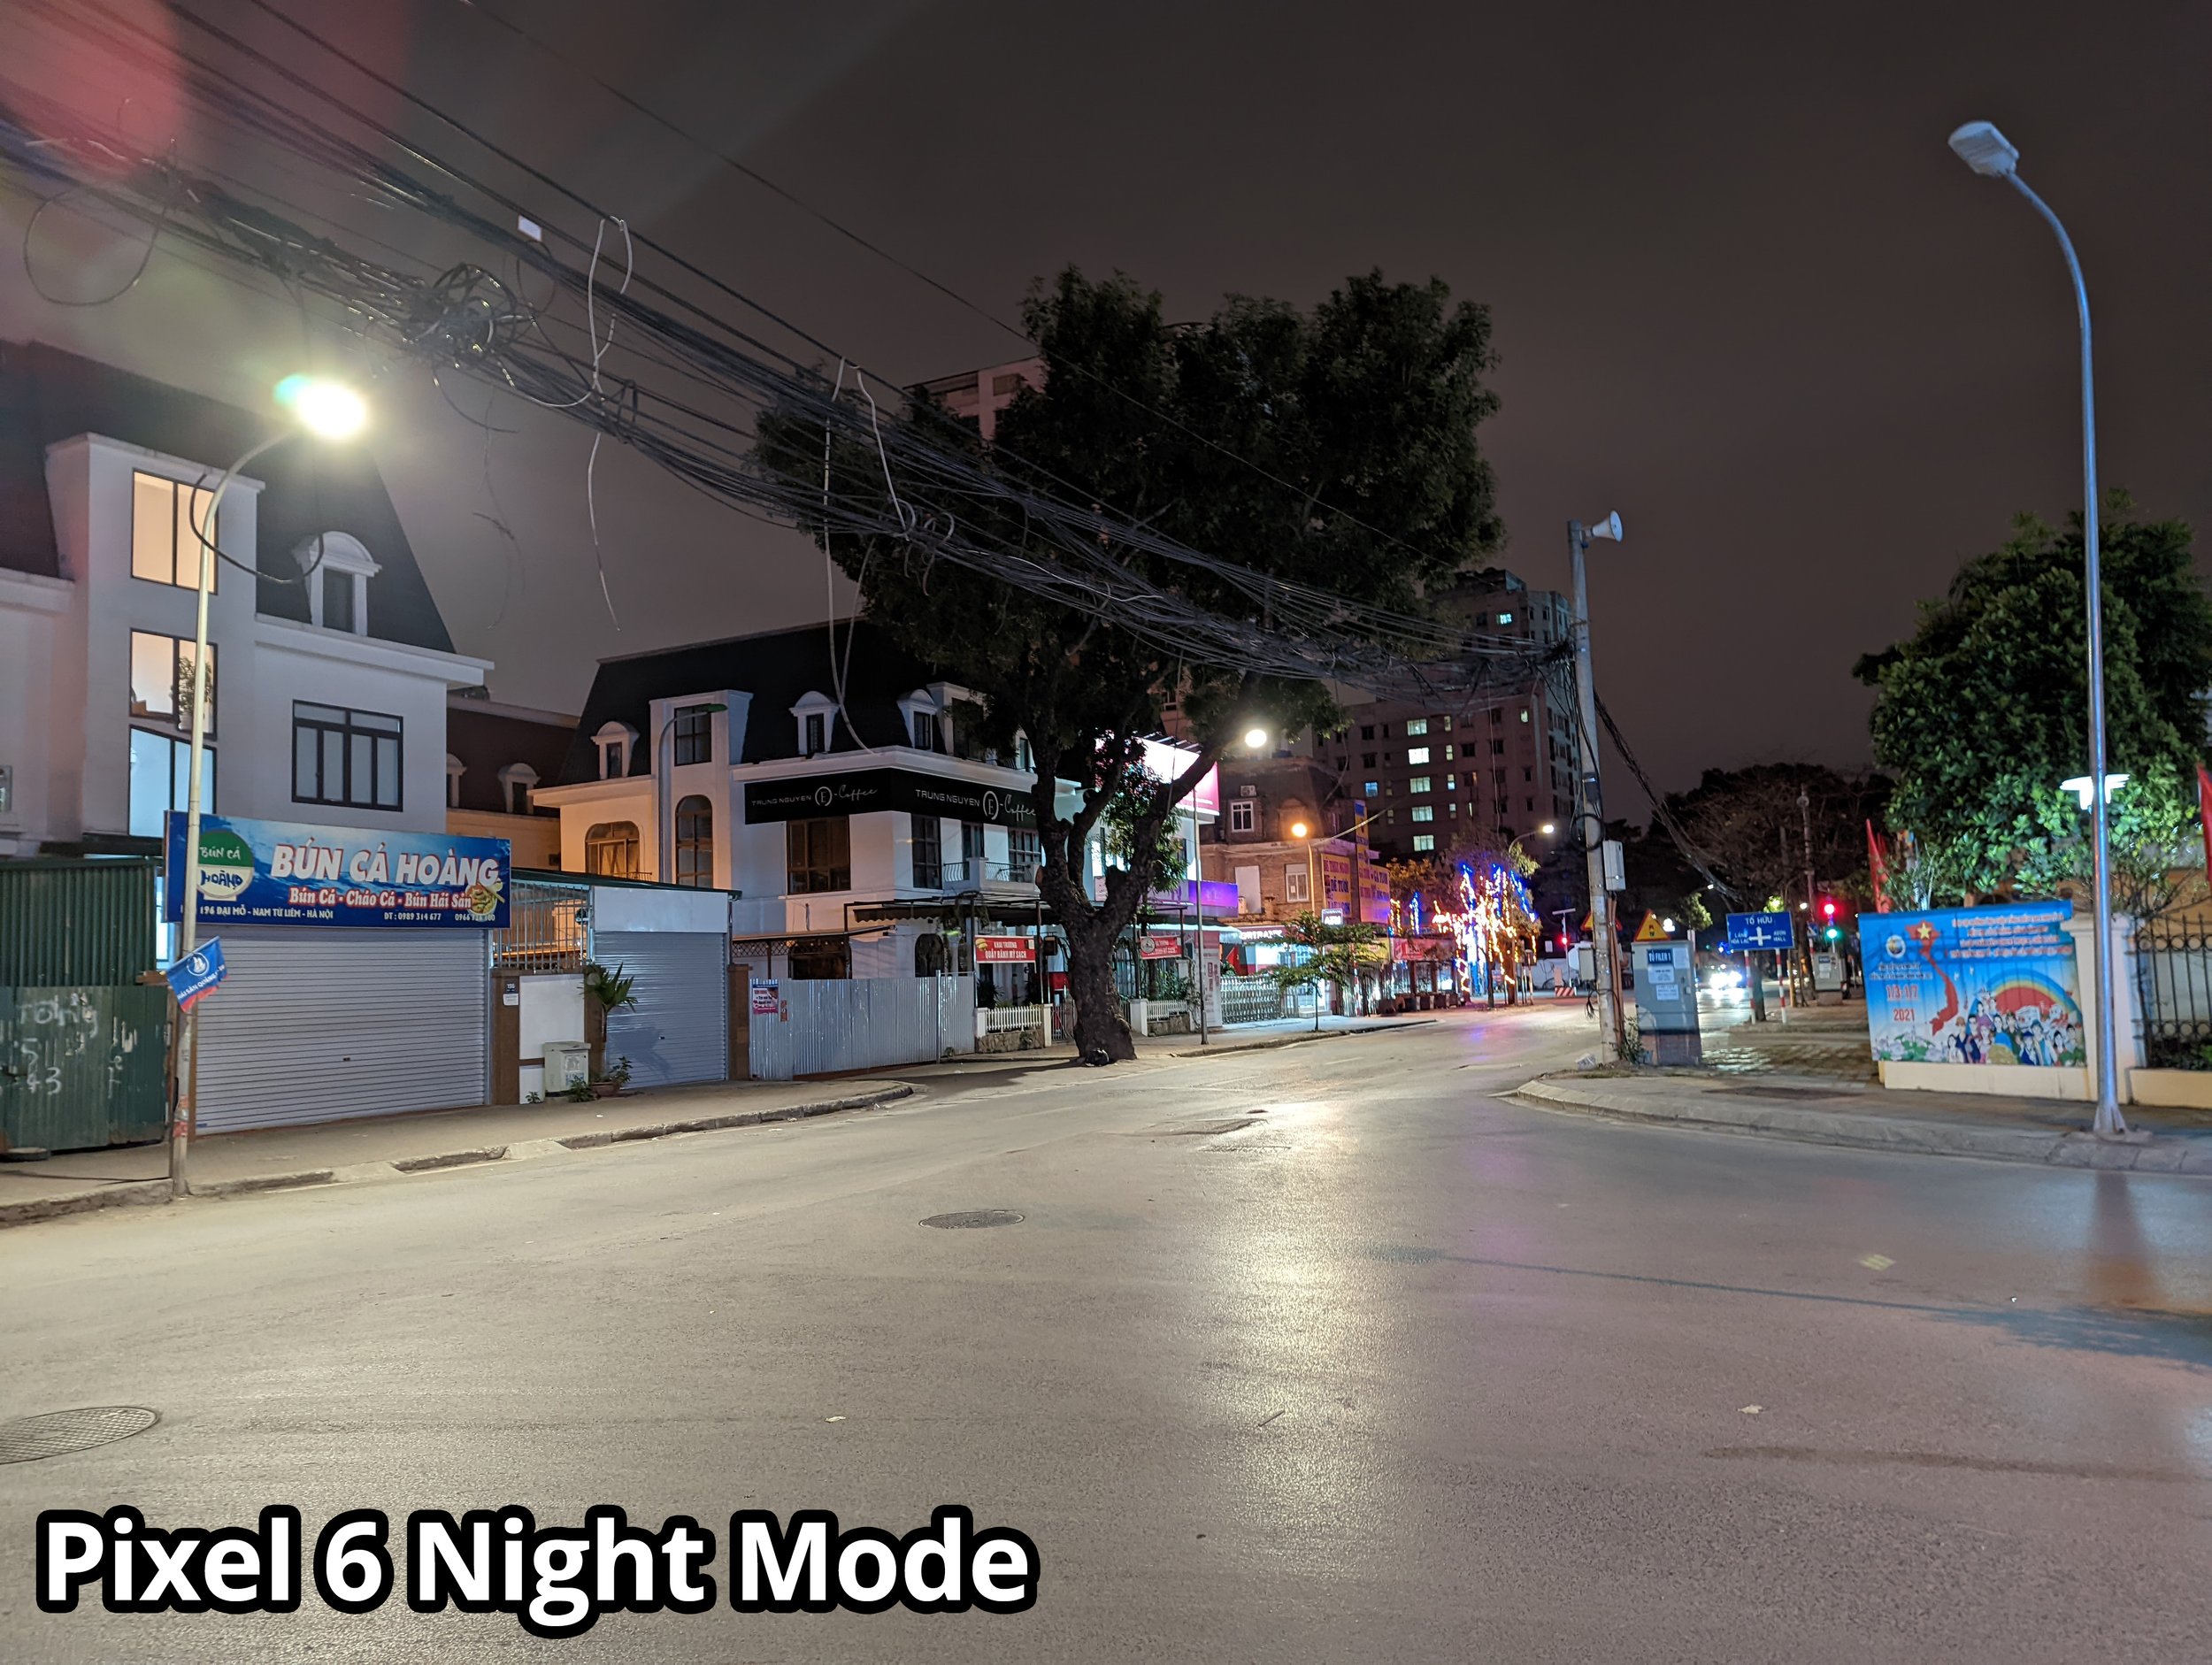
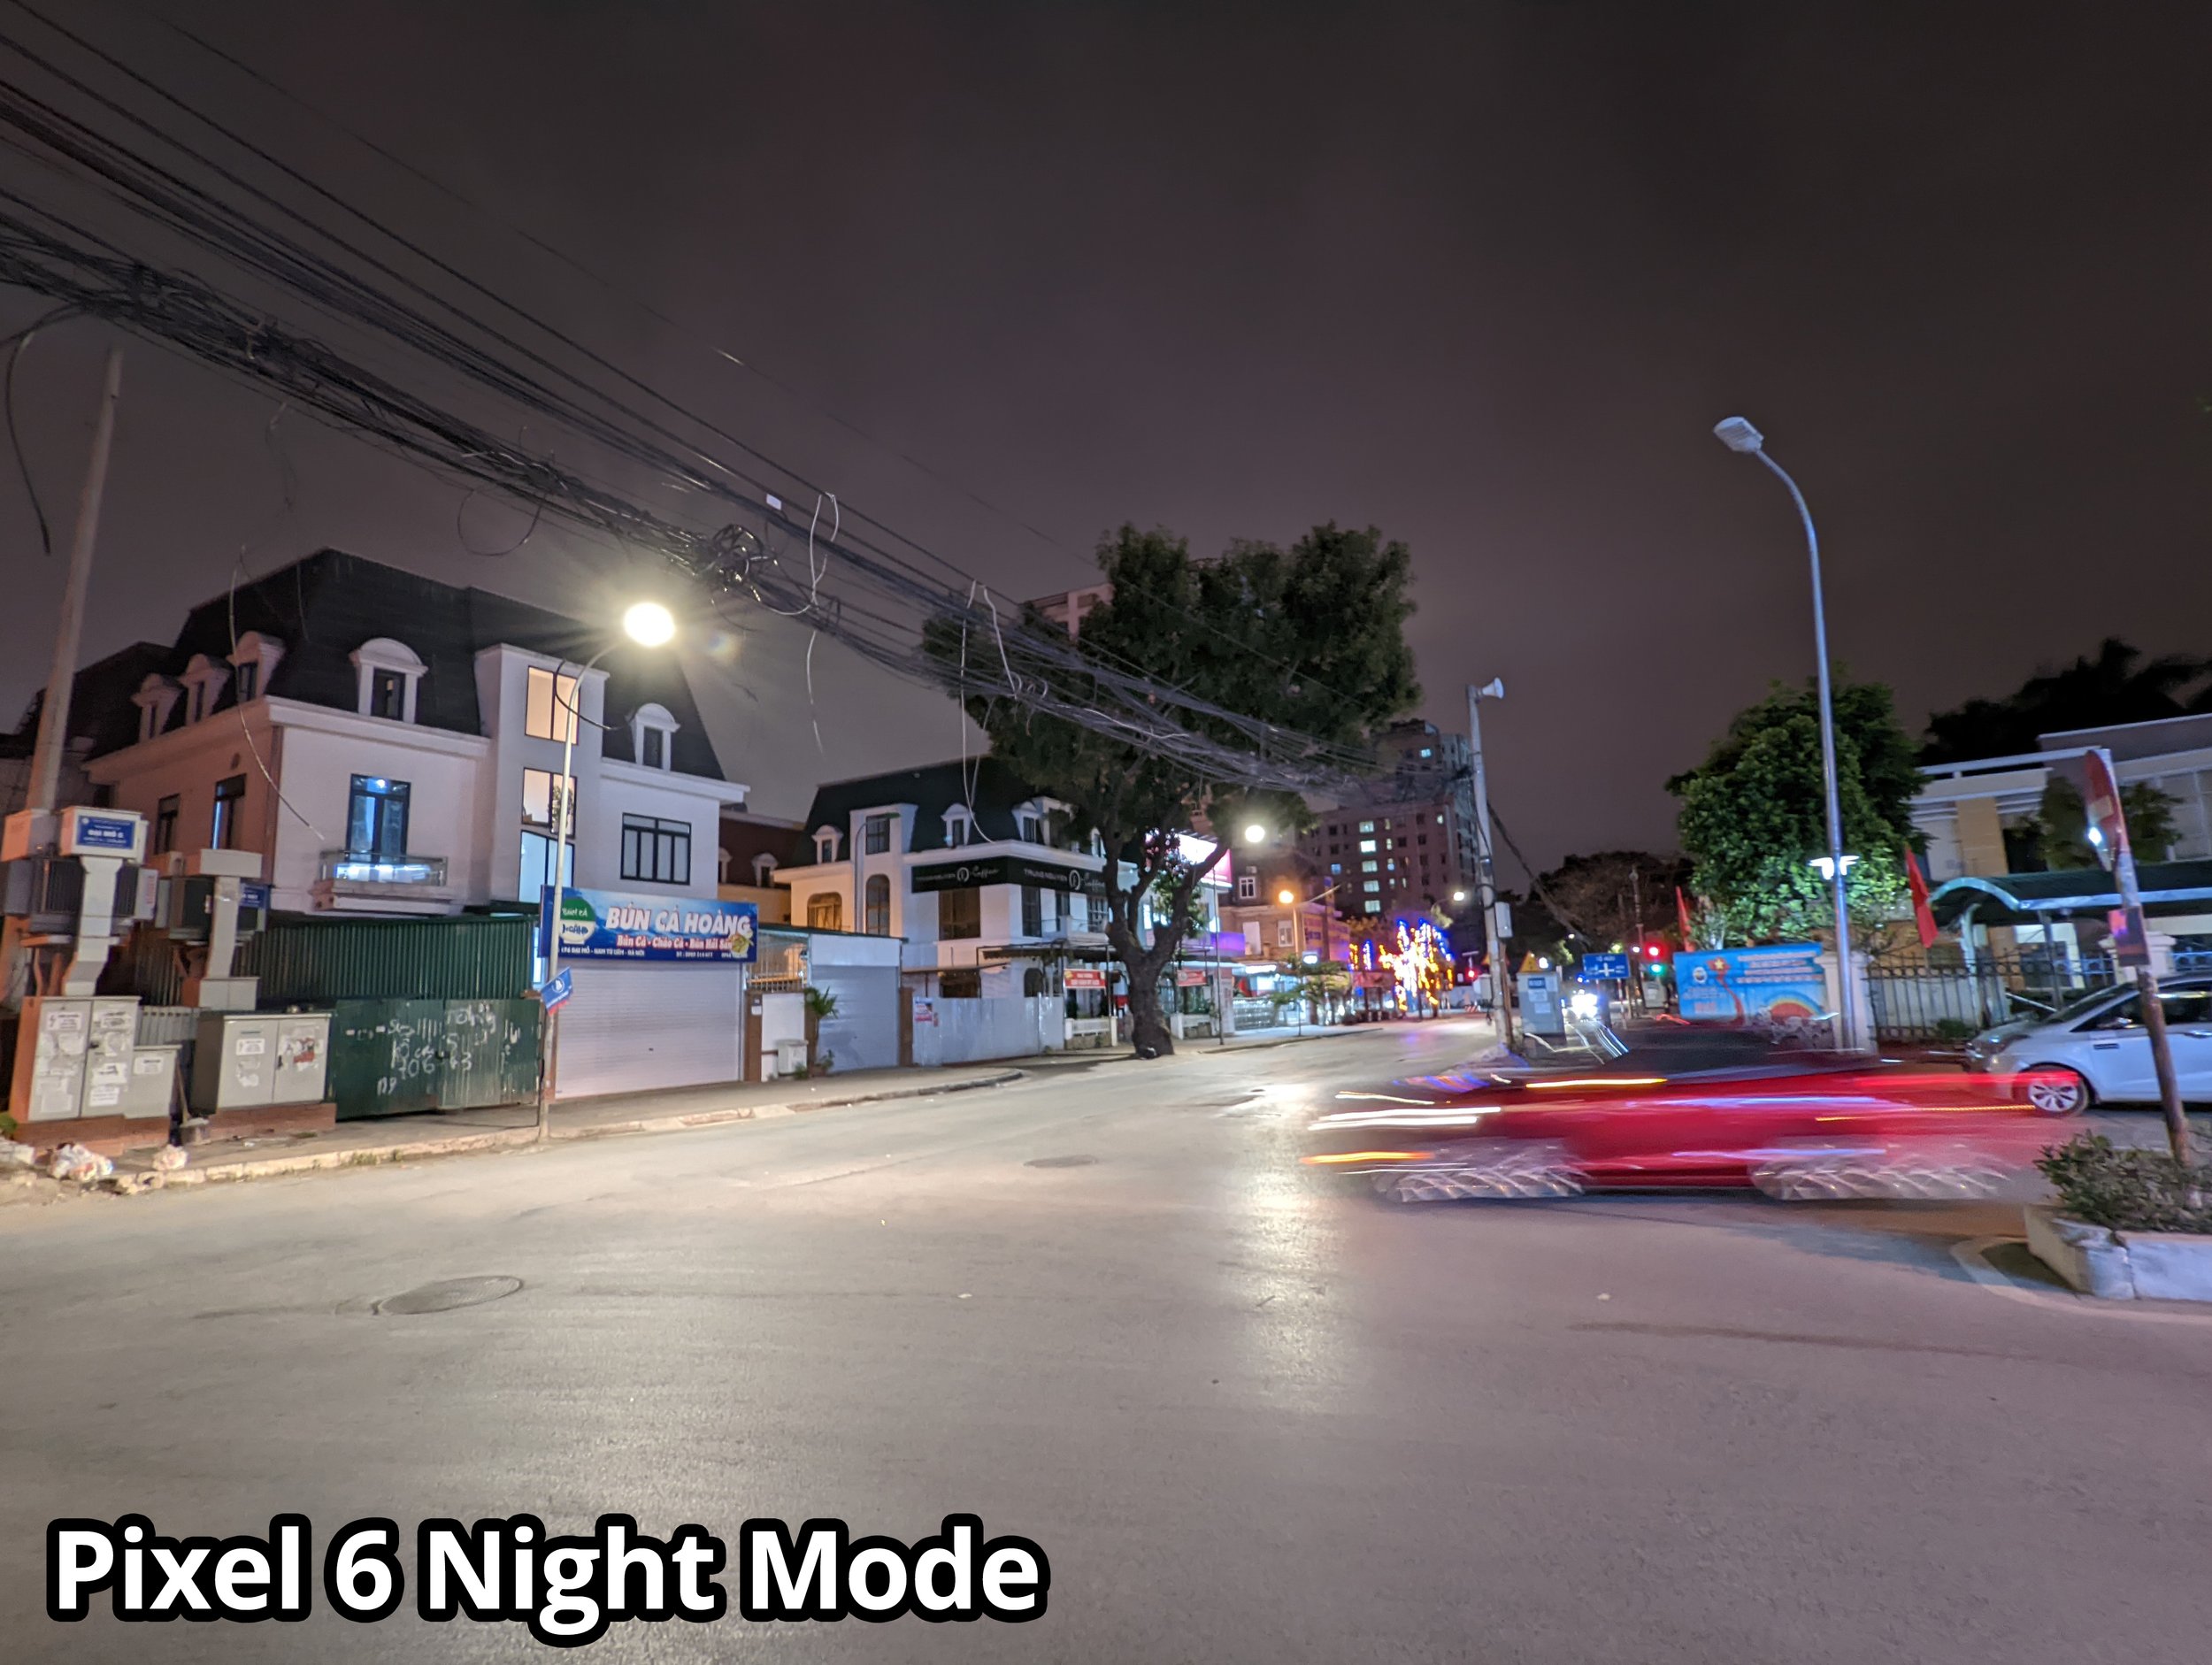
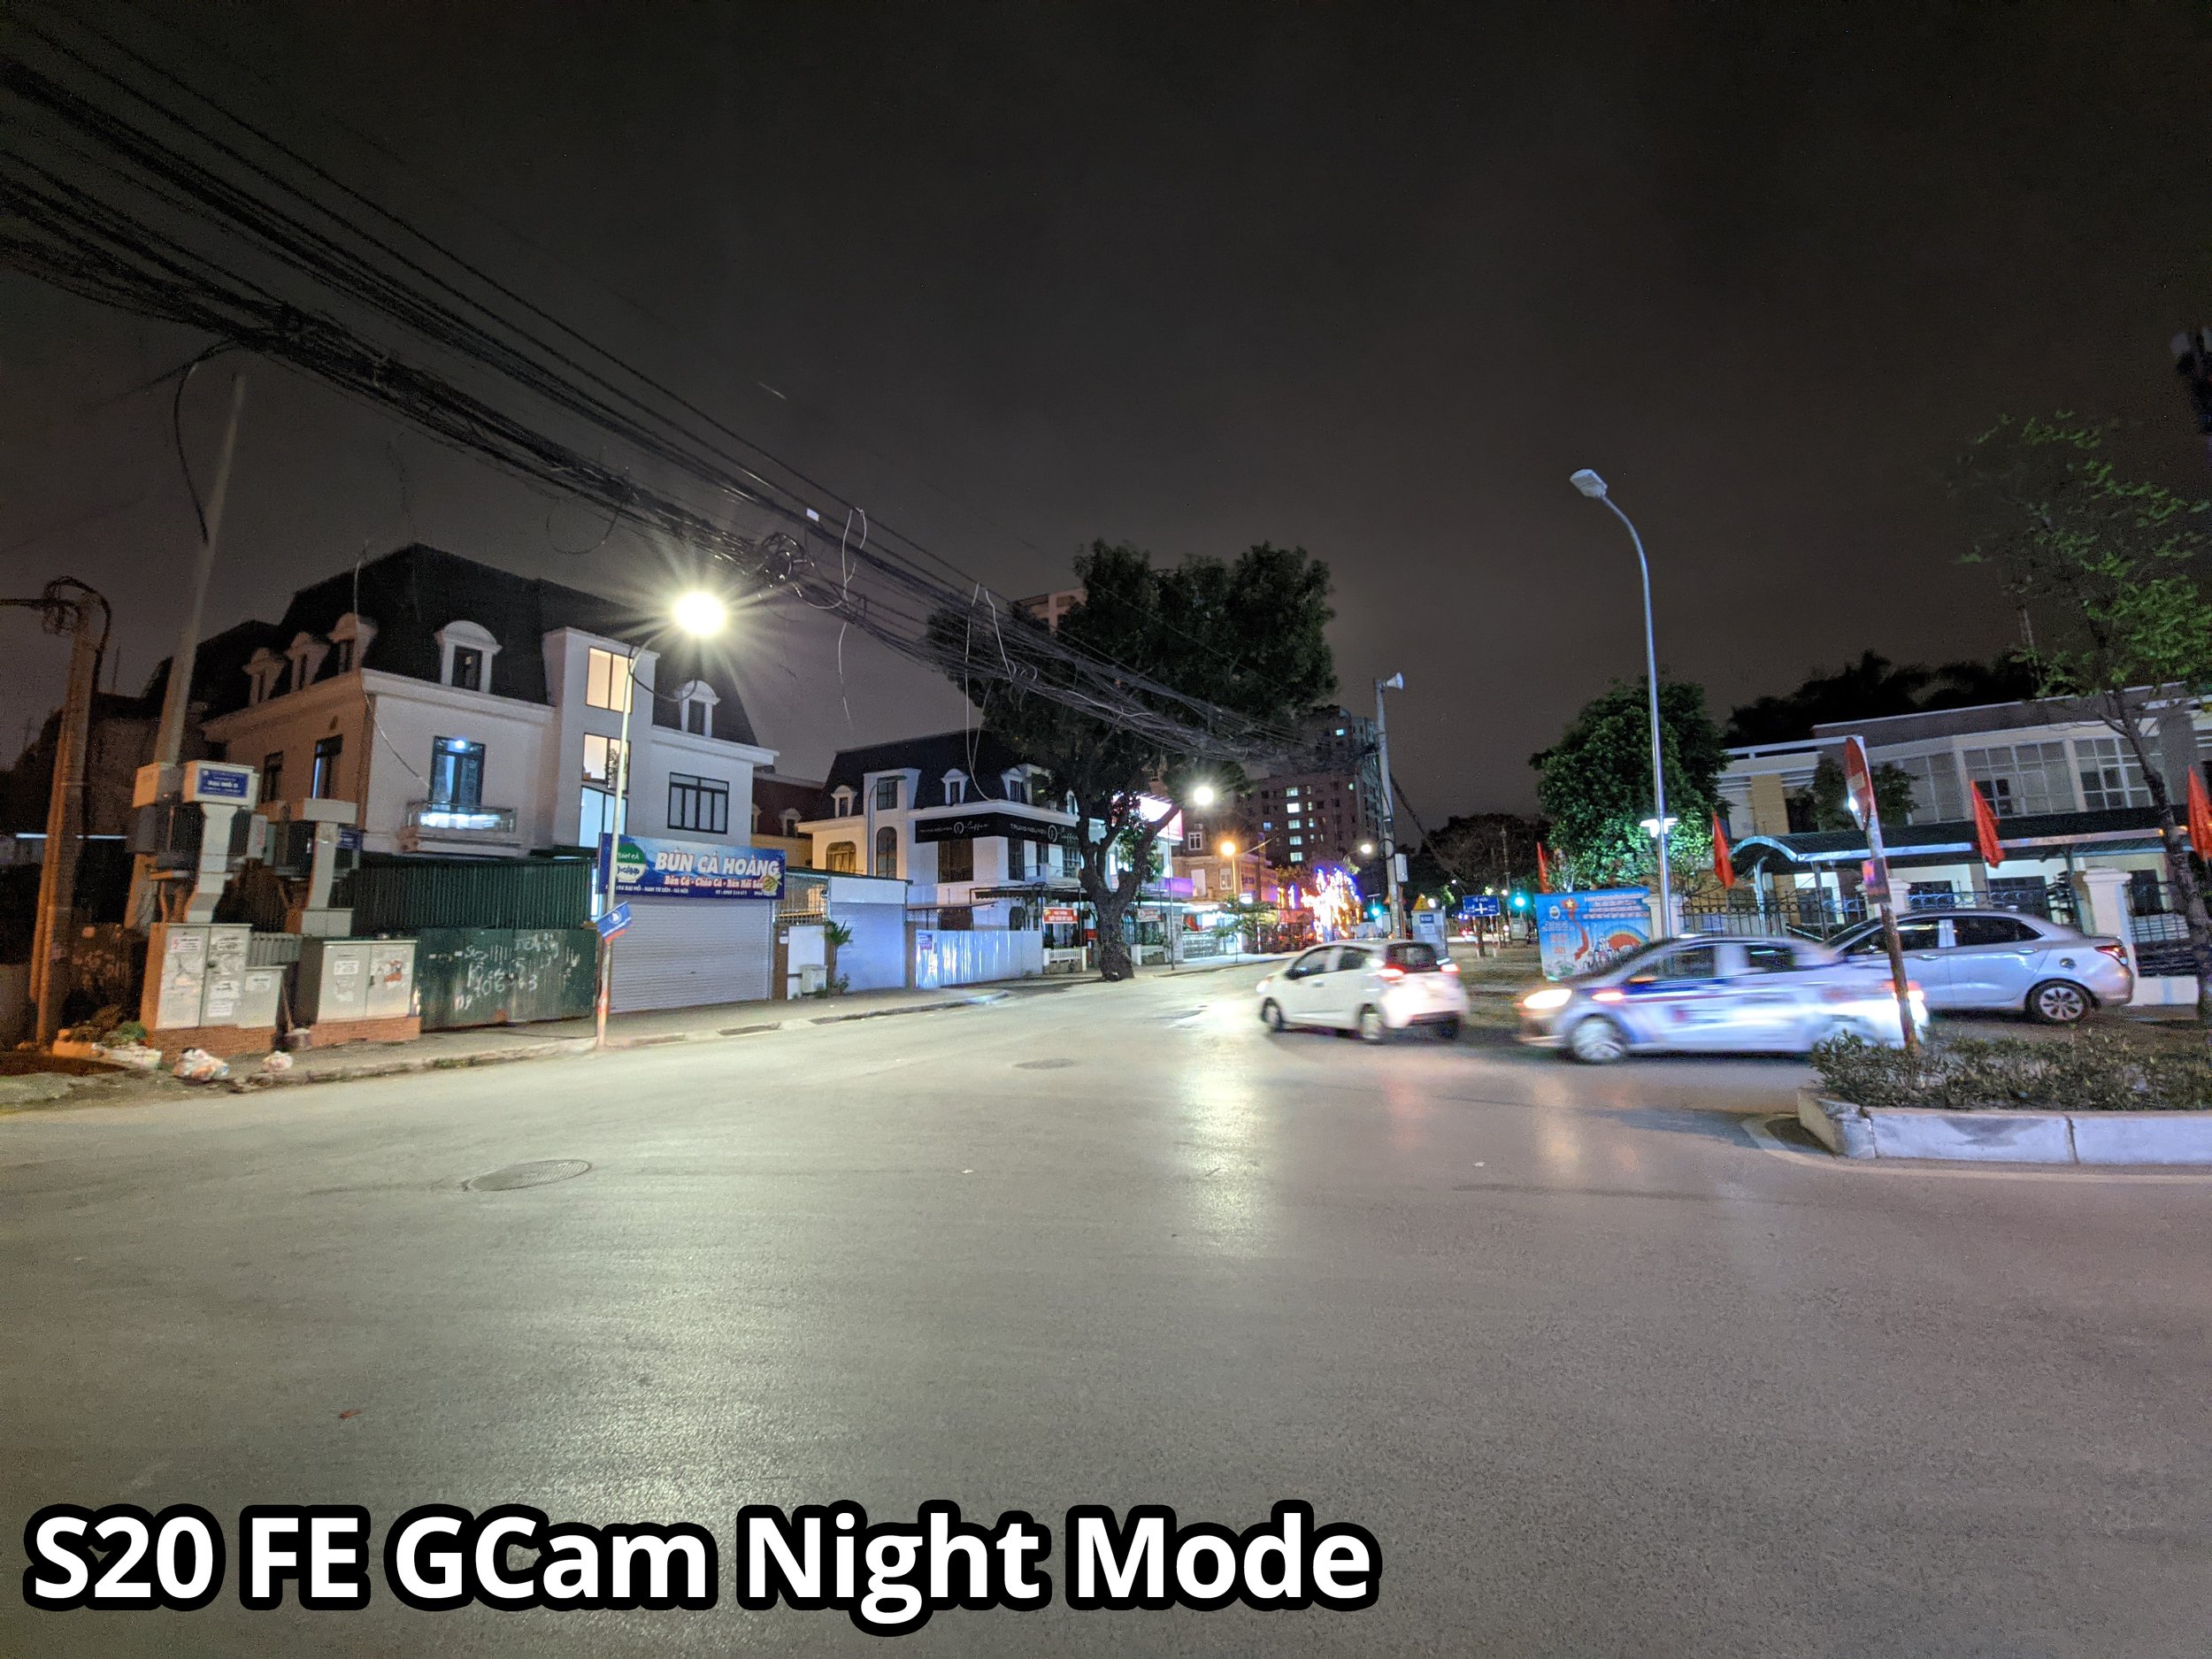
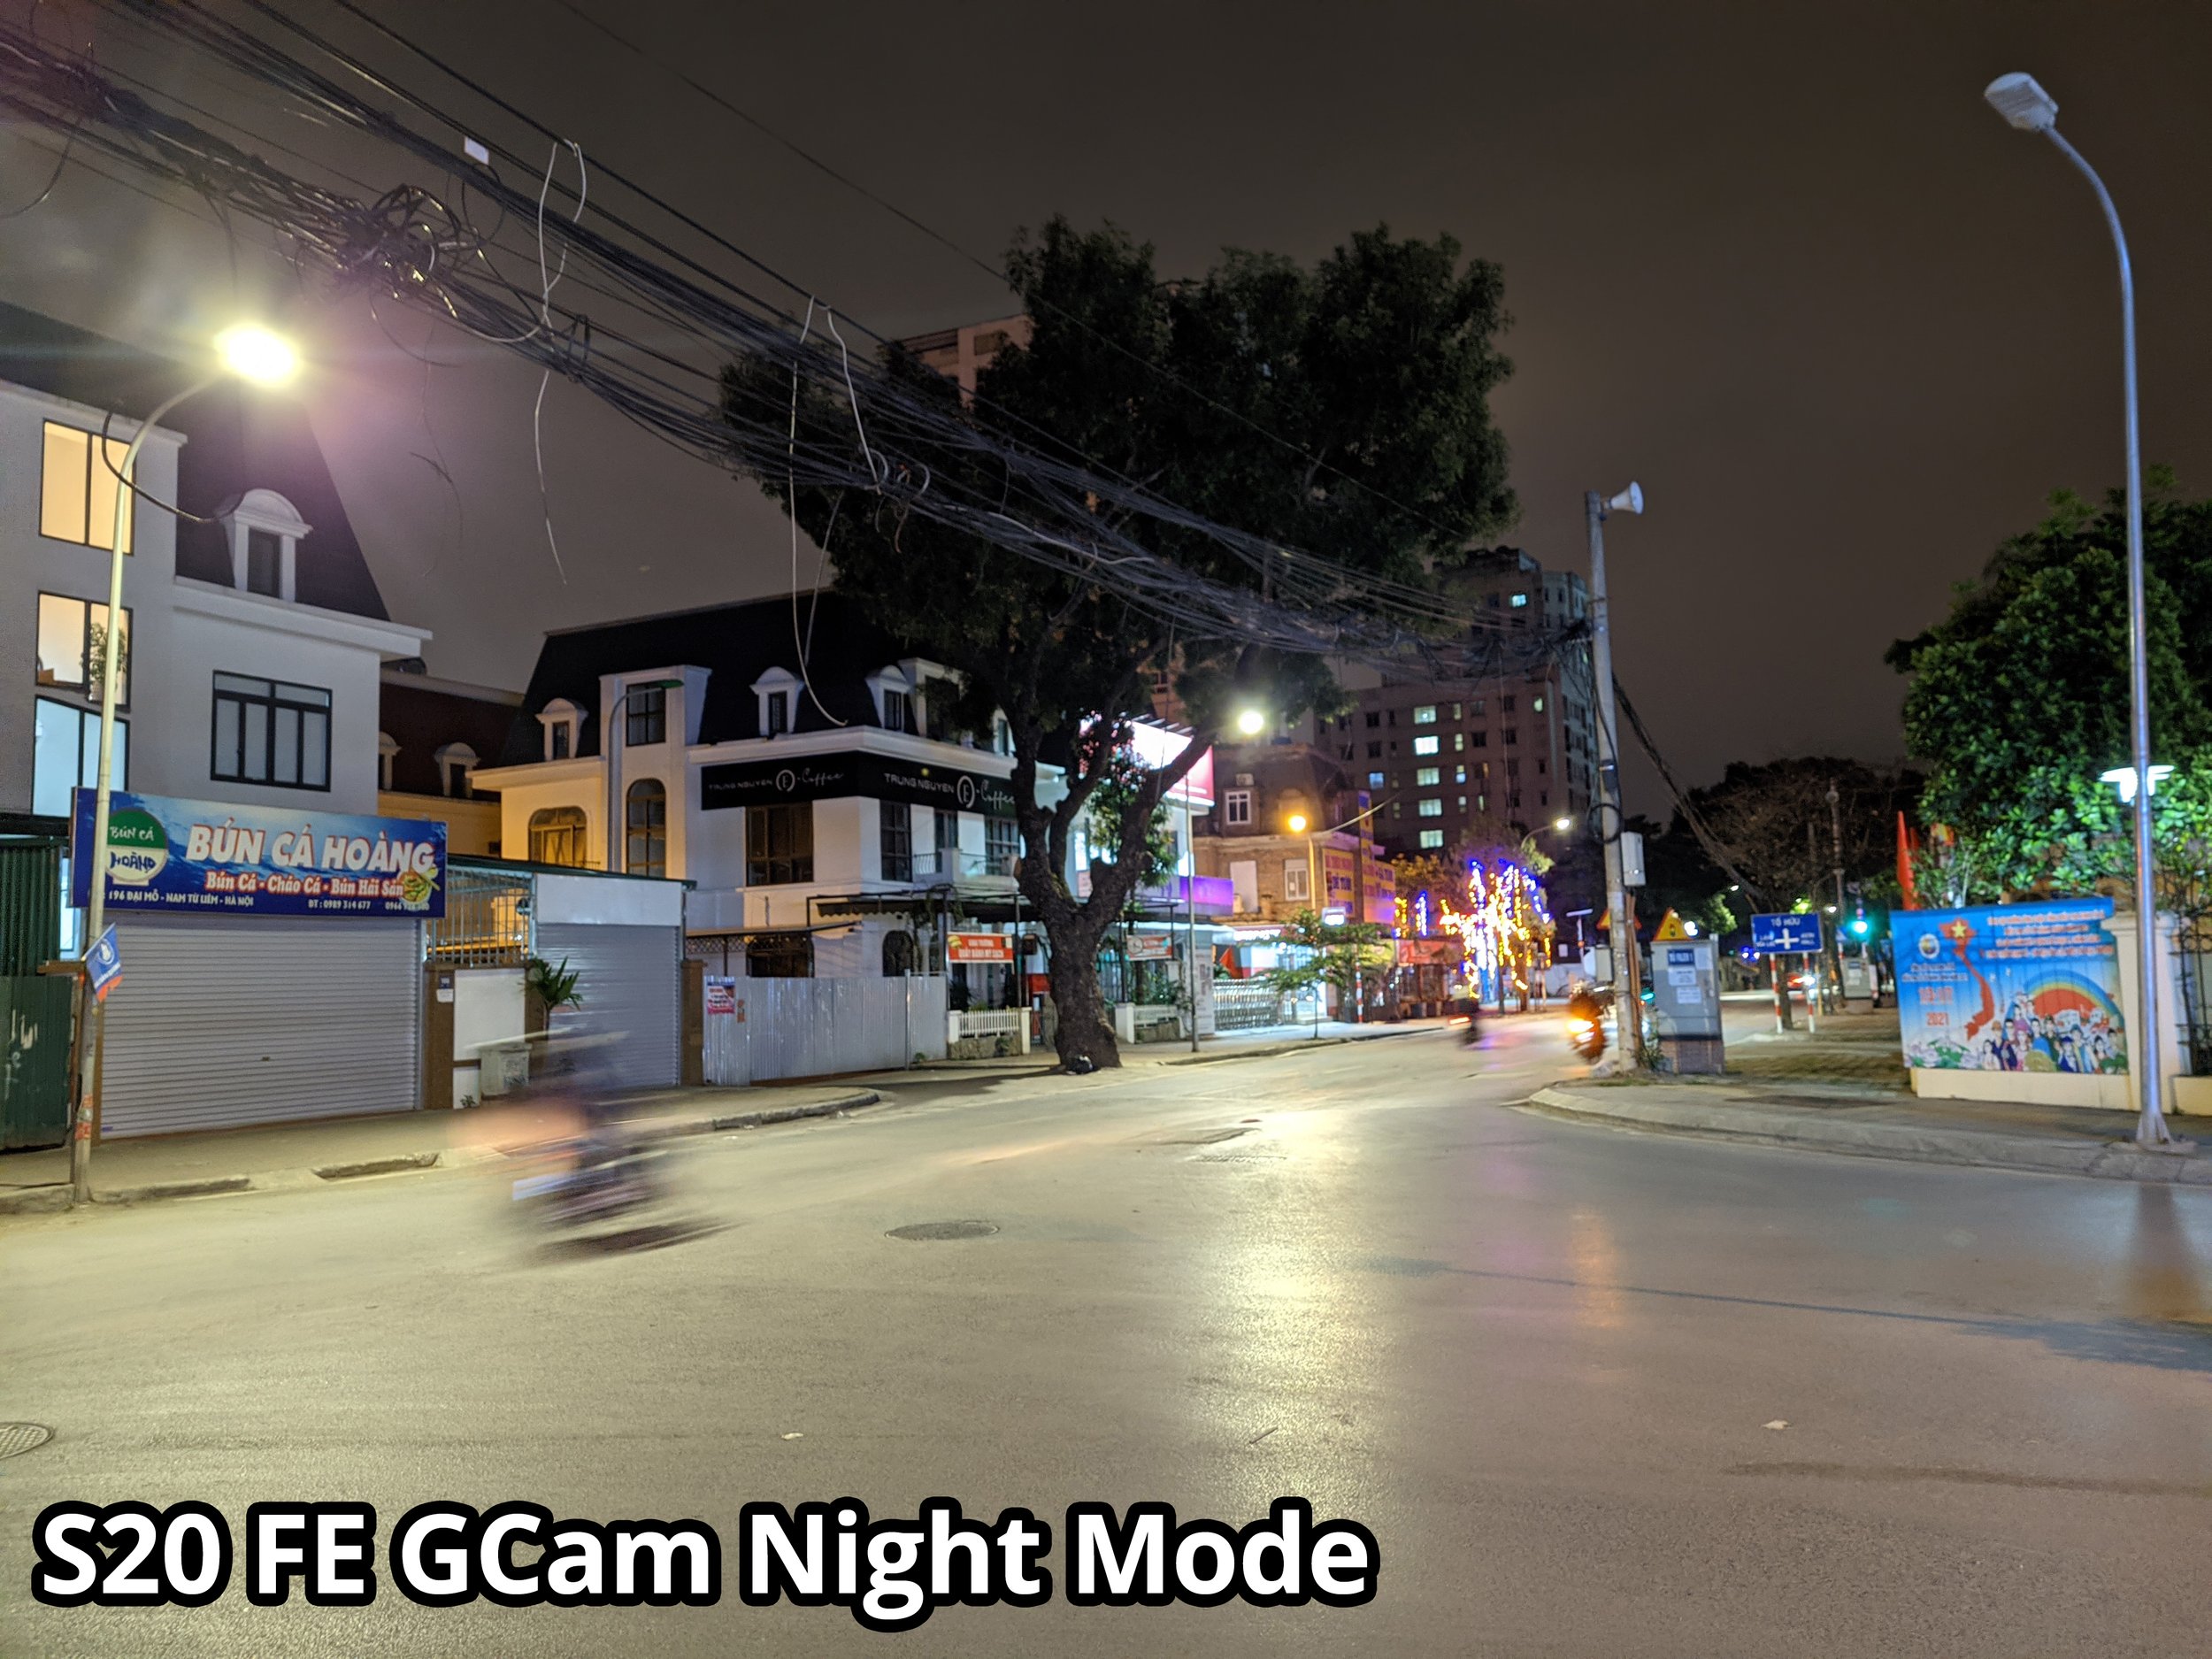
Thoughts & Takeaways
Due to the settings in the XML and tweaks within the GCam app, GCam was often returning blurry results when being handheld. Samsung’s camera app consistently nails these lowlight images and returns sharp images that people would be happy with. Pixel 6 showed weakness in highlights getting clipped and blown out while GCam would give blurry results.