The Best GCam For The Redmi Note 10 Pro & Redmi Note 10 Pro Max
/FAQ
Will this work on my Redmi Note 10 Pro (64mp version)?
Possibly but I can only verify it works on the 108mp variant.
Will this give me 4k 30 with EIS?
I have not gotten any 4k video recording to working with any type of EIS to this point
Will I be able to record 4k video with the 8mp ultrawide?
Although I have gotten the device to record 4k with the ultrawide and some versions of gcam I do not know how it is possible. A 4x3 aspect ration sensor needs 12mp.
How big of an improvement is GCam the Redmi Note 10 Pro?
Will this version of Gcam work on my Xiaomi Device?
Maybe, but you can find the best version of GCam for you device like this
Where can I download the best version of GCam for the Redmi Note 10 Pro?
HERE
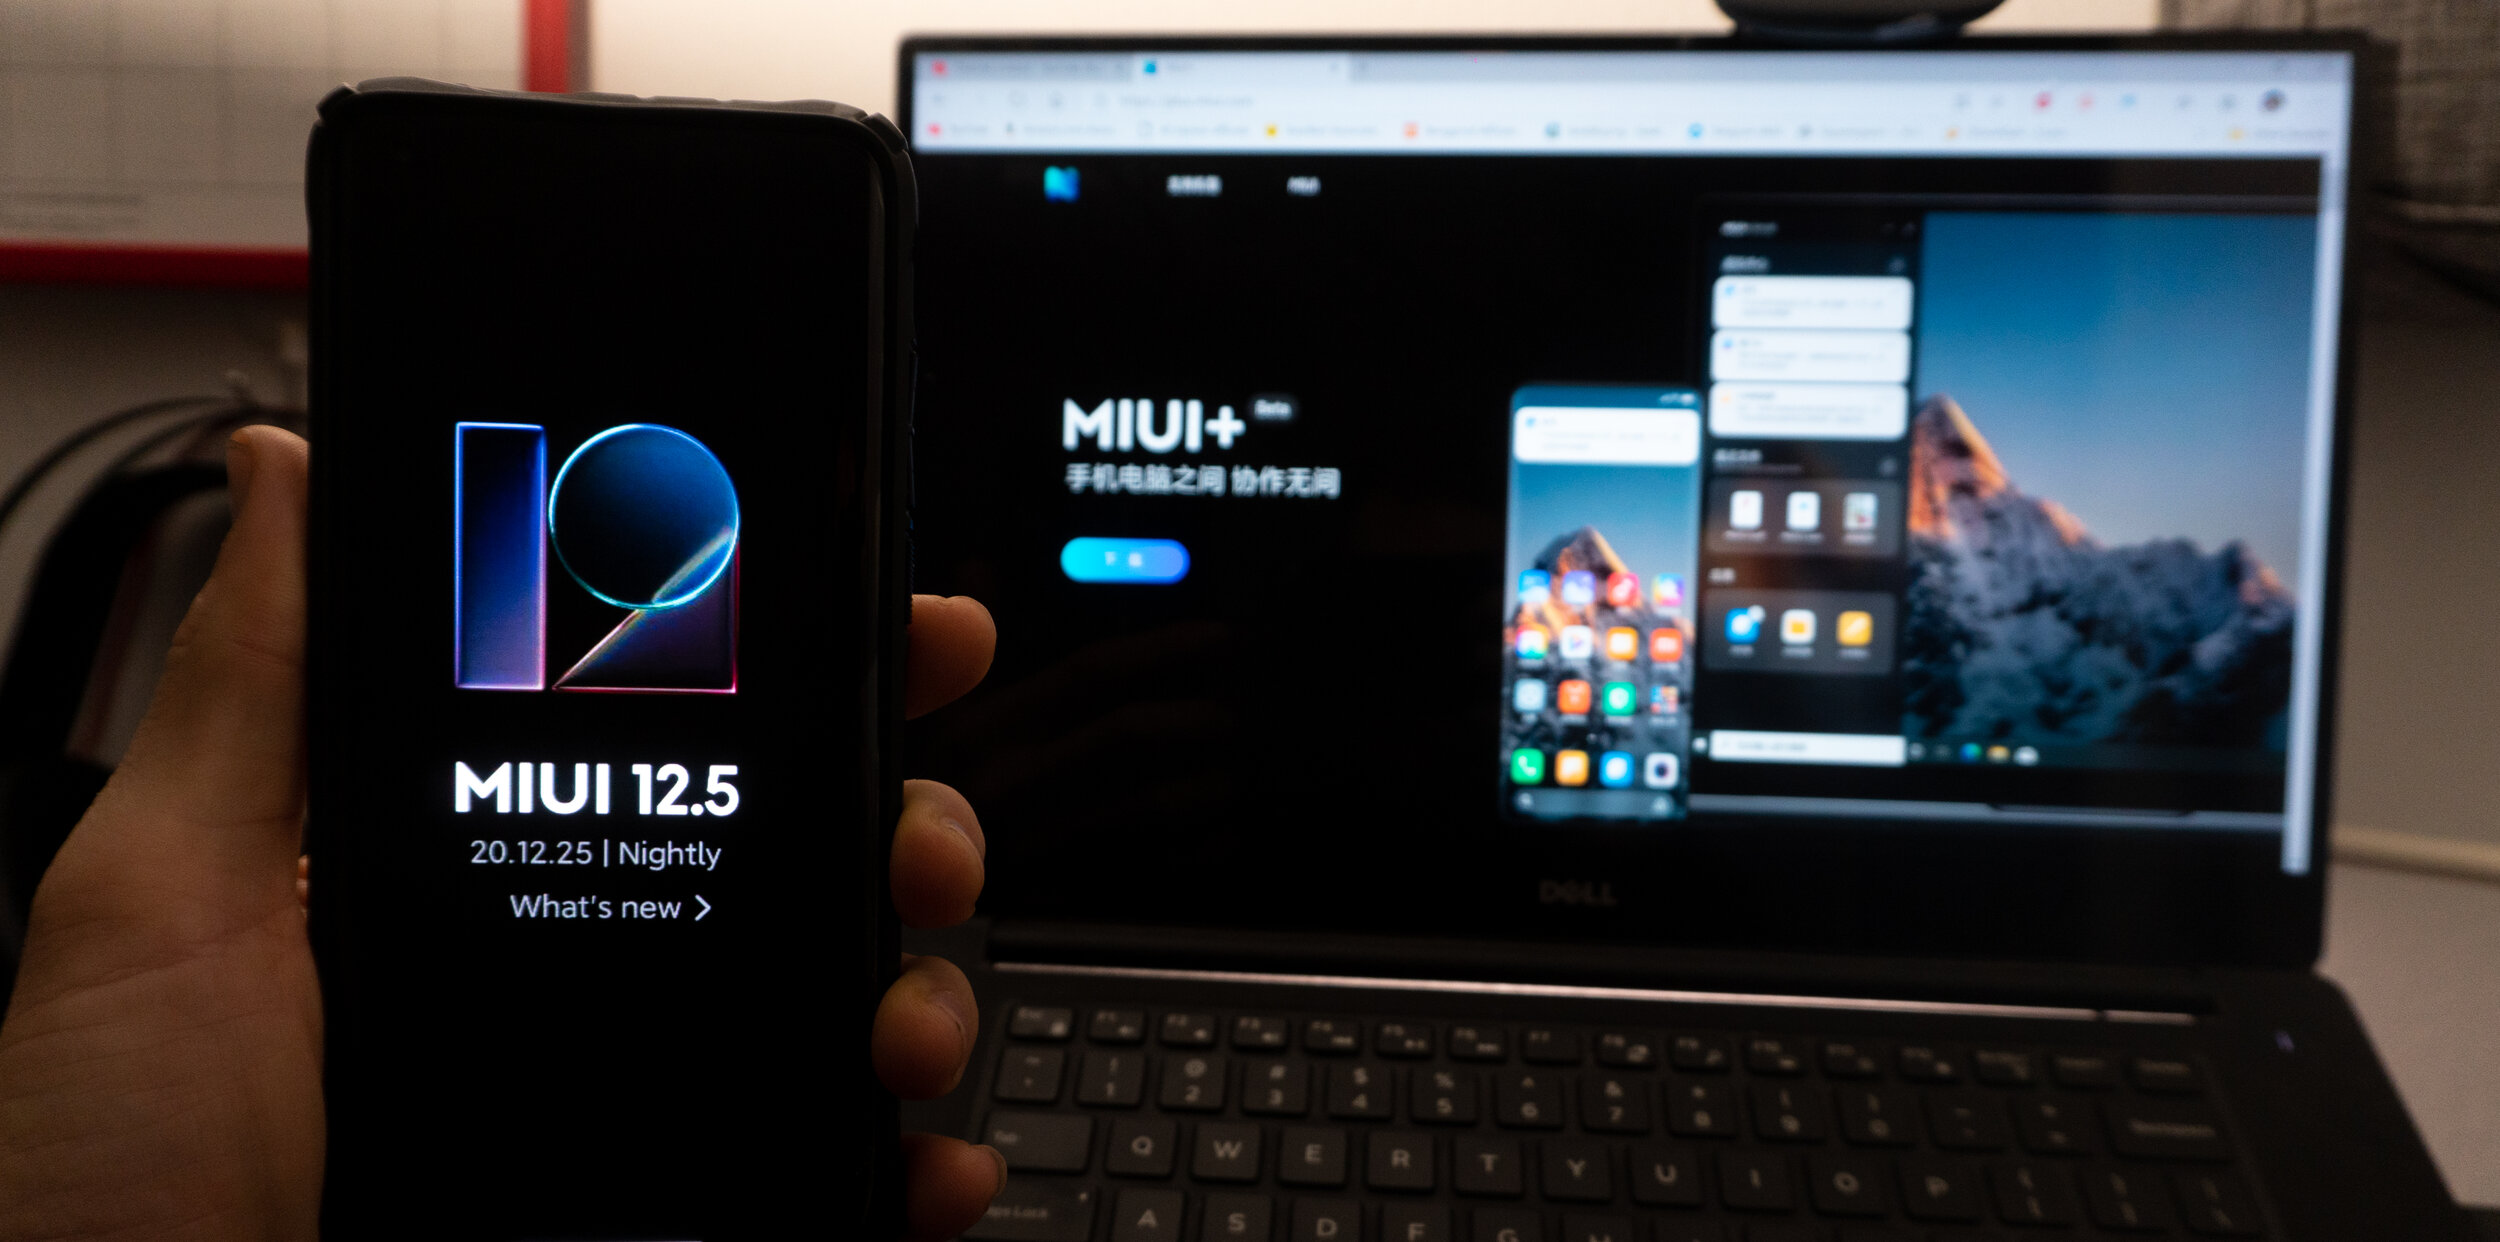
MIUI 12.5 On The Redmi Note 10 Pro And Redmi Note 10 Pro Max
/
The FACTS:
1: MIUI 12.5 STABLE has not officially rolled out internationally yet
2: The OFFICIAL MIUI 12.5 Rom that has been getting passed around is a LEAKED MIUI 12.5 Rom for the Redmi Note 10 Pro and Redmi Note 10 Pro Max
3: If you want to install this ROM you NEED an unlocked bootloader and TWRP CUSTOM RECOVERY on your Redmi Note 10 Pro and Redmi Note 10 Pro Max
4: If you flash this rom it will replace your stock recovery on your Redmi Note 10 Pro and Redmi Note 10 Pro Max.
HOW TO FLASH
1: 1st you need an unlocked bootloader your Redmi Note 10 And Redmi Note 10 Pro Max. You can follow this tutorial here
2: You need a custom recovery on your Redmi Note 10 Pro Or Redmi Note 10 Pro Max. The Steps for this are here
3: Drag and drop the rom (link to download the rom HERE) and install the same way you would with any other rom

How To Flash Pixel Experience Rom On Your Redmi Note 10 Pro // Max And Turn It Into A Pixel 4A KILLER!
/Step 1: Navigate to Settings> My device>All Specs> Miui version, tap on MIUI Version until you have unlocked developer settings

2: In Developer Options find OEM Unlocking and enter your MIUI Account Information

3: On your desktop create a new folder, I named my folder “Android Dev”

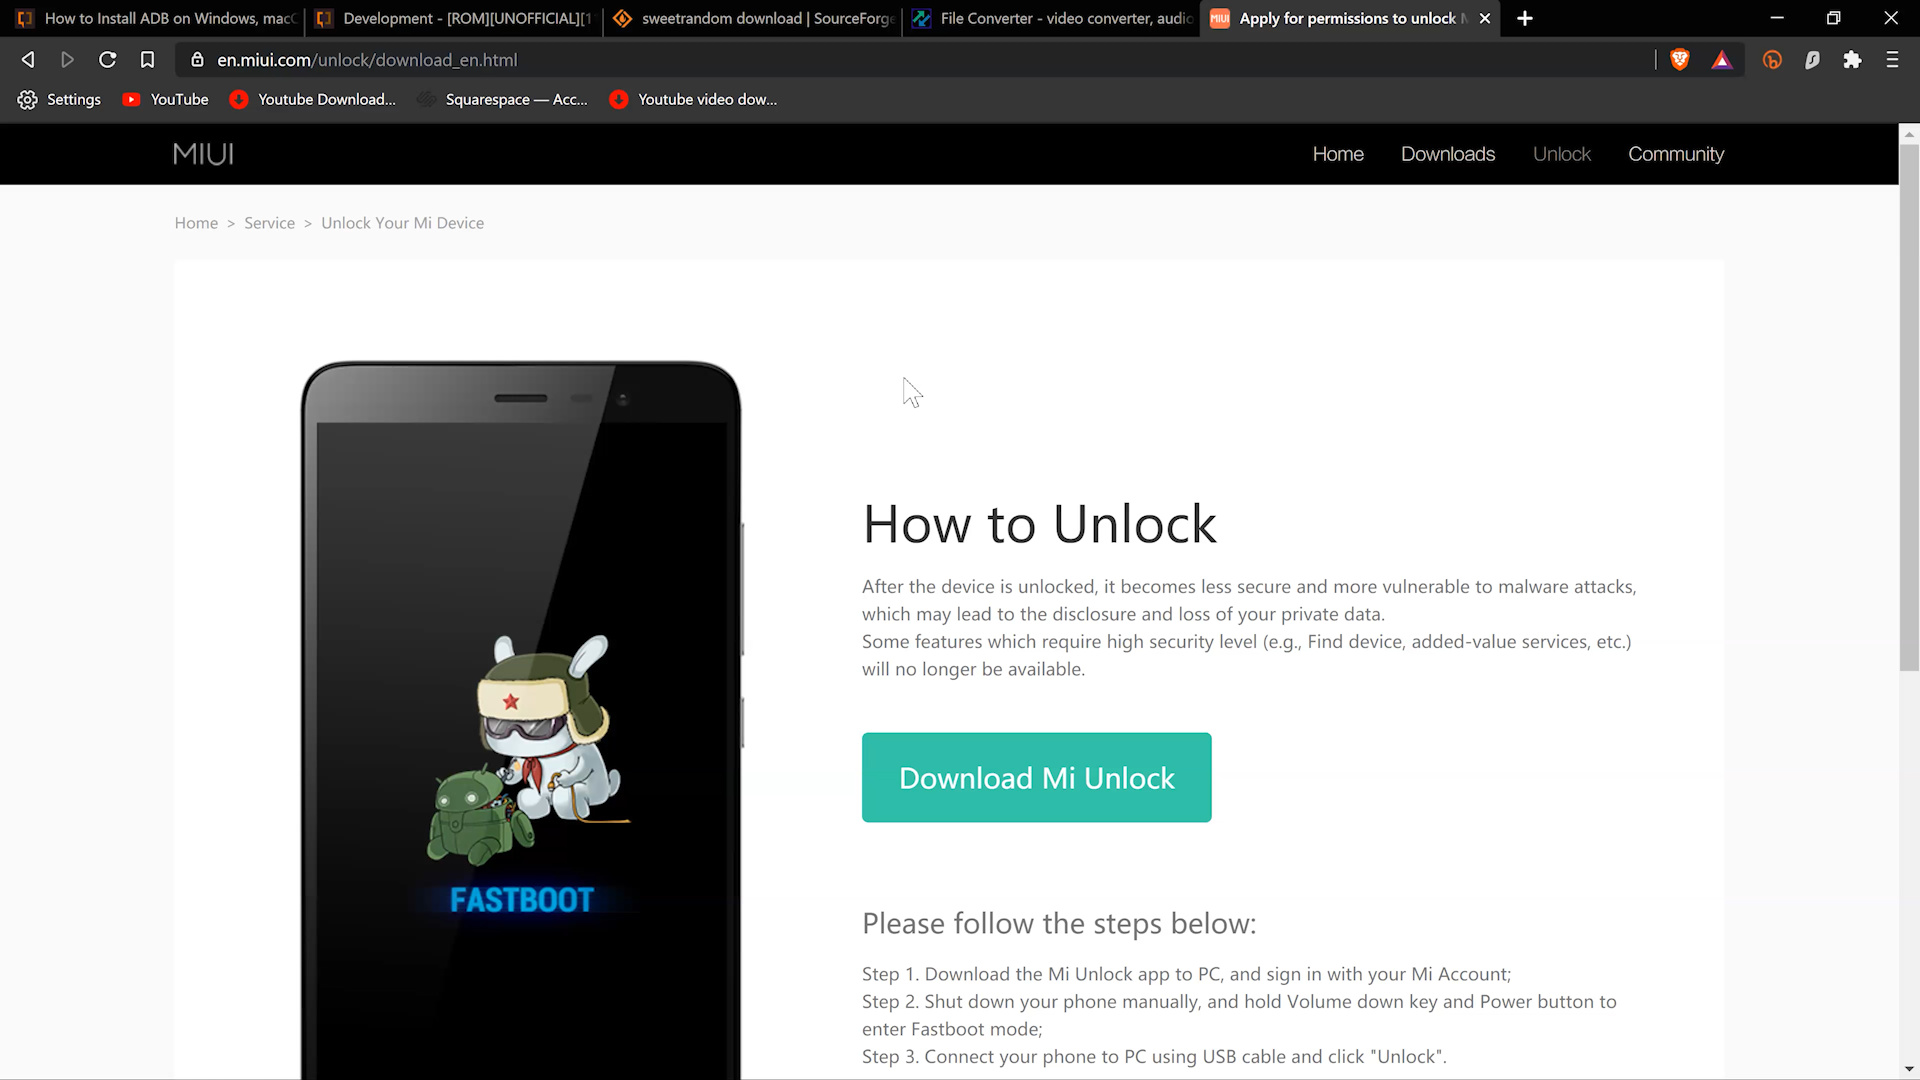
5: Download the Mi Unlock tool into your folder on your desktop

6: Unzip the Mi Unlock tool and find the application in the unzipped folder

7: Sign into the Unlock Tool with your Mi account info.

8: Put your Redmi Note 10 or Redmi Note 10 Pro Max in Fastboot Mode by holding down the power and down volume buttons.

9: Connect your phone to your computer, find the refresh button in the tool, select the phone, and click unlock. It will fail to unlock and say that you have 2 weeks to wait until you can unlock the Redmi Note 10 Pro or Redmi Note 10 Pro Max

10: Wait 2 Weeks
11: Repeat the same steps as above and the Unlock Tool will allow you to Unlock the bootloader of your Redmi Note 10 Pro or Redmi Note 10 Pro Max
12: Now that your Redmi Note 10 Pro Bootloader is unlocked you need to prepare to flash the TWRP Recovery to your Redmi Note 10 Pro Or Redmi Note 10 Pro Max. In Order to flash the Recovery and the Rom to your Redmi Note 10 or Redmi Note 10 Pro Max download these files so you can use ADB Commands
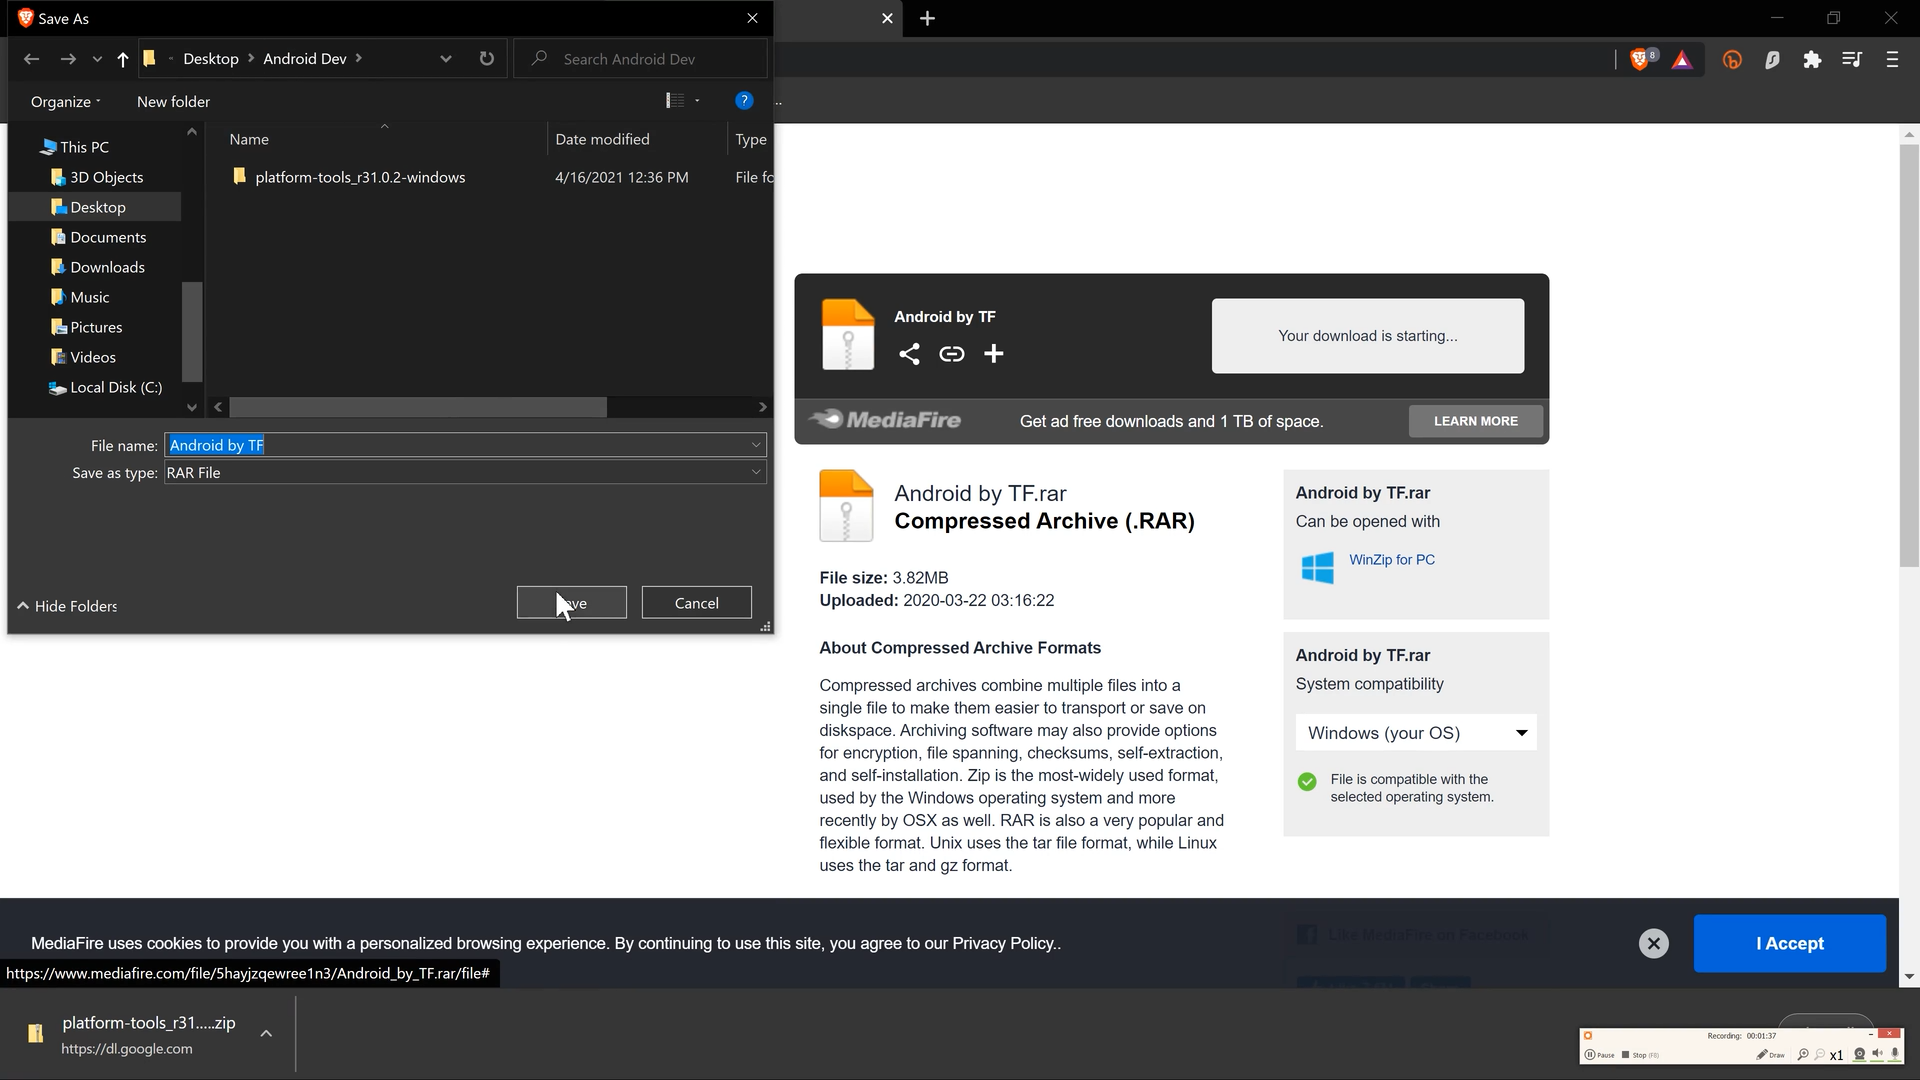
13: Download the files into your newly created Android Dev Folder on your Desktop. Open the folder and copy the “android” inside of the “Android by TF” Folder
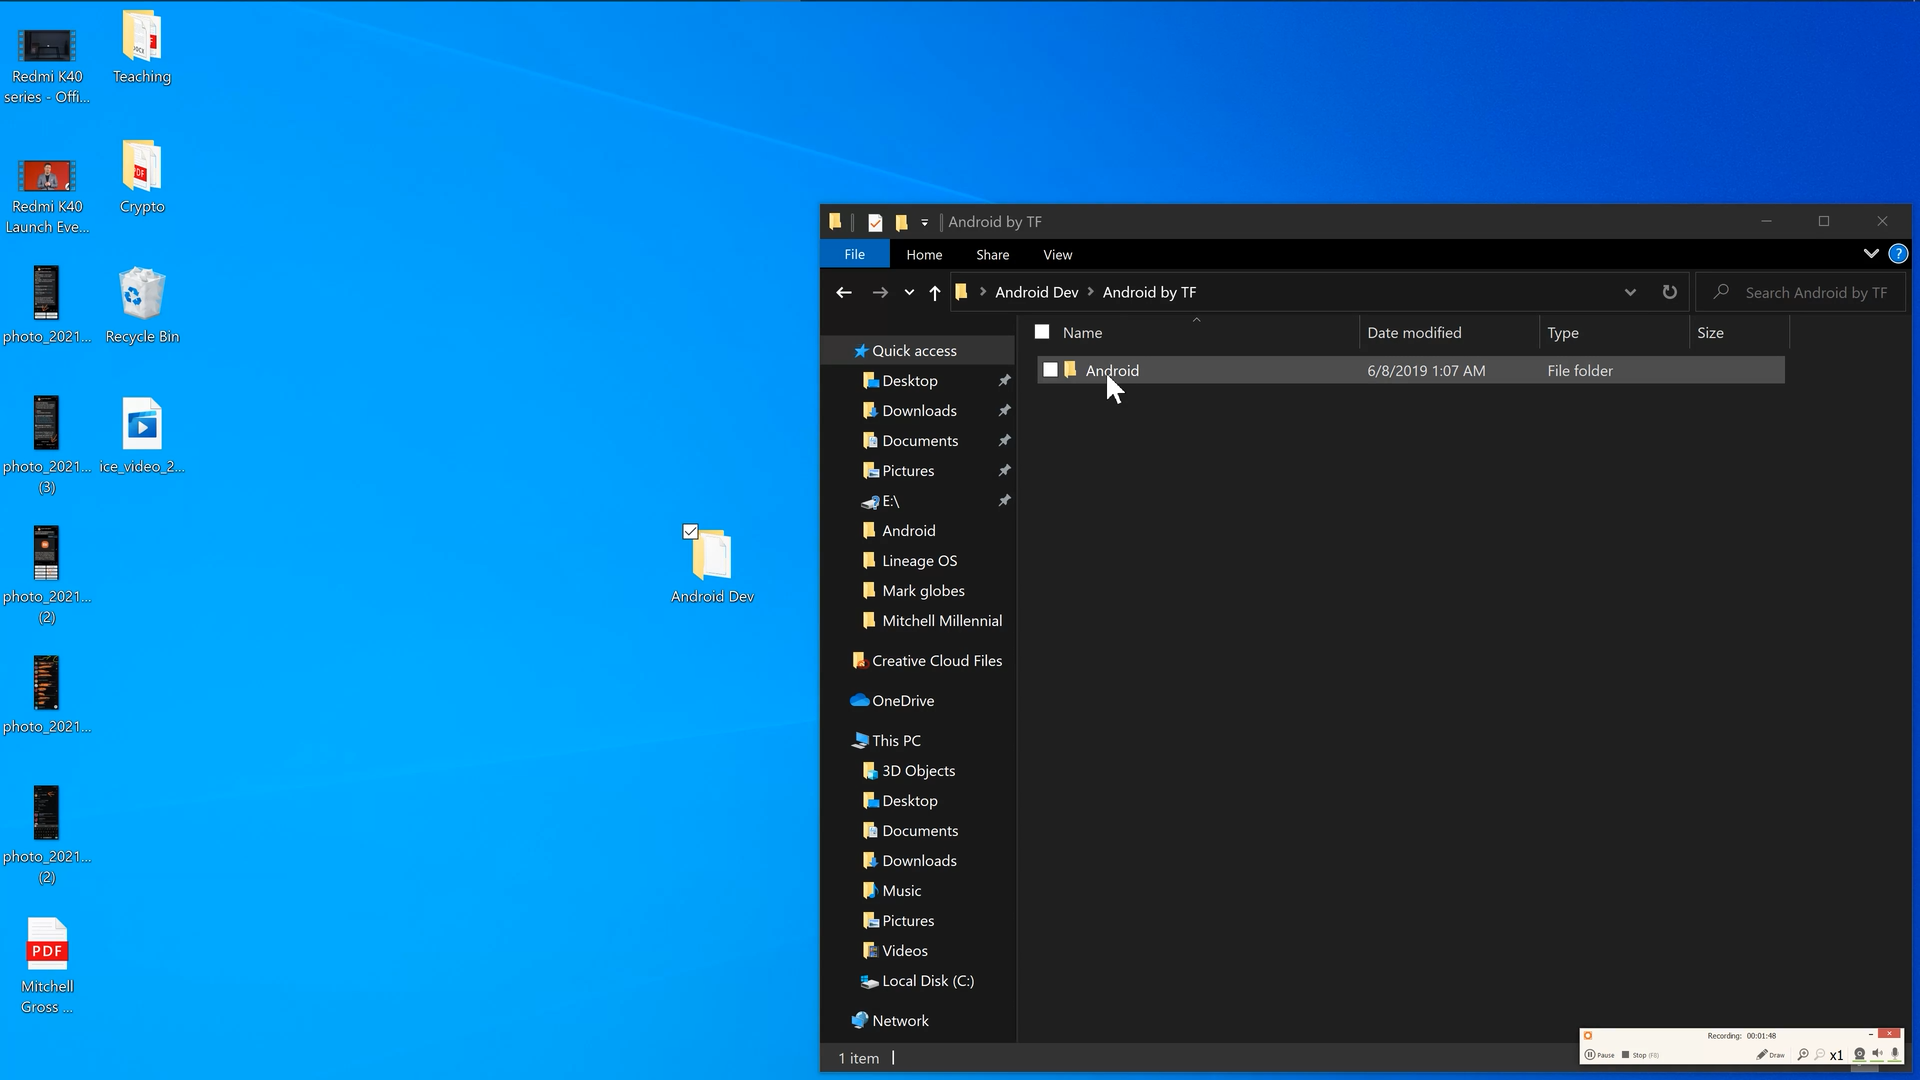
14: Navigate to C> Program files(x86) Find the “android folder” and delete it. Paste the android folder you copied from the “android by tf” folder

15: Navigate to Control Panel> System> Advanced System Settings

16: Environmental variables and find the “paths” section. Highlight it and click edit.

17: Copy the location from the “android” folder in Program Files(X86)

18: In the “Edit environmental variables” window find the “NEW” button and paste the address you just copied.

19: Download TWRP Recovery HERE and download PIXEL EXP ROM

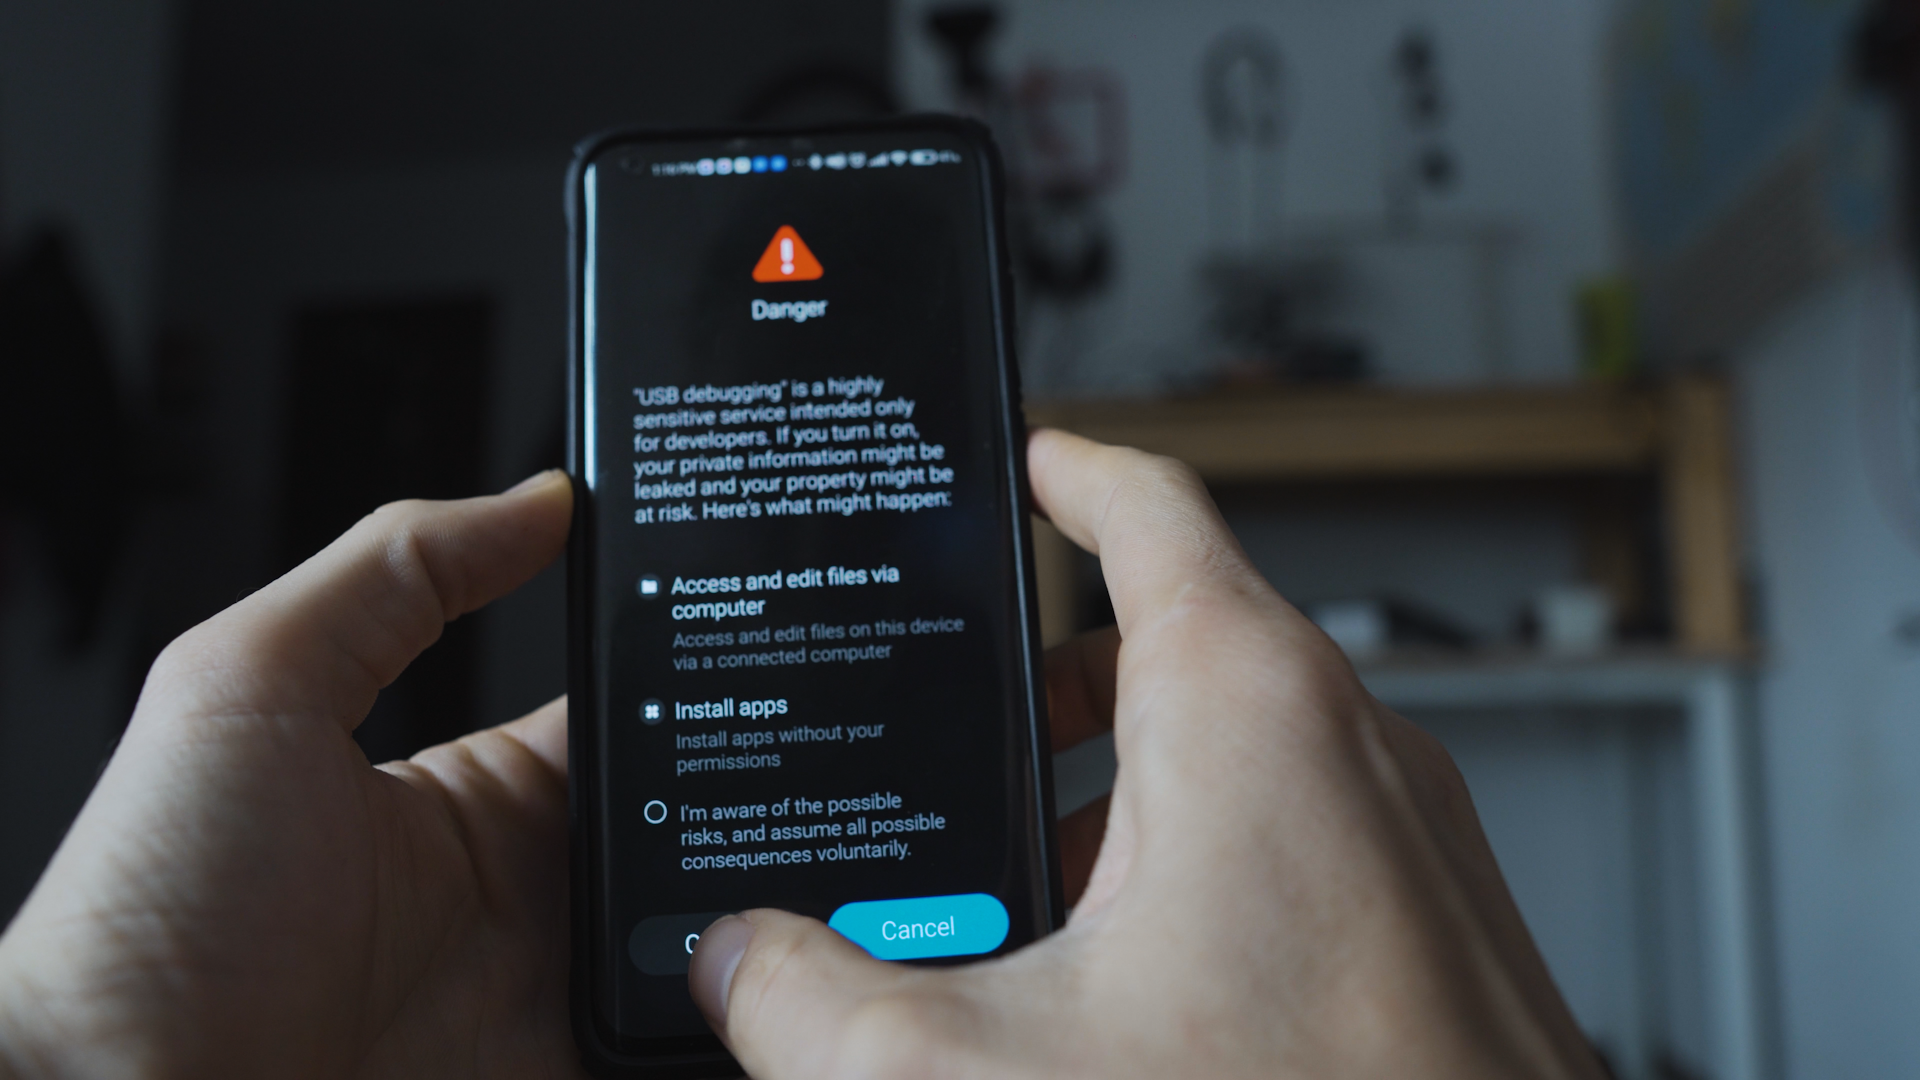
20: Go to your recently wiped phone and go through the steps needed to set the device up and go to “Developer options” (instructions on how to get to developer options are listed above). In Developer options enable USB Debugging on your Redmi Note 10 Pro and Redmi Note 10 Pro Max.
21; Navigate to your “Android Dev” folder on your desktop where you have downloaded the Pixel Experience Rom and TWRP Recovery for the Redmi Note 10 Pro and Redmi Note 10 Pro Max. Hold Down the “Shift” key and right click> Open Powershell window here

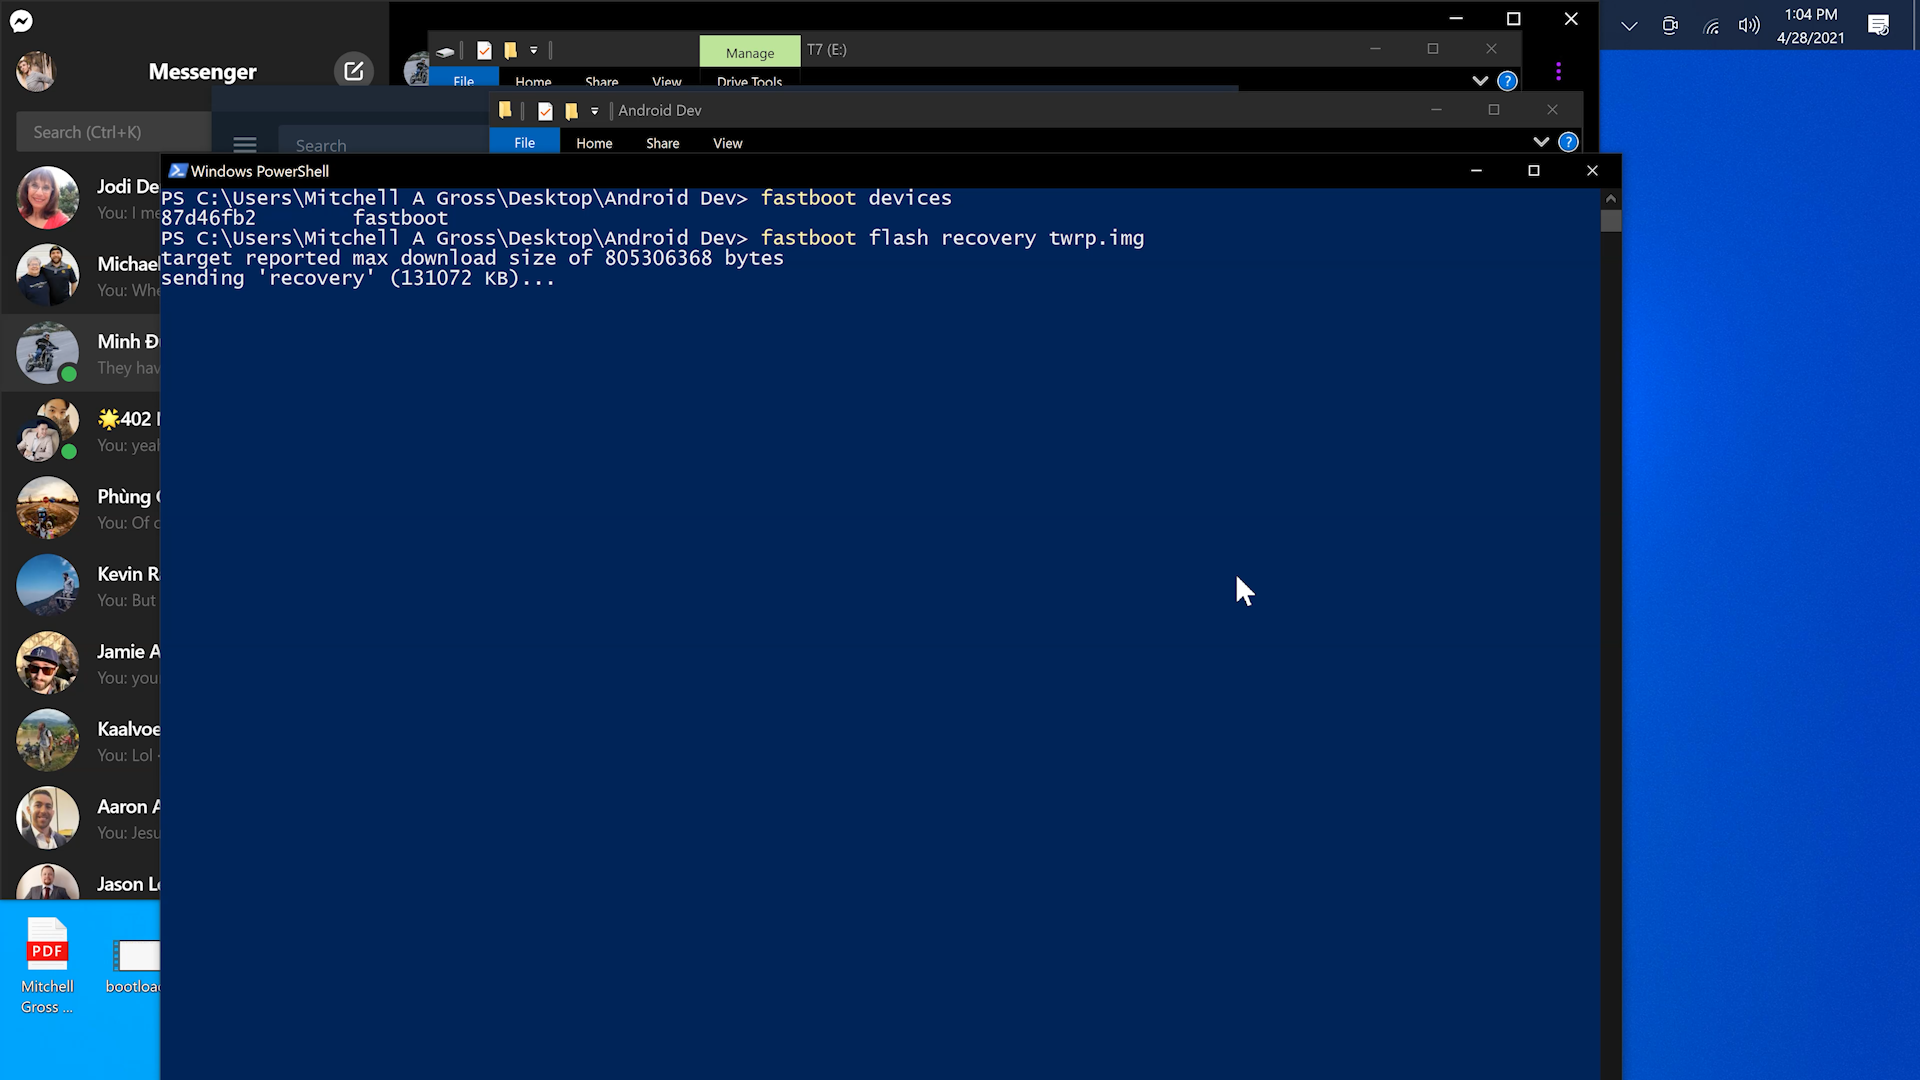
22: Make sure your Redmi Note 10 Pro Or Redmi Note 10 Pro Max is connected to your computer with USB Debugging enabled. From there type in, ADB devices and hit “enter” your device ID will register in powershell. Next type “ADB reboot fastboot” and hit enter. From here your Redmi Note10 Pro or Redmi Note 10 Pro Max will enter Fastboot Mode.

23: Type in “Fastboot flash recovery twrp.img IMPORTANT: If your recovery is named something else you will need to rename it TWRP in order for this command to work.
24: Restart the Redmi Note 10 Pro or Redmi Note 10 Pro Max by holding down the power and the volume up key and that will boot your Redmi Note 10 Pro into the TWRP recovery. IF you have recently reset your de vice no password will be needed. In my case is updating TWRP to a newer version and my SCREEN UNLOCK PASSWORD WORKED FOR DECRYPTION


25: Copy and Paste The Pixel Experience Rom on to your device internal storage. I chose to paste it into the TWRP folder of my device for ease of finding the rom file to flash

26: Locate the Pixel Experience Rom on your device and choose “flash zip file”. Wait for it to finish and restart your device. If your Redmi Note 10 Pro or Redmi Note 10 Pro Max doesn’t boot than turn it off and let it try to reboot. It might take 10 minutes to finish.
Redmi Note 10 Pro // Redmi Note 10 Pro Max GCAM VS STOCK
/
MGC Gccam

Stock

Ultra CVM V8

MGC Gcam

sTOCK

Ultra CVM V8

MGC Gcam

STOCK

Ultra CVM v8

MGC Gcam

Stock

Ultra CVM V8

MGC Gcam

Stock

ULTRA CVM V8

MGC Gcam

Stock
Download the newest version of GCAM HERE
Download The XML File for the Redmi Note 10 Pro Here
How To Install Lineage OS On Your Redmi Note 10 Pro Or Redmi Note 10 Pro Max
/Step 1: Navigate to Settings> My device>All Specs> Miui version, tap on MIUI Version until you have unlocked developer settings
2: In Developer Options find OEM Unlocking and enter your MIUI Account Information
3: On your desktop create a new folder, I named my folder “Android Dev”
5: Download the Mi Unlock tool into your folder on your desktop
6: Unzip the Mi Unlock tool and find the application in the unzipped folder
7: Sign into the Unlock Tool with your Mi account info.
8: Put your Redmi Note 10 or Redmi Note 10 Pro Max in Fastboot Mode by holding down the power and down volume buttons.
9: Connect your phone to your computer, find the refresh button in the tool, select the phone, and click unlock. It will fail to unlock and say that you have 2 weeks to wait until you can unlock the Redmi Note 10 Pro or Redmi Note 10 Pro Max
10: Wait 2 Weeks
11: Repeat the same steps as above and the Unlock Tool will allow you to Unlock the bootloader of your Redmi Note 10 Pro or Redmi Note 10 Pro Max
12: Now that your Redmi Note 10 Pro Bootloader is unlocked you need to prepare to flash the Lineage OS Recovery to your Redmi Note 10 Pro Or Redmi Note 10 Pro Max. In Order to flash the Recovery and the Rom to your Redmi Note 10 or Redmi Note 10 Pro Max download these files so you can use ADB Commands
13: Download the files into your newly created Android Dev Folder on your Desktop. Open the folder and copy the “android” inside of the “Android by TF” Folder
14: Navigate to C> Program files(x86) Find the “android folder” and delete it. Paste the android folder you copied from the “android by tf” folder
15: Navigate to Control Panel> System> Advanced System Settings
16: Environmental variables and find the “paths” section. Highlight it and click edit.
17: Copy the location from the “android” folder in Program Files(X86)
18: In the “Edit environmental variables” window find the “NEW” button and paste the address you just copied.
19: Download the special lineage recovery into your “Android Dev” Folder. Here is the recovery link. This recovery works for bot the Redmi Note 10 Pro and the Redmi Note 10 Pro Max. Next you will want to download the Lineage OS Rom for your Redmi Note 10 Pro And Redmi Note 10 Pro Max. I used the Lineage OS Rom with GApps integrated. They can be downloaded HERE

20: Go to your recently wiped phone and go through the steps needed to set the device up and go to “Developer options” (instructions on how to get to developer options are listed above). In Developer options enable USB Debugging on your Redmi Note 10 Pro and Redmi Note 10 Pro Max.
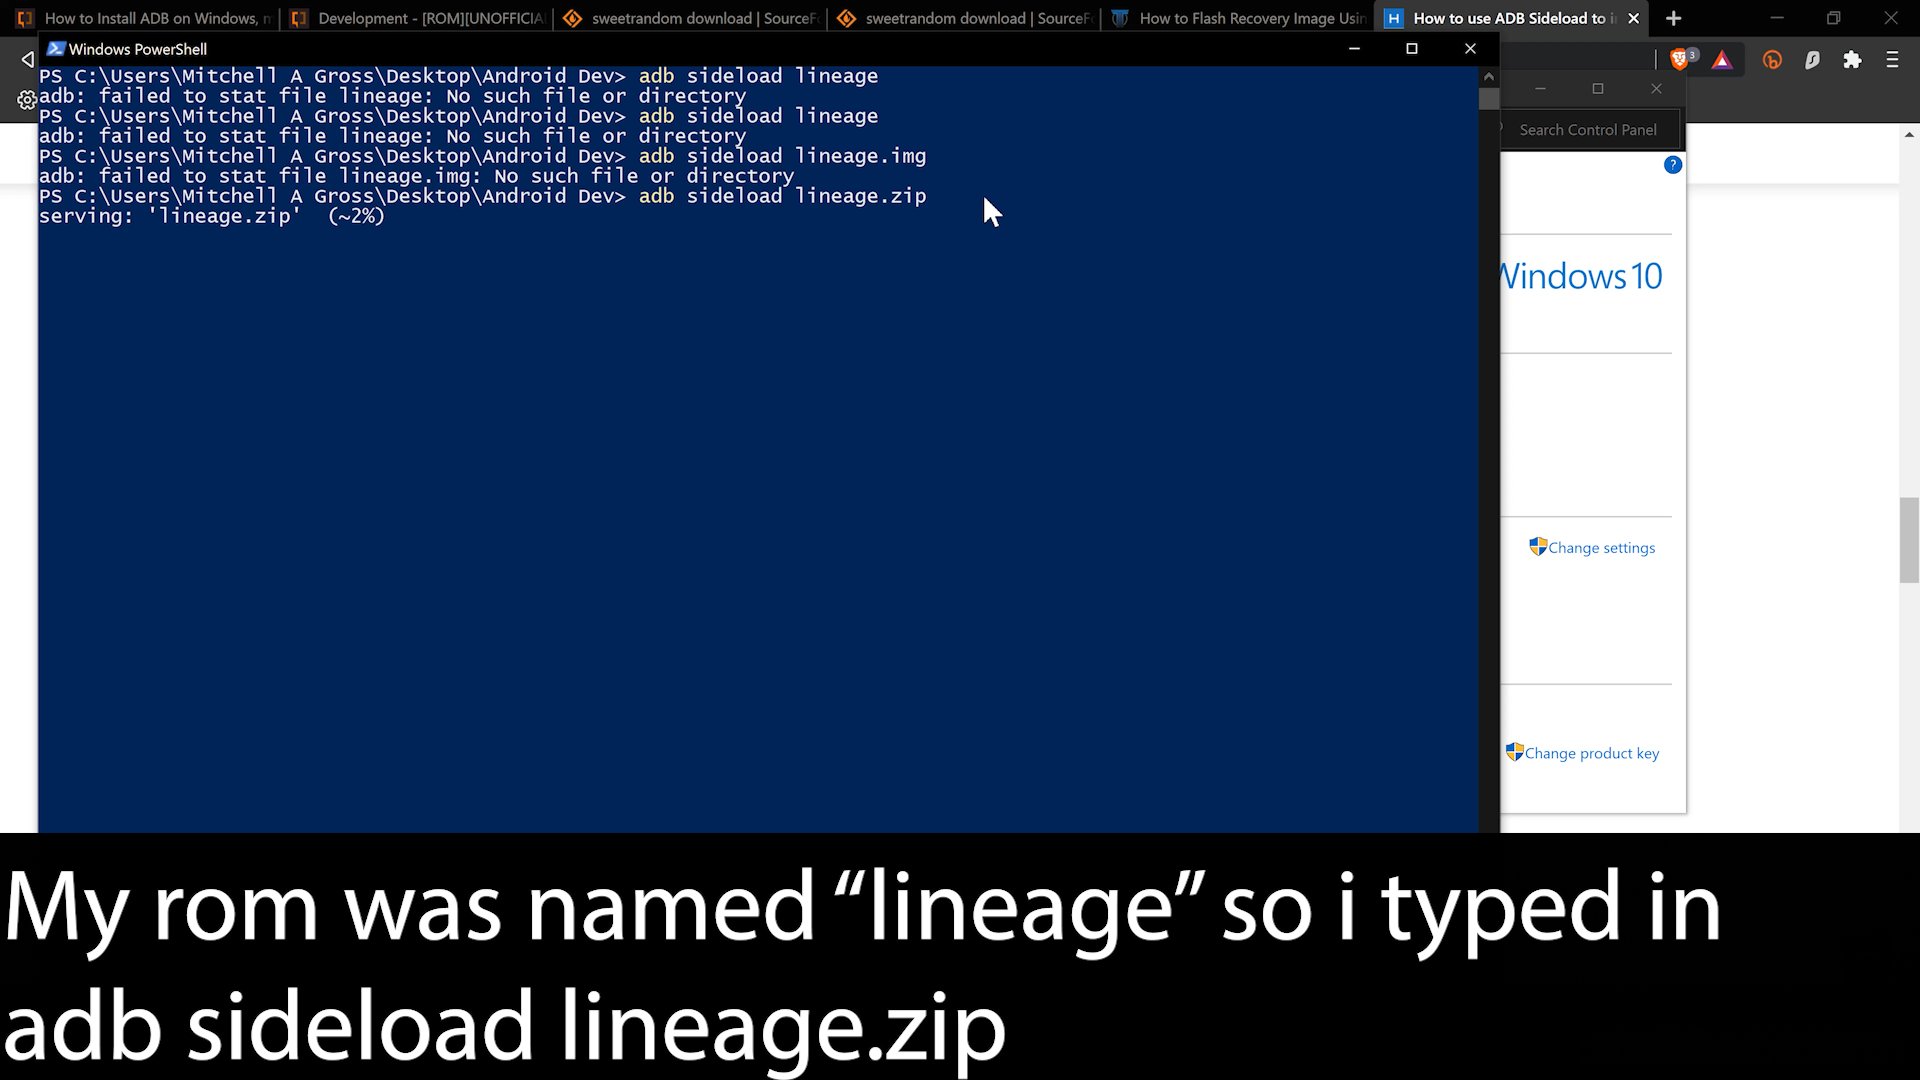
21; Navigate to your “Android Dev” folder on your desktop where you have downloaded the Lineage OS Rom and Lineage OS Recovery for the Redmi Note 10 Pro and Redmi Note 10 Pro Max. Hold Down the “Shift” key and right click> Open Powershell window here
22: Make sure your Redmi Note 10 Pro Or Redmi Note 10 Pro Max is connected to your computer with USB Debugging enabled. From there type in, ADB devices and hit “enter” your device ID will register in powershell. Next type “ADB reboot fastboot” and hit enter. From here your Redmi Note10 Pro or Redmi Note 10 Pro Max will enter Fastboot Mode.